Moveable Feast
  • home
  • services
  • bio
  • blog
  • contact
  • PHOTOS (summer)
  • photos (winter)
  • PRESS
  • faq

Feast Mode

a moveable feast blog

Crisp-Skinned Spatchcocked (Butterflied) Roast Turkey

11/22/2019

2 Comments

 
Picture
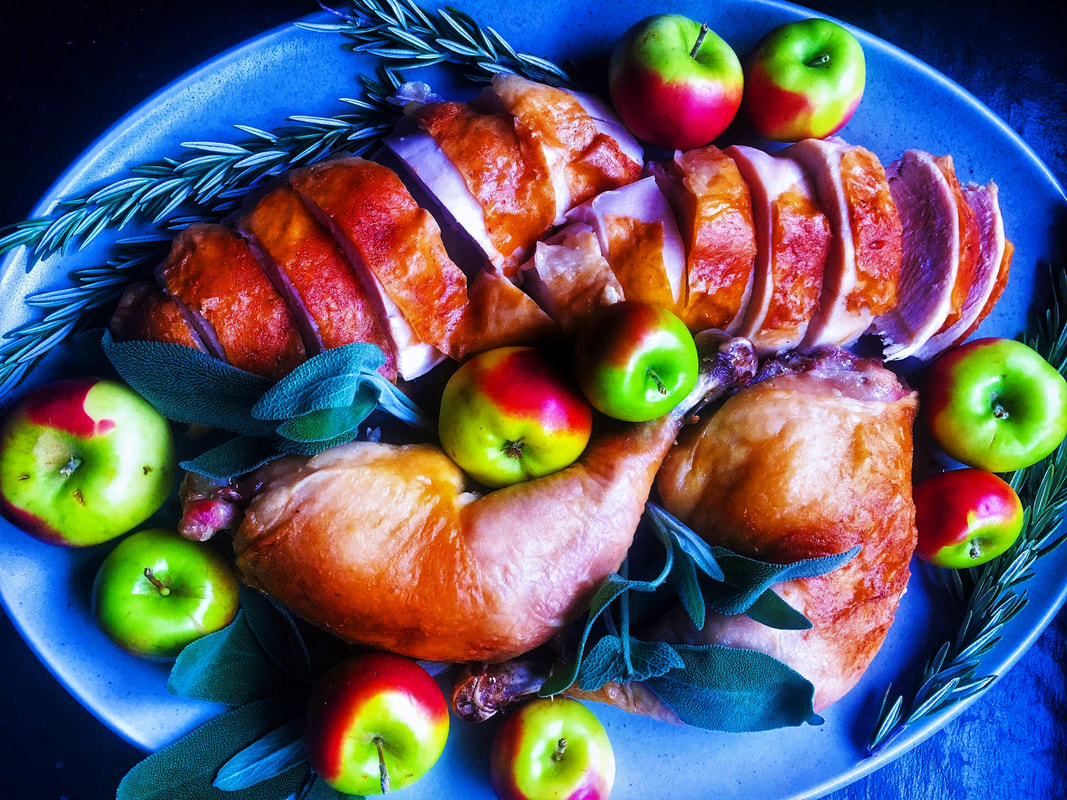
A 14-pound Thanksgiving turkey? Roasted in less than 90 minutes? [Ed. note: You're really jumping the shark with this one.]

No, it's true! This turkey is truly a Thanksgiving life-saver. No wet brining (a nightmare) or basting (keep that oven door closed). Last week's "blog test" bird was so sumptuous the BF forgave me for not serving stuffing with it. 

The secret: butterflying (a.k.a. spatchcocking) the bird and giving it a dry salt brine. You get a crispy, salty skin, juicy meat on the inside, and boy my brother Mike loves the word "spatchcock."


For directions on how to spatchcock a turkey, J. Kenji Lopez-Alt has the perfect walk-through here: www.seriouseats.com/2012/11/how-to-spatchcock-cook-turkey-thanksgiving-fast-easy-way-spatchcocked.html. The bird will have to be prepared this way before you make the dry salt and baking powder brine.

Last year for Thanksgiving, the BF and I hosted six guests and served a 14-pound spatchcocked turkey. Baked it at high heat for 85 minutes. The skin practically cracked when you picked at it, the meat was succulent and moist. This is now the one and only way I ever roast chicken or turkey.

Need further testimony? Serious Eats' Lopez-Alt explains, "Spatchcocking is a method of removing the turkey's backbone to flatten its body prior to putting in the oven. This flatter shape ensures that the meat cooks more evenly and more quickly, allowing the legs to reach a safe temperature without overcooking the breast. The result is hands-down the easiest, most reliable route to a juicy, moist turkey with incredibly crisp skin. It may not look like a traditional Thanksgiving centerpiece, but your tastebuds will certainly thank you."


The BF, Marlowe and I thank you and wish you all a very Happy Thanksgiving!

​NOTES:
  • For perfectly cooked turkey, always use a good thermometer. I use a Thermapen. It has saved my butt from overcooked meats too many times to count.
  • Start the dry brine at least 24-48 hours prior to roasting​. The longer the brine, moister the meat.

PS: A year ago we geared up for the holidays with this gingerbread roll with eggnog whipped cream (www.moveablefeast.me/blog/gingerbread-roll-with-eggnog-whipped-cream). Everyone wants a log. [Ed. note: From Blammo™.]
Picture
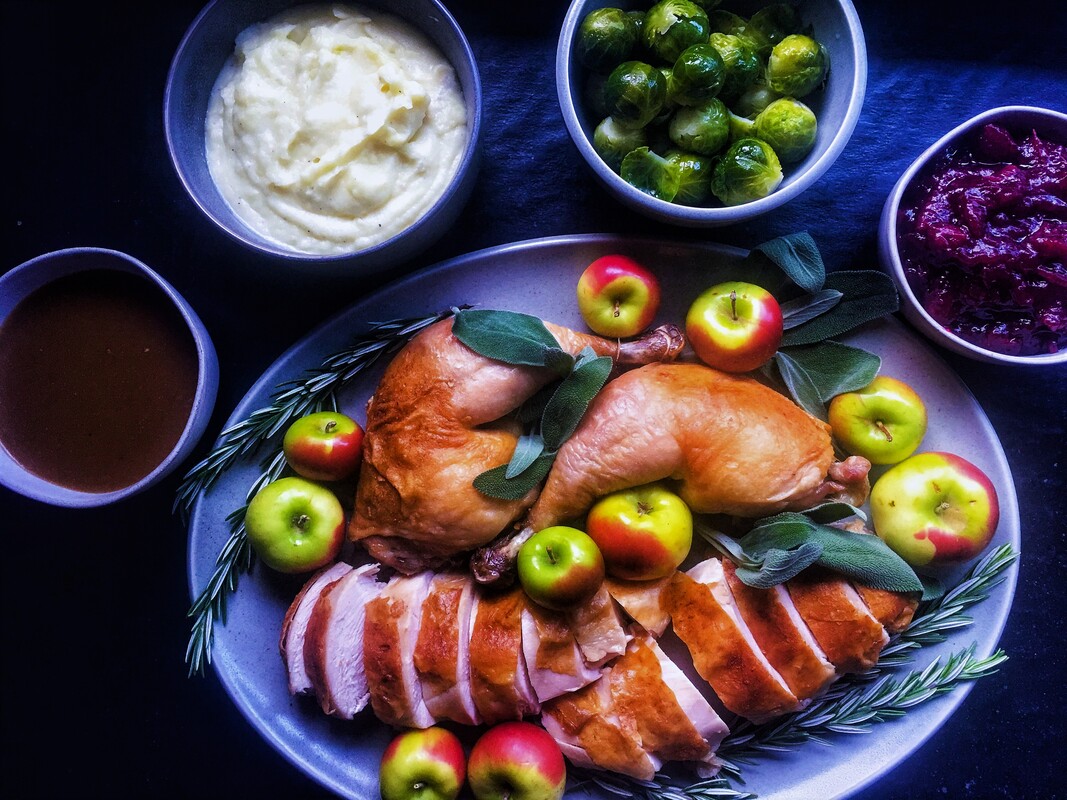
Adapted from: J. Kenji Lopez-Alt, Serious Eats
Number of servings: 10-12

Directions - Butterflying/Spatchcocking Turkey
www.seriouseats.com/2012/11/how-to-spatchcock-cook-turkey-thanksgiving-fast-easy-way-spatchcocked.html

Ingredients - Dry-Brine (prepare 24-48 hours ahead of time)
  • ½  cup of Diamond Crystal kosher salt, or six tablespoons Morton's kosher salt
  • 2 tablespoons of baking powder
Directions
  1. Combine ½ cup of Diamond Crystal kosher salt (or six tablespoons Morton's kosher salt) with two tablespoons of baking powder in a bowl.
  2. Carefully pat your turkey dry with paper towels.
  3. Generously sprinkle salt mixture on all surfaces: pinch mixture between your thumb and fingers, hold 6-10 inches above the bird, and sprinkle mixture as evenly as possible. Turkey should be well coated with salt, though not completely encrusted. (NOTE: You will most likely not need all of the salt. In some cases, half will be okay; it depends on the size of your bird and your salt preferences.)
  4. Transfer the turkey to a rack set in a rimmed baking sheet, and refrigerate, uncovered, for 24-48  hours. 

Ingredients​ - Turkey
  • 2 large onions, roughly chopped 
  • 3 large carrots, peeled and roughly chopped 
  • 2 stalks celery, roughly chopped 
  • 8-10 thyme sprigs
  • 1 whole turkey (12-14 pounds), butterflied according to the instructions above, backbone, neck, and giblets reserved (if you're making gravy)
  • 1 tablespoon grapeseed or vegetable oil

Roasting Directions
  1. Preheat oven to 450 °F. Adjust oven rack to middle position.
  2. Line a rimmed baking sheet or broiler pan with aluminum foil.
  3. Scatter onions, carrots, celery and thyme sprigs across bottom of pan. Place slotted broiler rack or wire rack directly on top of vegetables.
  4. Pat turkey dry with paper towels and rub on all surfaces with 1 tablespoon oil. Tuck wing tips behind back. Place turkey on top of rack, arranging so that it does not overlap the edges, pressing down on the breast bone to flatten the breasts slightly.
  5. Transfer turkey to oven and roast, rotating occasionally, until an instant-read thermometer inserted into the deepest part of the breast registers 150 °F, and thighs register at least 165 °F, about 80 minutes for a 14-pound turkey.
  6. When turkey is done, remove from oven and transfer rack to a new baking sheet. Allow to rest at room temperature [Ed. note: ROOM TEMPERATURE] for 20 minutes before carving.
  7. Carefully pour any collected juices from roasting pan through a fine-mesh strainer into a liquid measuring cup. Skim off excess fat and discard. Presto, gravy.
  8. Carve it!
Picture
2 Comments

Apple Pie Bars

11/16/2019

6 Comments

 
Picture
I probably drive the BF crazy [Ed. note: like no one else, and for some reason I can't help myself], but I start asking him to choose his birthday cake-dessert about a month before his birthday. Usually give a choice of some great found recipe that includes either apples, caramel, butterscotch or lemon. Love hunting for the perfect recipe, with the goal of getting his eyes to bug out.

These apple pie bars are a client favorite, and whenever I make them the BF ends up in the kitchen, plaintively staring and asking if there are "extras." [Ed. note: "Oh those were for the clients?"] Needless to say the dessert has become one of his favorites, so I decided to make it for his birthday in lieu of a traditional cake. This was a very special birthday, by the way. [Ed. note: #LOLOLD]

One of the great things about this dessert is the shortbread dough is used for both the bottom crust and crumble on top. (Meaning there's no pie crust to roll out.) As the brilliant Ina Garten likes to say, "How easy is that?"

To really send it over the top, drizzle the bars with gooey caramel (optional, but recommended). Perfectly okay to eat with your hands, or dish/bowl them up with a scoop of vanilla ice cream.
Picture
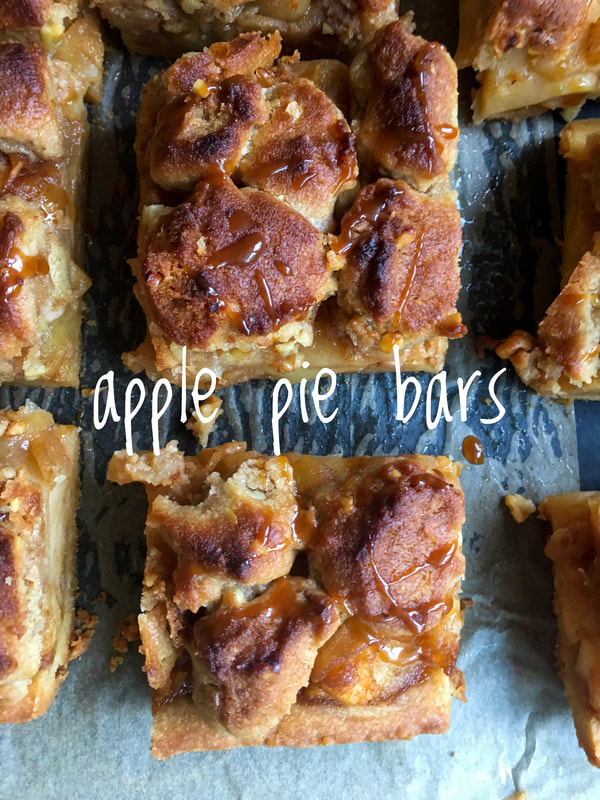
In addition to offering an alternative to your everyday pedestrian cookie, these bars have another perk: they travel well. Simply wrap up the baking pan and cut the bars when you get to your destination. As for optimal portion size, Garten advises, "I cut the bars in fairly large 3 x 3-inch squares if I'm serving them on a plate with a scoop of vanilla ice cream on the side. If I'm serving them on a platter of small petits fours to pick up with your fingers, I'll cut them in smaller bite-size pieces."

NOTES:
  • You can cut this recipe in half  by preparing it in an 8 x 8-inch pan.
  • After baking, cool completely, wrap tightly and store at room temperature for up to two days.  Great for birthdays, every day, and is a perfect make-ahead dessert for Thanksgiving.​

PS: Speaking of Thanksgiving, a year ago we were thinking ahead with this whipped cranberry butter (www.moveablefeast.me/blog/whipped-cranberry-butter). Also, Adam Sandler sings!

PPS: Another client-approved holiday-time dessert, your friends and family won't know this yummy mini pumpkin cheesecake is sugar-free and low-carb. That is, unless you tell them. So don't. (www.moveablefeast.me/blog/mini-pumpkin-cheesecake-sugar-free-and-low-carb)
Picture
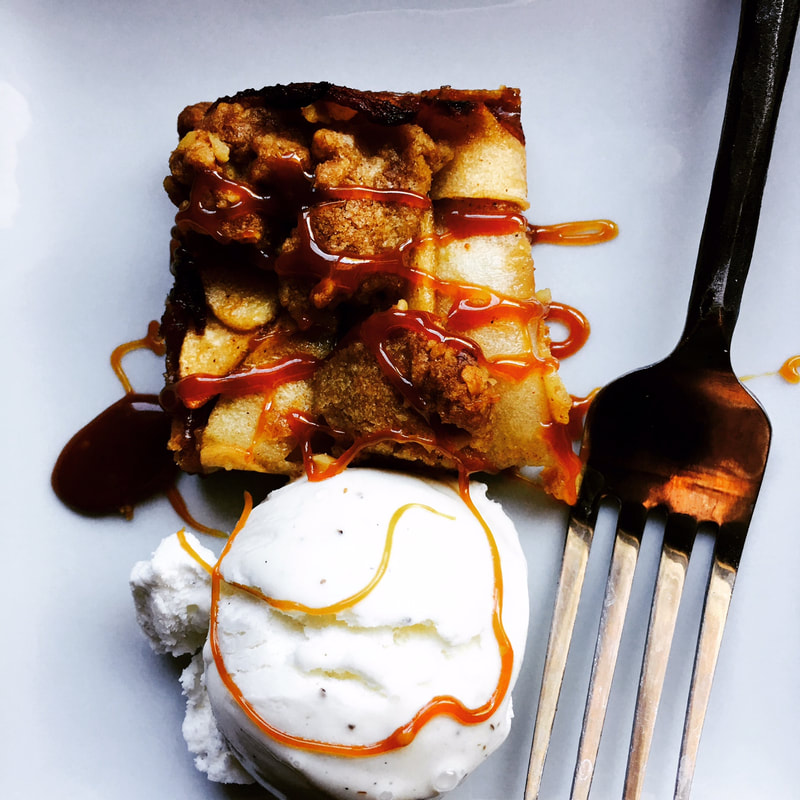
Adapted from: Ina Garten, Cooking For Jeffrey
Number of Servings: Makes one 9 x 13-inch pan

Ingredients
Crust
  • 1 pound (4 sticks) unsalted butter, at room temperature [Ed. note: ROOM TEMPERATURE]
  • ¾ cup granulated sugar
  • ½ cup light brown sugar, lightly packed
  • 2 teaspoons pure vanilla extract
  • 4 cups all-purpose flour
  • 1 ½ teaspoons kosher salt
  • ½ cup chopped walnuts
  • 1 teaspoon ground cinnamon
Apple Filling
  • 3 pounds Granny Smith apples, peeled, quartered, cored, and sliced ⅛-inch thick (6 large)
  • 2 tablespoons freshly squeezed lemon juice
  • ¼ cup granulated sugar
  • 1 teaspoon ground cinnamon
  • ⅛ teaspoon ground nutmeg
  • 4 tablespoons (½ stick) unsalted butter
To Serve
  • Vanilla ice cream
  • Caramel sauce

Directions
Crust
  1. Place a rack in the center of oven and preheat to 375 ºF. Line a 9 x 13-inch baking pan with parchment paper so that paper hangs over two edges of the pan by about two inches. This will make the pie bars easier to remove after it’s baked.
  2. Place the butter, granulated sugar, brown sugar, and vanilla in the bowl of an electric mixer fitted with the paddle attachment. Beat on medium speed for 2 minutes, until light and creamy. Sift the flour and salt together and, with the mixer on low, slowly add to the butter-sugar mixture, beating until combined.
  3. Scatter ⅔ of the dough, in clumps, into your baking pan, and press it lightly with floured hands on the bottom and ½ inch up the sides. Refrigerate for 20 minutes.
  4. Bake for 18-20 minutes, until crust is golden brown. Set aside to cool.
  5. Put mixing bowl with the remaining dough back in the mixer, add walnuts and cinnamon, and mix on low speed to combine. Set aside.
  6. Reduce the oven to 350 ºF.
Apple Filling
  1. Combine the Granny Smith apples and lemon juice into a very large bowl. Add granulated sugar, cinnamon, and nutmeg and mix well.
  2. Melt the butter in a large (10-inch-diameter) pot, add the apples, and simmer over medium to medium-low heat, stirring often, for 12-15 minutes, until apples are tender and the liquid has mostly evaporated.
  3. Spread the apples evenly over the crust, leaving a ½-inch border.
  4. Pinch medium pieces of the remaining dough with your fingers and drop them evenly on top of the apples (they will not be covered). Bake for 25-30 minutes, until the topping is browned. NOTE: I sometimes place the pan under the broiler to get the topping a little more browned.  Watch carefully so it doesn't burn.
To Serve
  1. Cool completely and cut into bars.
  2. Drizzle with caramel and serve with ice cream, or just pick 'em up with your hands.
Picture
6 Comments

Pommes Duchesse (French Piped Potatoes)

11/8/2019

2 Comments

 
Picture
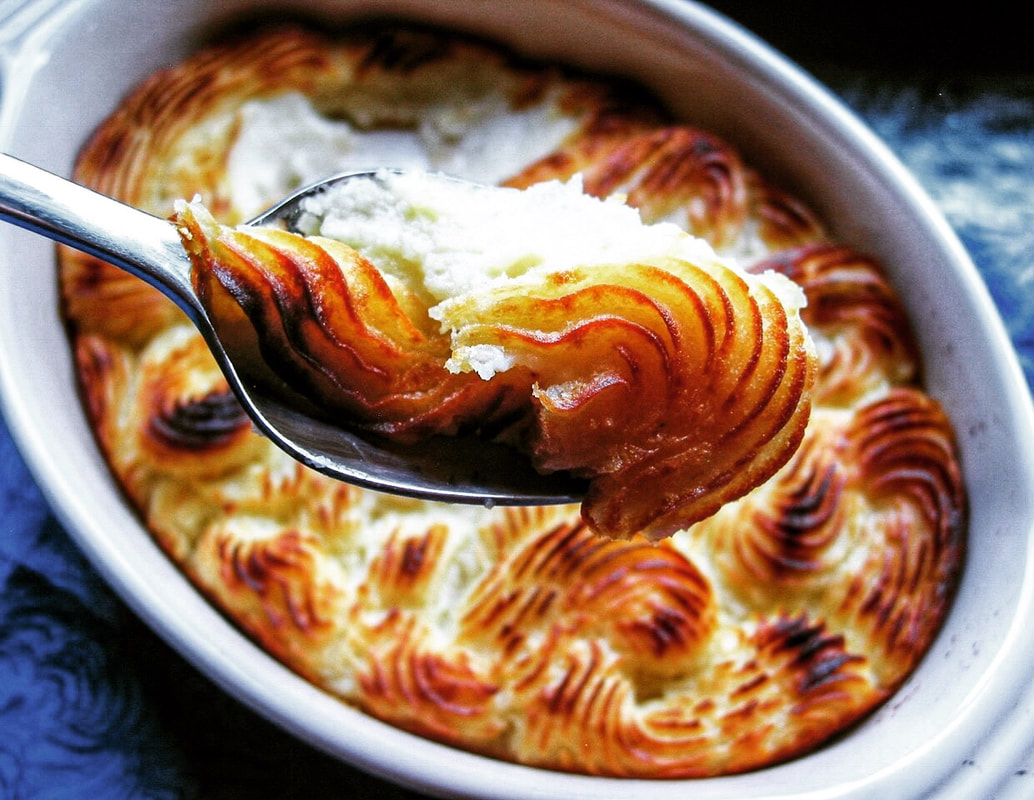
Pommes Duchesse. Sounds fancy. Looks fancy. But really, this is simply a fun way of "piping" mashed potatoes into a baking dish, just in time for the Thanksgiving countdown (in my book, never too soon).

These potatoes are an always-requested Thanksgiving staple in our household, and also a perfect accompaniment to any poultry or red meat (as one of our relatives is not fond of turkey). Another regular vegetarian guest annually asks, "You're making the potatoes, right?"

Looking more elegant than regular mashed, they work well for any special occasion, and aren't any more difficult to make. [Ed. note: Don't say this to your guests. Lie. Lie and tell them it took you months to prepare this and those ingrates should kiss the ground you walk on and okay I'll shut up.]

Picture
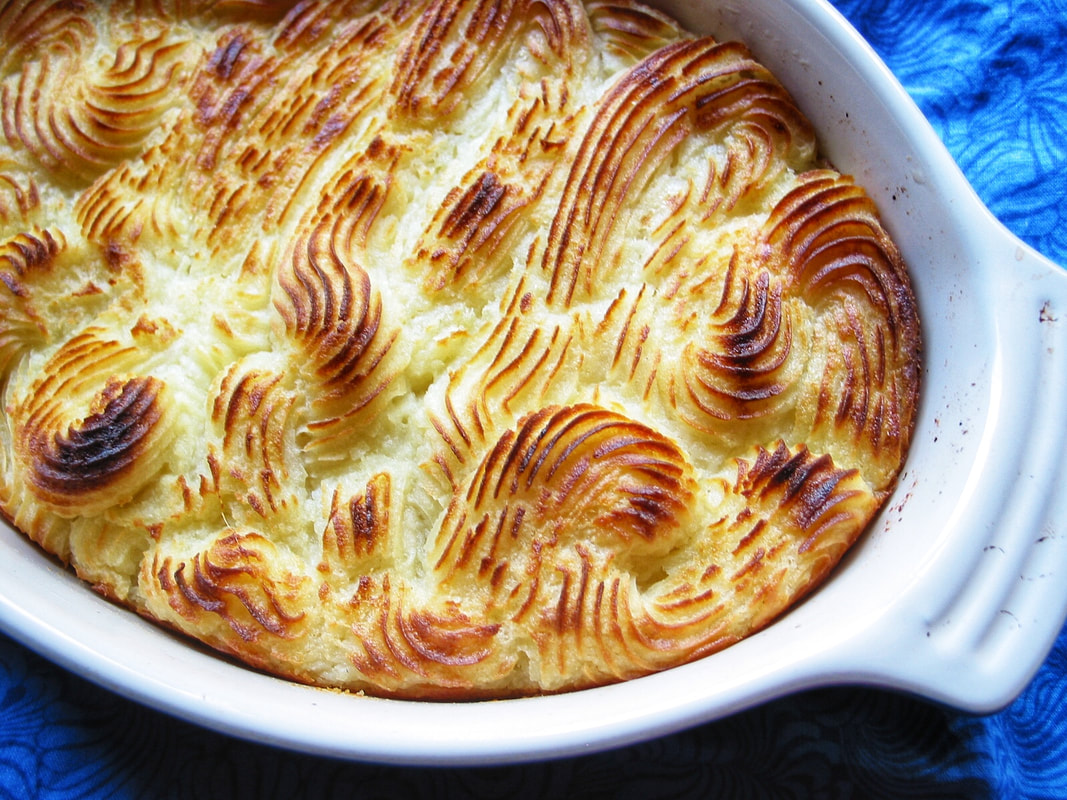
The original recipe calls for piping the potatoes into eight puffs of potato swirls. Those are glorious, and I've made them that way many times, but here I decided to freestyle the swirls and  just make a decorative pattern in the baking dish. Either way you decide to do it, it's good.

If you don't have a pastry bag and a piping tip, just spoon the mashed potatoes into the baking dish and create decorative swirls with the tines of a fork. The end result will still be crispy on the outside and soft and buttery on the inside.

However you decide to present them, Pommes Duchesse will be an impressive addition to any holiday (or everyday) feast.

PS: A year ago we were feeling pretty healthy with this butternut squash soup with red curry croutons (www.moveablefeast.me/blog/butternut-squash-soup-with-red-curry-croutons).
Picture
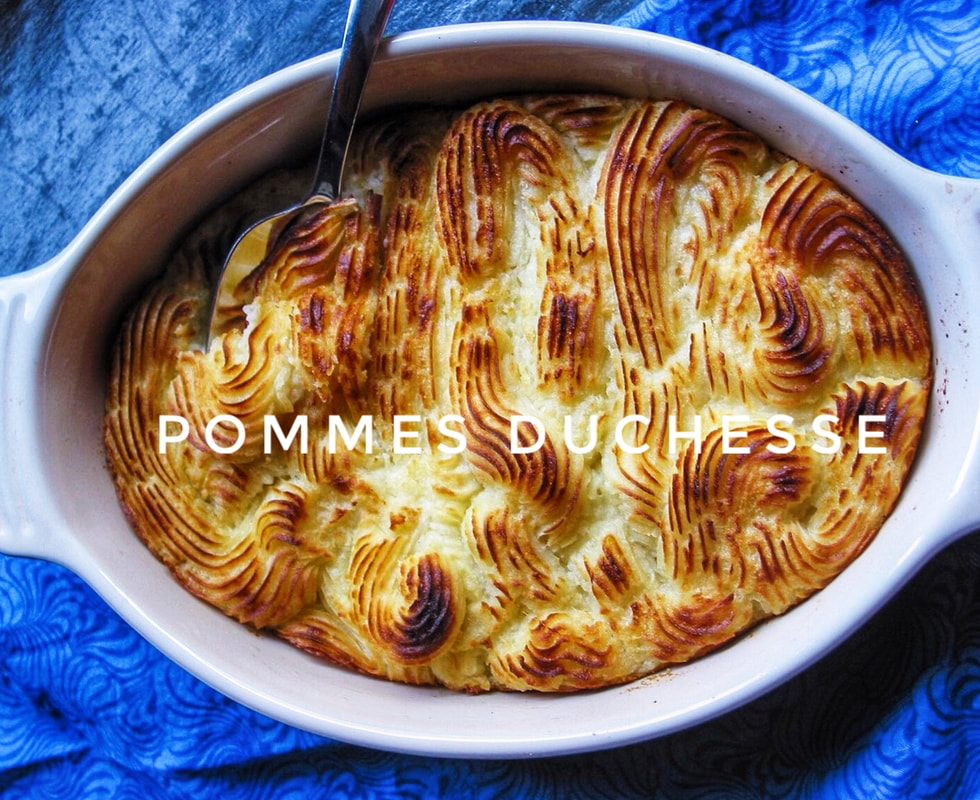
Adapted from: Geoffrey Zakarian, The Kitchen (Food Network)
Number of servings: 8

Ingredients
  • 2 pounds (about 4 medium) russet or Yukon gold potatoes, peeled and cut into 1-inch pieces
  • Kosher salt and freshly ground black pepper
  • ¼ cup heavy cream 
  • 1 stick (8 tablespoons) unsalted butter, plus more for greasing the baking dish
  • 2 egg yolks 
  • ½ cup finely grated Gruyere cheese (if you're adverse to Gruyere, try finely grated Parmesan)
  • Freshly grated nutmeg

Directions
  1. In a large pot, combine the potatoes, 1 teaspoon salt and enough cold water to cover. Bring to a boil over high heat. Lower the heat and simmer until fork tender, 10-12 minutes. Drain potatoes and then press through a ricer or food mill back into the pot they were cooked in. Place over low heat for a few minutes to dry the potatoes.
  2. Heat the cream and ½ stick of the butter in a saucepan over medium-low heat until the butter melts and the cream is warm but not hot. Stir mixture into the potatoes. Mix in the egg yolks and season with salt and pepper. Add cheese and nutmeg.
  3. Preheat the oven to 400° F. Grease a medium baking dish with butter.
  4. Melt the remaining ½ stick butter in a small pot over low heat (or the microwave).
  5. Fill a piping bag fitted with a large-star tip with the mashed potatoes. Into the prepared baking dish, pipe the potatoes in a circular motion, about 3 inches in diameter, starting from the outside and filling in a circle. Finish by piping upwards for a nice swirl on top. Repeat to fill the entire baking dish. Brush each circle with the melted butter.
  6. Bake in oven until golden brown, 30-40 minutes.
Picture
2 Comments

    Author

    I'm Jacquie, personal chef & recipe developer in the beautiful Pacific Northwest. ​Living life with my wildly funny boyfriend and dog Marlowe. Lover of books, bourbon, chocolate and movies.​

    Archives

    May 2020
    February 2020
    January 2020
    November 2019
    October 2019
    September 2019
    August 2019
    July 2019
    May 2019
    April 2019
    March 2019
    February 2019
    January 2019
    December 2018
    November 2018
    October 2018
    September 2018
    August 2018
    July 2018
    June 2018
    May 2018
    April 2018
    March 2018
    February 2018
    January 2018
    December 2017
    November 2017
    October 2017
    September 2017
    August 2017
    July 2017

    Categories

    All
    Ahi
    Apple
    Apple Pie
    Avocado
    Bars
    BBQ
    Beans
    Beef
    Beets
    Black Bean
    Blackberry
    Blueberries
    Borscht
    Bread
    Brownies
    Brussels Sprouts
    Bundt
    Butter
    Butternut Squash
    Butterscotch
    Cabbage
    Cake
    Caramel
    Carrot
    Challah
    Champagne
    Cheesecake
    Chicken
    Chili
    Chinese
    Chinese New Year
    Chocolate
    Christmas
    Cinco De Mayo
    Citrus
    Cocktail
    Coconut Rice
    Comfort Food
    Cookies
    Corn
    Cranberries
    Crostata
    Crumble
    Cupcakes
    Curry
    Dessert
    Easter
    Egg
    Egg Nog
    Eggplant
    Fish
    Ginger
    Gingerbread
    Gluten Free
    Grain Free
    Green Sauce
    Gumbo
    Halibut
    Halloween
    Hannukah
    Healthy
    Holiday
    Holidays
    Ice Cream
    Indian
    Kale
    Key Lime
    Kohlrabi
    Kosher
    Lamb
    Latkes
    Lemon
    Lentil
    Low Carb
    Mac & Cheese
    Malt
    Mango
    Mango Salsa
    Mardi Gras
    Martini
    Memorial Day
    Mexican
    Miso Chicken
    Moroccan
    Mushrooms
    Naan
    Nectarine
    Noodles
    Olive Oil
    Parsnips
    Passover
    Pasta
    Pavlova
    Peanut Butter
    Penne
    Peppermint
    Pesto
    Pie
    Pizza
    Plums
    Pluot
    Pork
    Potatoes
    Pots De Creme
    Pudding
    Pumpkin
    Pumpkin Cake
    Quinoa
    Rajma
    Raspberries
    Ratatouille
    Risotto
    Root Beer
    Salad
    Salmon
    Salmon Bowl
    Salsa
    Sauce
    Scallops
    Shortbread
    Short Ribs
    Shrimp
    Side Dish
    Soup
    Soy Sauce Eggs
    Spicy
    Spiralized
    Steak
    Strawberries
    Sugar Free
    Summer
    Sweet
    Sweet Potatoes
    Tacos
    Tart
    Thanksgiving
    Tomatoes
    Turkey
    Valentine's Day
    Vegan
    Veganuary
    Vegetable
    Vegetarian
    Veggie Burger
    Whole30
    Whoopie Pies
    Yams
    Yellow Bell Pepper
    Yu Choy

    RSS Feed

Powered by Create your own unique website with customizable templates.
  • home
  • services
  • bio
  • blog
  • contact
  • PHOTOS (summer)
  • photos (winter)
  • PRESS
  • faq