
I probably drive the BF crazy [Ed. note: like no one else, and for some reason I can't help myself], but I start asking him to choose his birthday cake-dessert about a month before his birthday. Usually give a choice of some great found recipe that includes either apples, caramel, butterscotch or lemon. Love hunting for the perfect recipe, with the goal of getting his eyes to bug out.
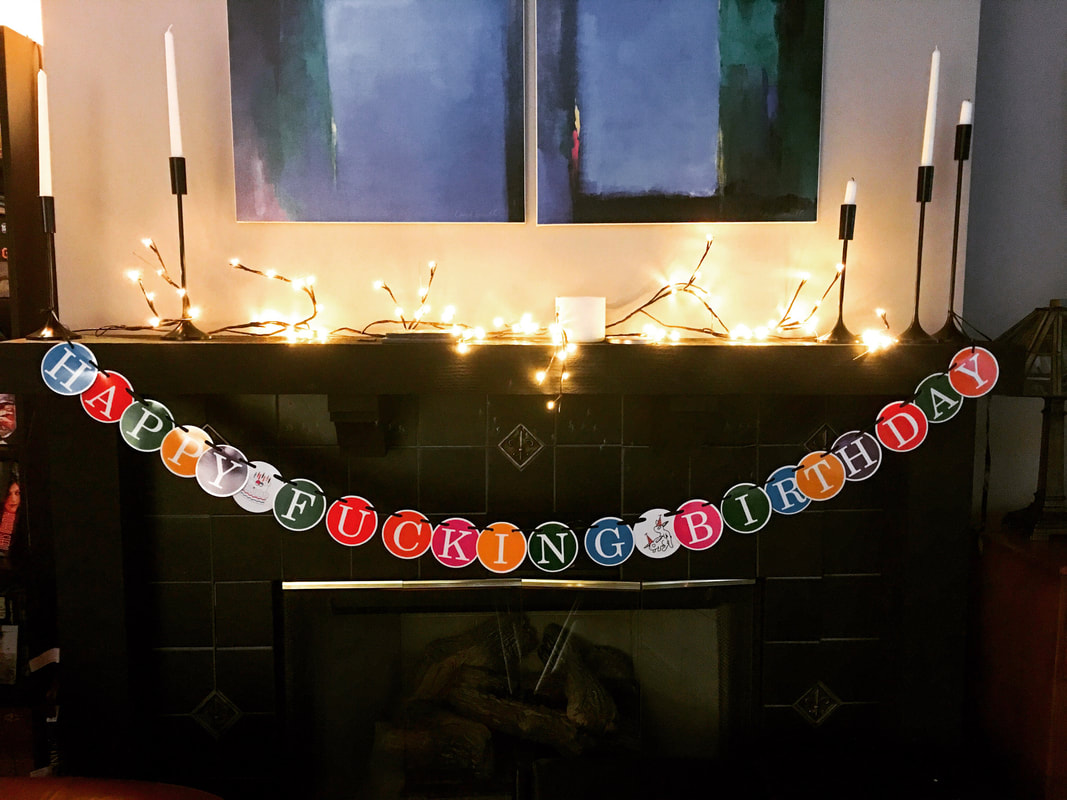
These apple pie bars are a client favorite, and whenever I make them the BF ends up in the kitchen, plaintively staring and asking if there are "extras." [Ed. note: "Oh those were for the clients?"] Needless to say the dessert has become one of his favorites, so I decided to make it for his birthday in lieu of a traditional cake. This was a very special birthday, by the way. [Ed. note: #LOLOLD] One of the great things about this dessert is the shortbread dough is used for both the bottom crust and crumble on top. (Meaning there's no pie crust to roll out.) As the brilliant Ina Garten likes to say, "How easy is that?" To really send it over the top, drizzle the bars with gooey caramel (optional, but recommended). Perfectly okay to eat with your hands, or dish/bowl them up with a scoop of vanilla ice cream. 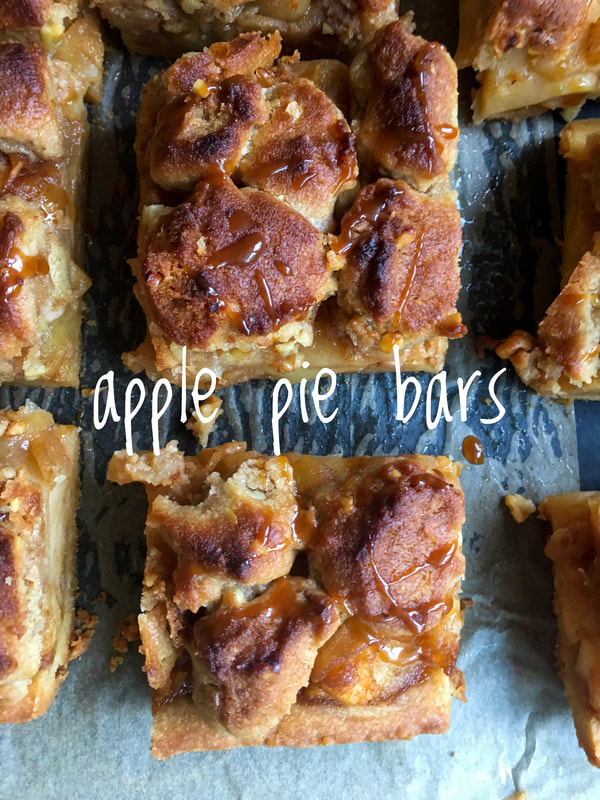
In addition to offering an alternative to your everyday pedestrian cookie, these bars have another perk: they travel well. Simply wrap up the baking pan and cut the bars when you get to your destination. As for optimal portion size, Garten advises, "I cut the bars in fairly large 3 x 3-inch squares if I'm serving them on a plate with a scoop of vanilla ice cream on the side. If I'm serving them on a platter of small petits fours to pick up with your fingers, I'll cut them in smaller bite-size pieces."
NOTES:
PS: Speaking of Thanksgiving, a year ago we were thinking ahead with this whipped cranberry butter (www.moveablefeast.me/blog/whipped-cranberry-butter). Also, Adam Sandler sings! PPS: Another client-approved holiday-time dessert, your friends and family won't know this yummy mini pumpkin cheesecake is sugar-free and low-carb. That is, unless you tell them. So don't. (www.moveablefeast.me/blog/mini-pumpkin-cheesecake-sugar-free-and-low-carb) 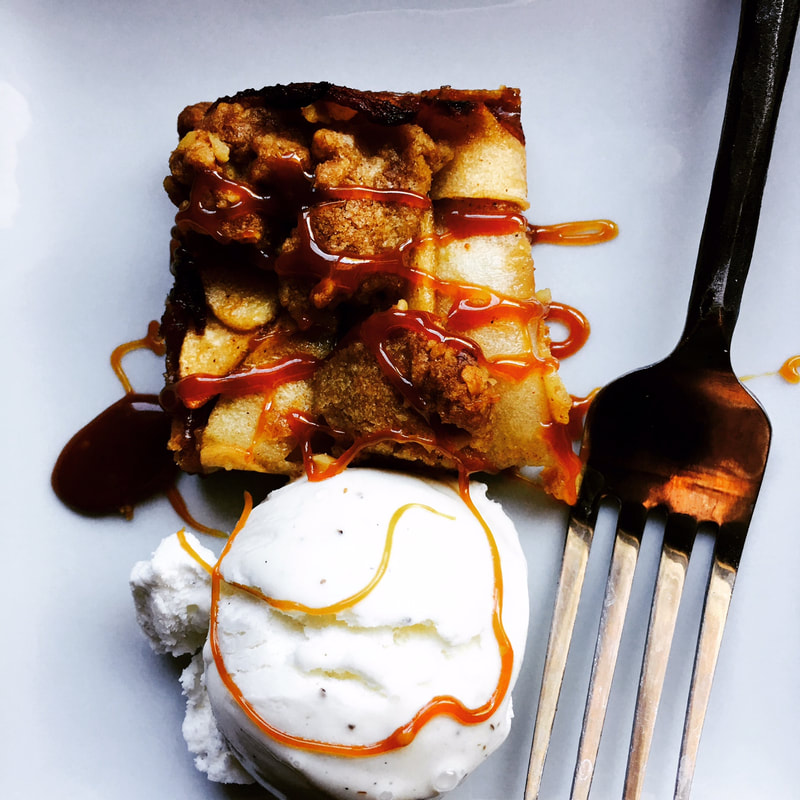
Adapted from: Ina Garten, Cooking For Jeffrey
Number of Servings: Makes one 9 x 13-inch pan Ingredients Crust
Directions Crust
6 Comments
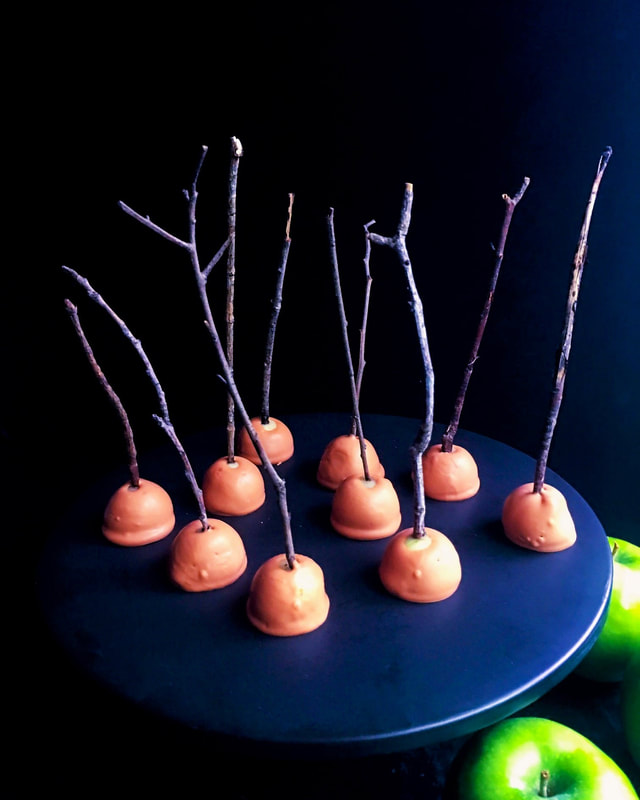
Happy Halloween. 
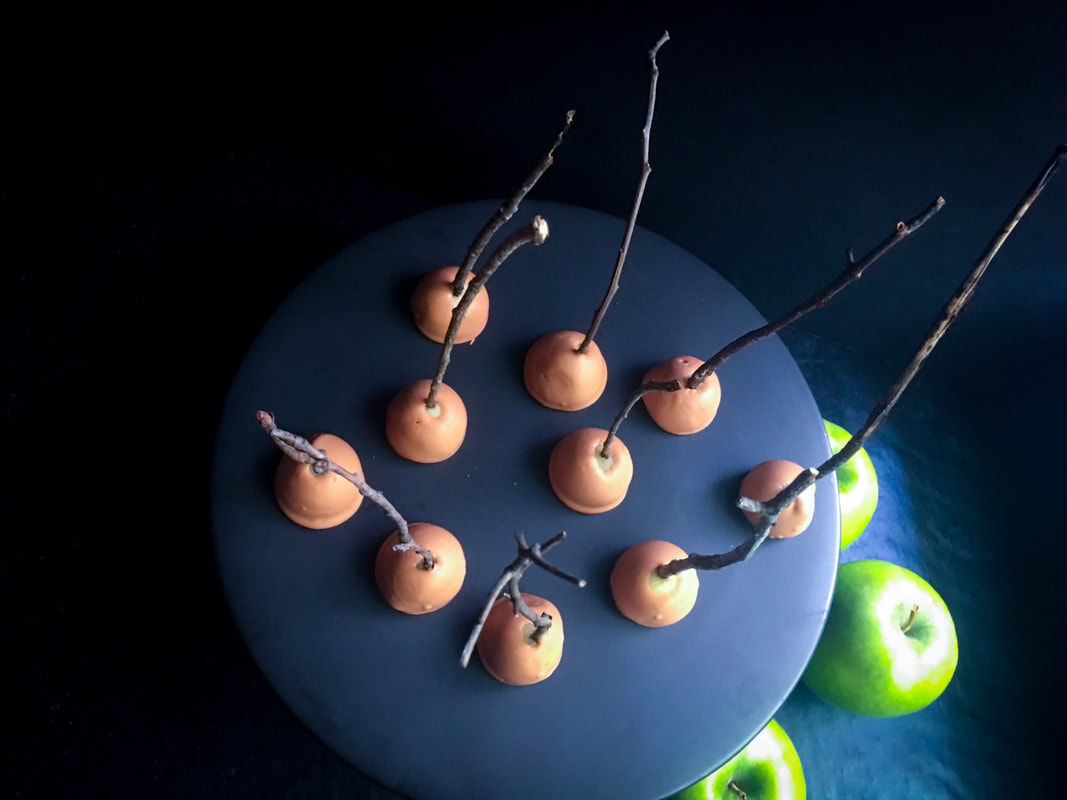
Adapted from: I Am Baker (blog)
Number of servings: Makes approximately 20-24 mini apples Ingredients
Directions
So. We missed a week. Let me explain.
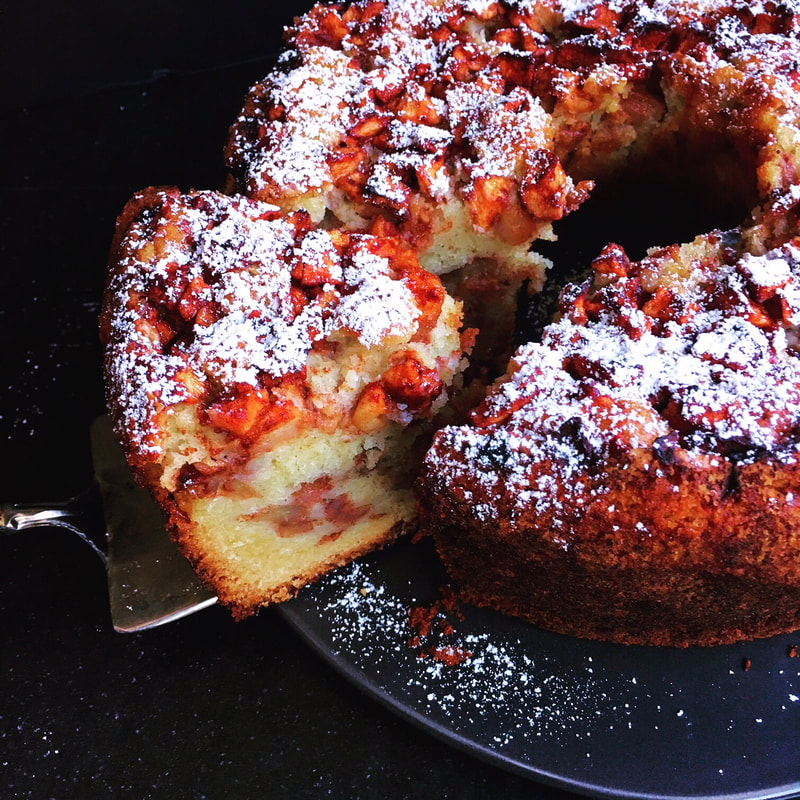
If there is one thing that can throw a serious monkey wrench into a personal-chef business, it's a broken refrigerator. Three weeks of no working fridge in the house, so to the rescue come three friends and their three fridges. (You know who you are and I love you dearly.) The BF and I are driving all over town to these different locations, then out to fulfill all the client orders. Extra time, extra hassle, and then of course problems with new-fridge delivery and oy... Then, a bonus: jury duty. [Ed. note: #@%$#^&*] I was called to attend, but luckily was dismissed on the second day. A side note: in 1993 I served for four weeks during procedures that were deciding whether or not a serial killer was competent enough to stand trial. We determined that he was. So, with all apologies, am late in getting into the Rosh Hashanah spirit. Even though it started on Sunday and ends today, Tuesday, it's not too late to make this lovely apple cake. This will work throughout the rest of fall and winter, and really, the last three weeks have had a "better late than never" kind of mantra. Many years ago I made this for my Momala, and it was an instant favorite (and she is a woman who knows her coffee cakes). The BF enjoyed it for his birthday last year, and of course it was brought out again for this Rosh Hashanah. It doesn't skimp on the apples, the entire house smells like apples, cinnamon, and fall. The BF and I want to wish all our Jewish family and friends a healthy and happy Shana Tova! 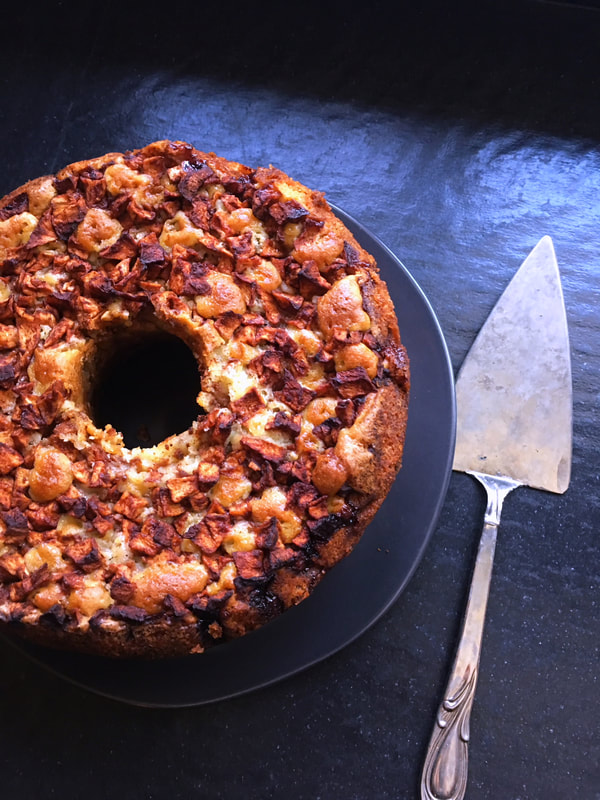
Adapted from: Smitten Kitchen
Number of servings: 12-16 Ingredients For the apples
Directions
DO AHEAD: This cake is awesome on the first day but absolutely glorious and pudding-like on the days that follow, so feel free to get an early start on it. I keep it at room temperature covered with foil. * NOTE: The apples love to hide uncooked pockets of batter, especially near the top. Make sure your testing skewer or toothpick goes not just all the way down to the bottom, but does a shallow dip below the top layer of apples, and make sure it comes out batter-free. Should your cake be browning too fast, before the center is baked through, cover it with foil for all but the last few minutes, while in the oven. 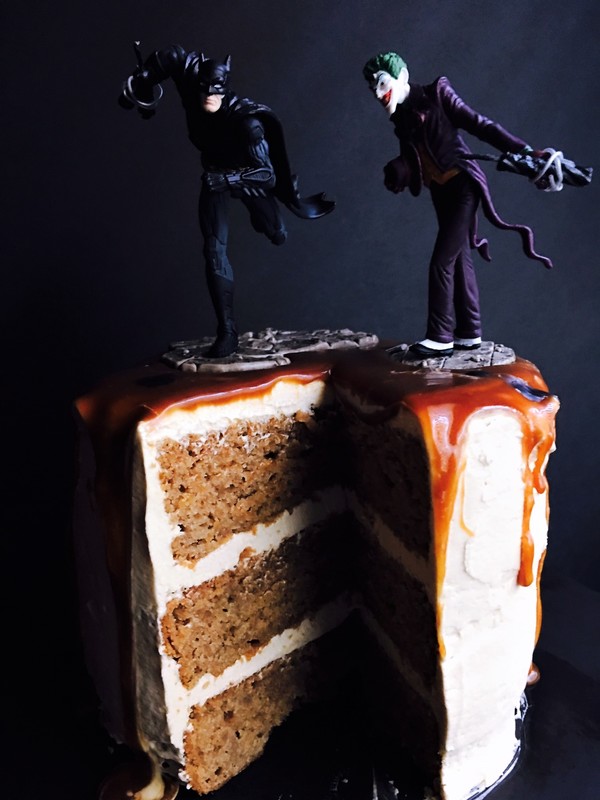
Birthday cakes. Everyone from 1-100 (and up!) should get a homemade one on their special day, and my BF is no exception. I always try to top the previous year's dessert, and for him it usually involves apples and/or caramel of some kind.
This year is no different, and oy this is a delicious cake. Adapted from my favorite baker boys of Baked Explorations, this is pure fall: moist, dense, lightly spiced, covered in caramel buttercream, and then drizzled with more caramel. Oh, did I mention that the BF is a Batman fan? [Ed. note: You ever dance with the devil in the pale moonlight?] 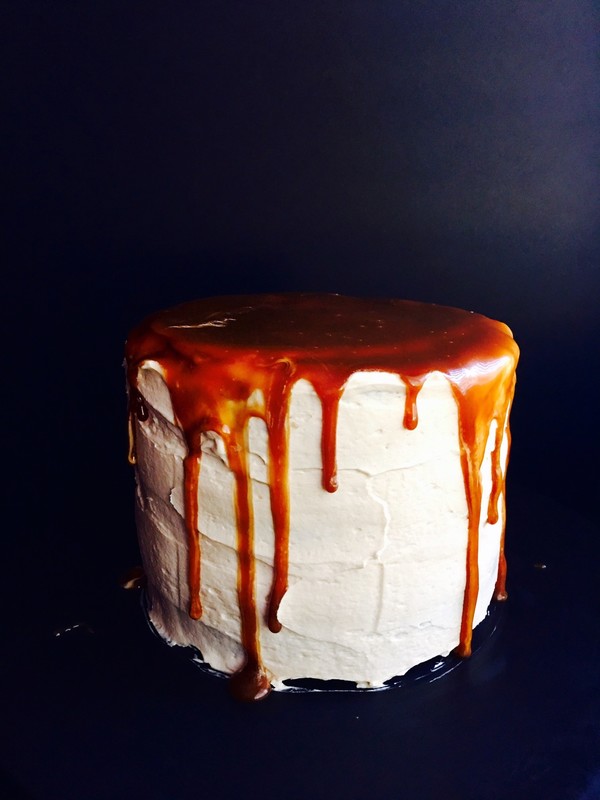
The recipe below is for an 8-inch 3-layer cake, but for my small family I make the smallest amount possible (in that case a 6-inch 3-layer cake, which is exactly one half of the recipe). I use Williams Sonoma salted caramel that was on hand, and made my own applesauce from my own recipe (I prefer the addition of boiled apple cider for an intense cider flavor), but feel free to save time and use store bought applesauce and/or caramel. No shame in that.
The list of ingredients may seem daunting, and yes there are many steps, but fear not, it is actually not as daunting as it seems. It's a cake you'll want in your fall rotation, perfect for a loved one whose birthday falls in the October-November time frame. 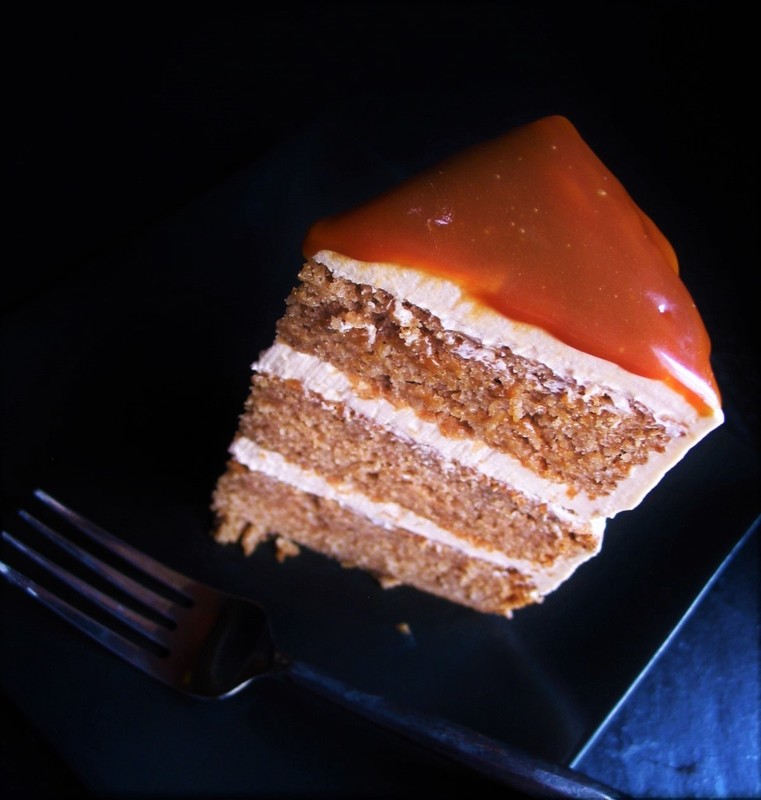
Adapted from: Baked Explorations by Matt Lewis & Renato Poliafito
Number of servings: makes one 8-inch, 3-layer cake Ingredients Apple Cake
Caramel Buttercream
Directions Applesauce
Apple Cake
Caramel Buttercream
Assembly
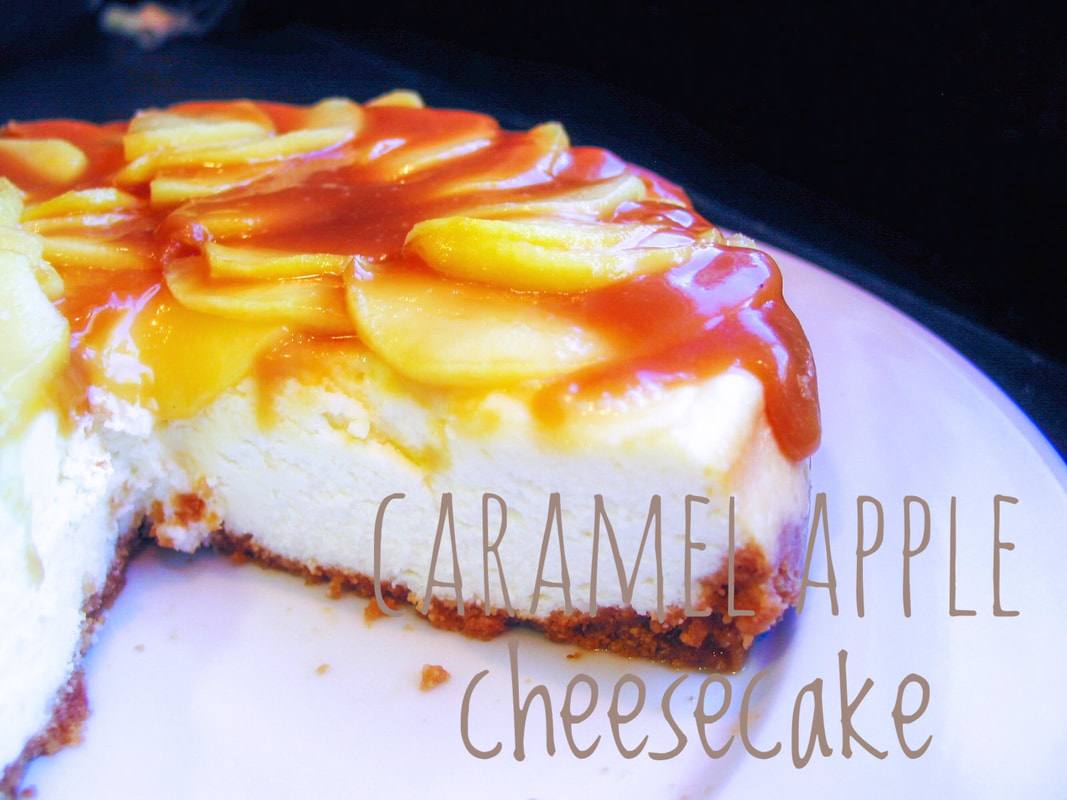
November, 1995. It was my BF's birthday (he was not the BF at that time), and I remember making this first-ever attempt at baking a cheesecake. [Ed. note: To quote Private Hudson from Aliens, "Game over, man. Game over."]
Yes. This is the one. Try not to stick your fork through the screen–I dare you. This delicious caramel bomb made repeat appearances that Thanksgiving, Chanukah and Christmas, and at different times every year after that. My mamala begged me to make it every year for the holidays, and this year I'm making it for a client's Halloween party. The body of the cheesecake is incredibly creamy (not dense), with a touch of orange juice and a good amount of sour cream. There is a perfect crust-to-filling ratio, and the caramel apple topping is to die for (the caramel stays soft and does not stick to your teeth and harden). Keep in mind, this makes a large cheesecake (10 inches diameter). Perfect for any get together, my favorite is to offer this at Thanksgiving. Funny story/cautionary tale: two years ago I made this for my BF again and cut the ingredients in half to make a smaller 8-inch cake (was also going to give half to a neighbor). Just as I was presenting the entire cake to him on a platter, I dropped it. The platter broke, little shards of glass flaked all over and into the cheesecake–unsalvageable. We stared at the floor for the longest time. Curse words seethed through clenched teeth. Tears were shed. I will not lie, this is not a 30-minute dessert. There is preparation and time involved. (Really, you have to start making this the day before you plan on serving it.) However, the process is very straightforward and the end result is so worth the effort. Just be careful with those glass platters! 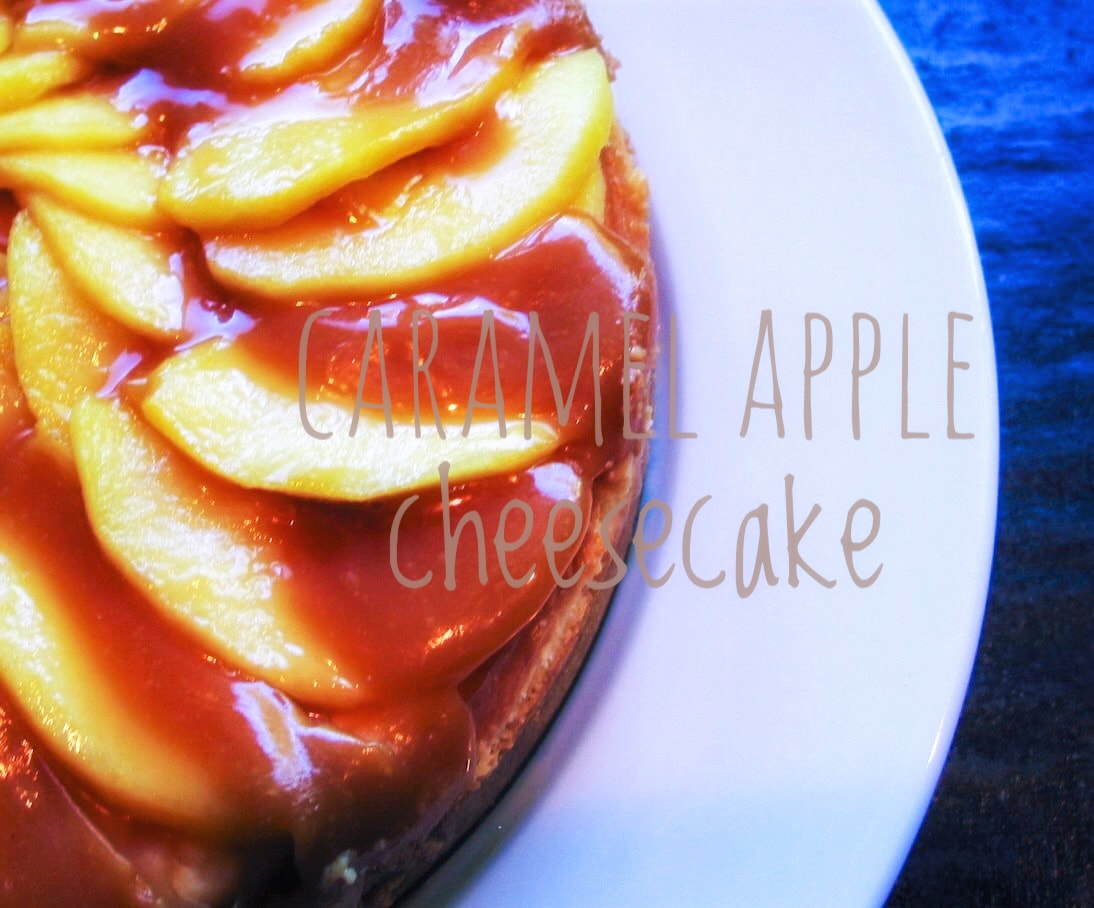
Adapted from: Bon Appetit (September 1995)
Number of servings: 16 Ingredients Crust
Directions Crust
Filling
Topping
|
AuthorI'm Jacquie, personal chef & recipe developer in the beautiful Pacific Northwest. Lover of books, bourbon, chocolate and movies. Archives
May 2020
Categories
All
|
 RSS Feed
