Dinner guests who visit the house often have some form of dietary restriction: carb-, gluten-, grain-, or sugar-free, vegetarian, vegan, flextarian, only white-meat chicken-eater, allergies (shellfish, nuts, dairy), etc. You know what I'm talking about. I understand. Am a selective eater myself. [Ed. note: Run away run away run away do not comment I want to live...]
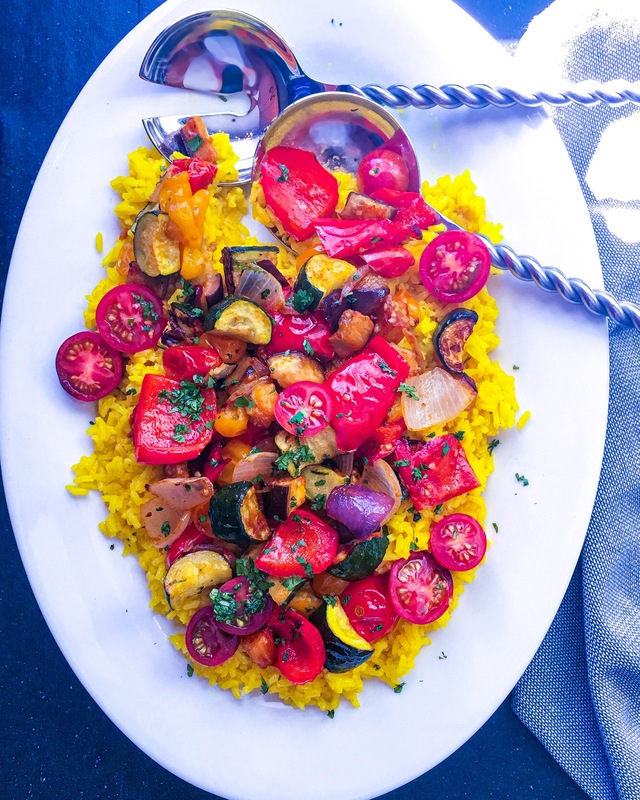
However, this summer has been about streamlining, making things as easy as possible. This dinner is the perfect solution. Have to give props to the BF, who suggested that kebabs would be a good accompaniment. [Ed. note: I can't help myself. I like good food, ok?] This is especially effective for a dinner-party menu. Serve your favorite hummus for appetizers, follow up with two entrees: Roasted Harissa Spiced Ratatouille and Chicken Kebabs. The ratatouille will satiate the vegan guest and be a nice side dish for the carnivores. FYI, this dish is gluten free, grain free, Paleo and vegan. 
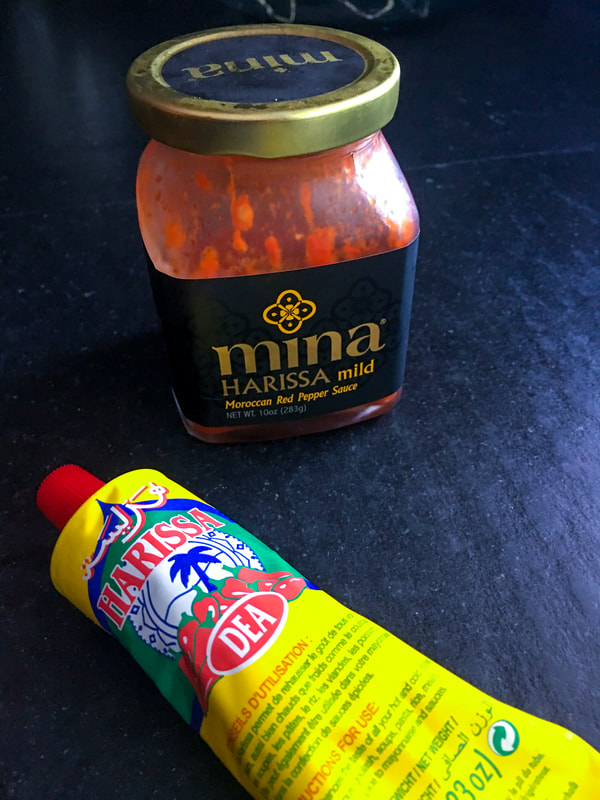
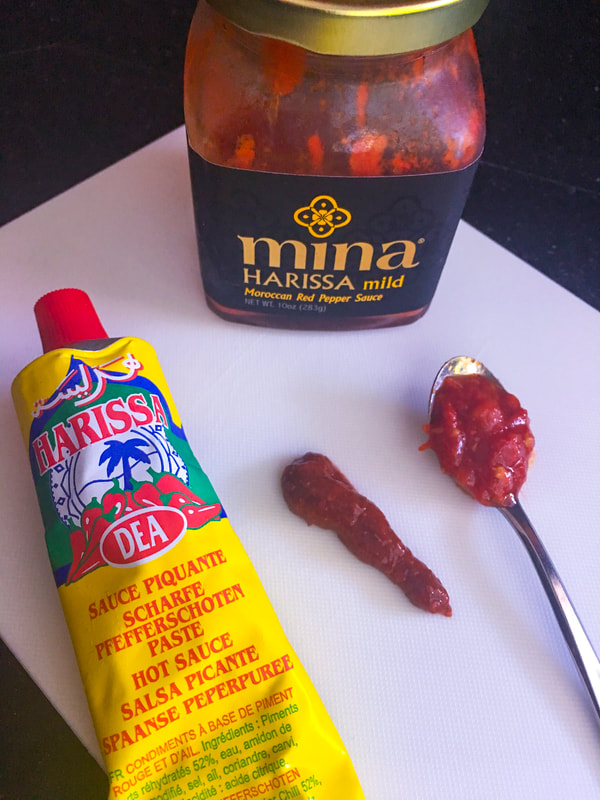
Have been on a harissa kick lately, adding it to shrimp skewers, lamb patties, and roasted Japanese eggplant. Harissa is a spicy aromatic North African chili paste made out of hot chili peppers (which are often smoked), roasted red bell peppers, tomatoes, garlic, olive oil and spices like cumin, coriander, caraway and mint. It comes in sauce form or paste, as you can see in photo below. I used a mild harissa sauce for this dish, but next time might opt for the paste, which is spicier and more concentrated.
Adapted from: Gourmande in the Kitchen
Number of servings: 4-6 Ingredients
Directions

2 Comments
So this week marked the official return to school and, sniff, a signal that summer is coughing up its last gasp.
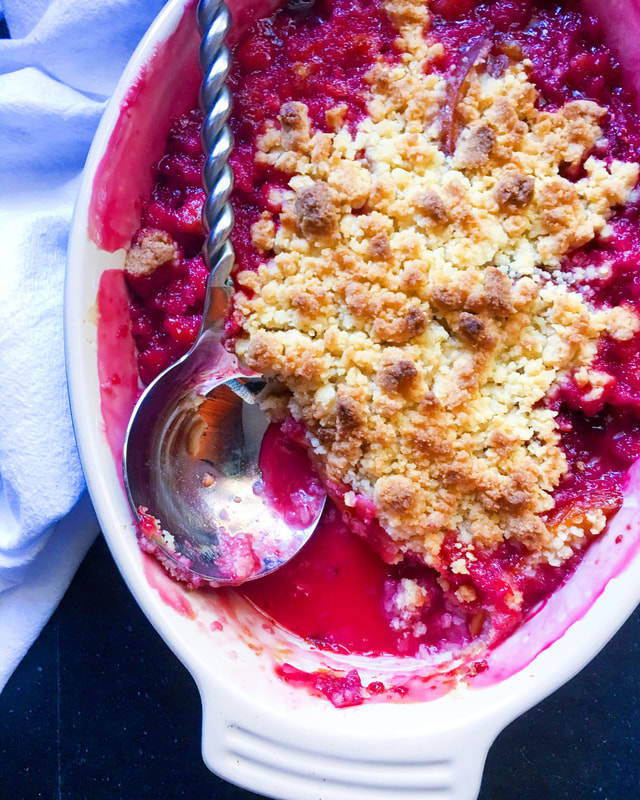
Time for dessert! This sweet-tart, vibrantly colored crumble was a last-minute request for a recent dinner party. Pressed to come up with something quickly, I tried to steer away from more complicated desserts (i.e., no pie crusts to roll out, chill, crimp, blind bake, etc.), or even complicated fruits to steam, peel, or pit (cherries would have made this arduous). The nectarine, plum and raspberry triumvirate immensely simplified the process. No food processor or pastry cutter required. Prior to baking, it literally took ten minutes to prepare. [Ed. note: Damn, woman.] 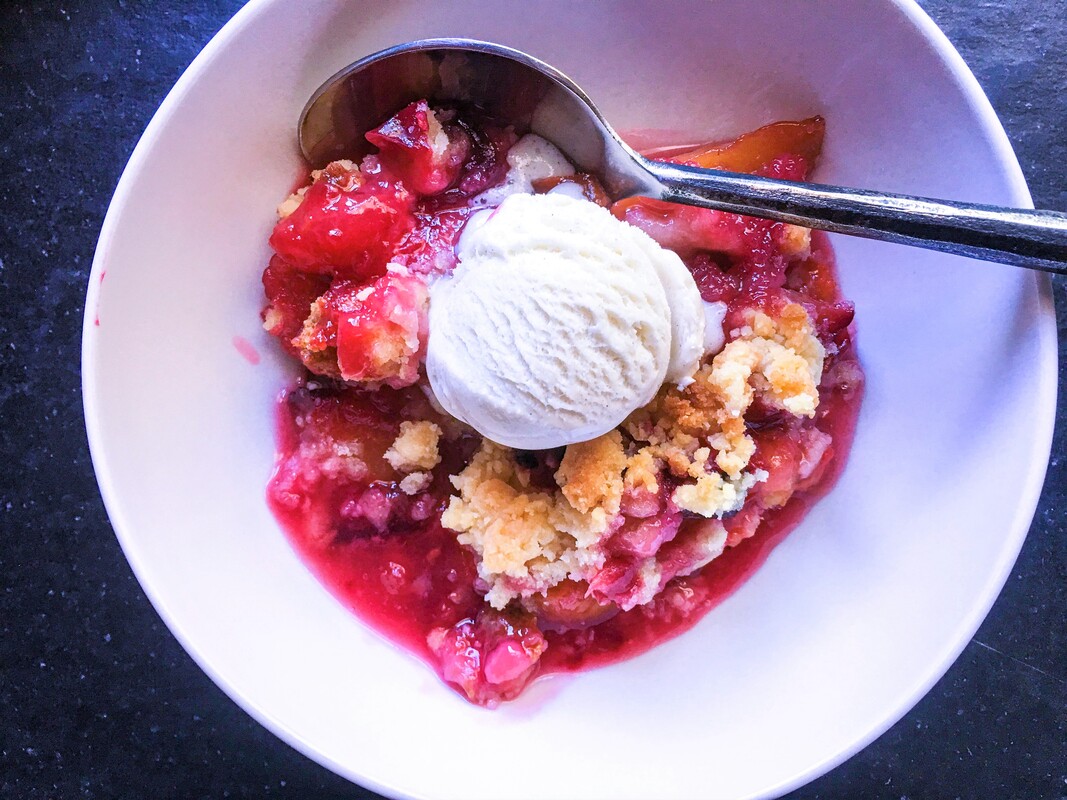
I decided on a crumble as opposed to a streusel topping [Ed. note: Am so triggered by this I do not know what I should be triggered by], because I felt this particular fruit combo would have been overpowered by a spicy oatmeal and nut topping. Love streusel for apples, pears, blackberries and even blueberries, but this fruit combo needed something simpler, more delicate.
What is the difference between a crumble, crisp and cobbler? A crumble has a shortbread cookie-like topping. A crisp's topping is streusel based, typically made with spiced oatmeal and nuts, and a cobbler has biscuit dough dolloped on top. Don't get me started on the Betty, pandowdy, or buckles, grunts and slumps! PS: A year ago we broke out the Spiralizer for some healthy chicken parmesan with veggie noodles (www.moveablefeast.me/blog/healthy-chicken-parmesan-with-veggie-noodles). PPS: Channeling the late Anthony Bourdain, things got a little NSFW with this sinful mac and cheese (www.moveablefeast.me/blog/anthony-bourdains-macaroni-and-cheese). 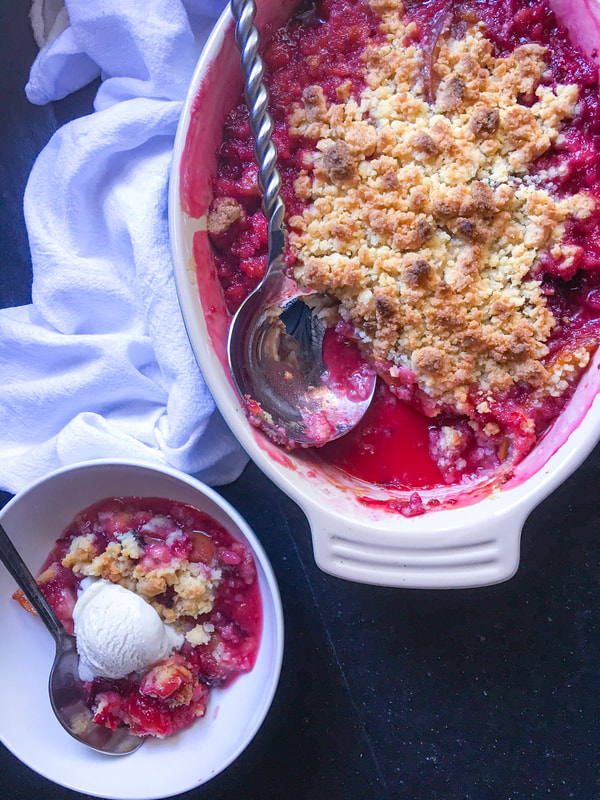
Crumble topping inspired by Smitten Kitchen
Number of servings: 6-8 Ingredients Fruit Filling
Directions Crumble Topping
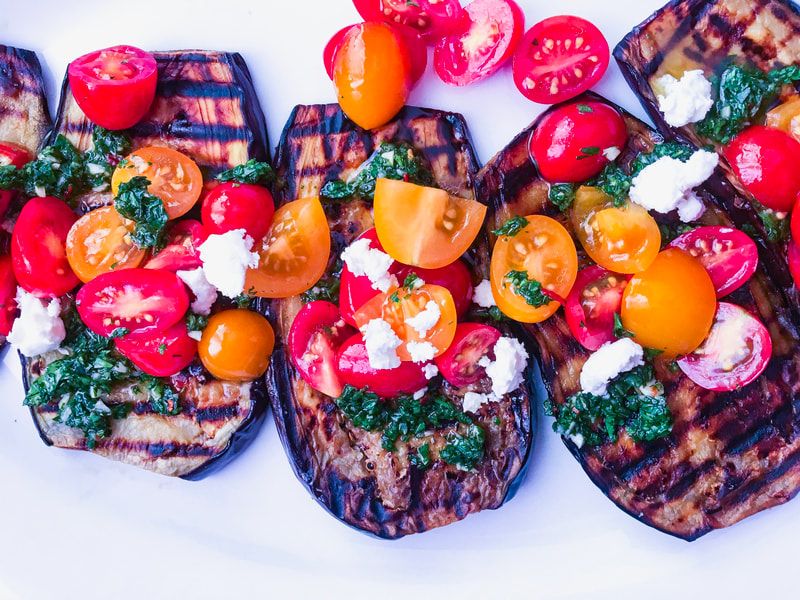
Give me nothing but eggplants and tomatoes until summer ends! This meal embodies everything I love about summer produce. Minimal prep and cooking, with exploding flavors. The BF loved it with saffron rice as a complimentary side dish.
Today, we honor both our mom's birthdays (his was the 3rd, mine the 4th), and this weekend we celebrate Marlowe's recovery from cancer surgery. Life is good. 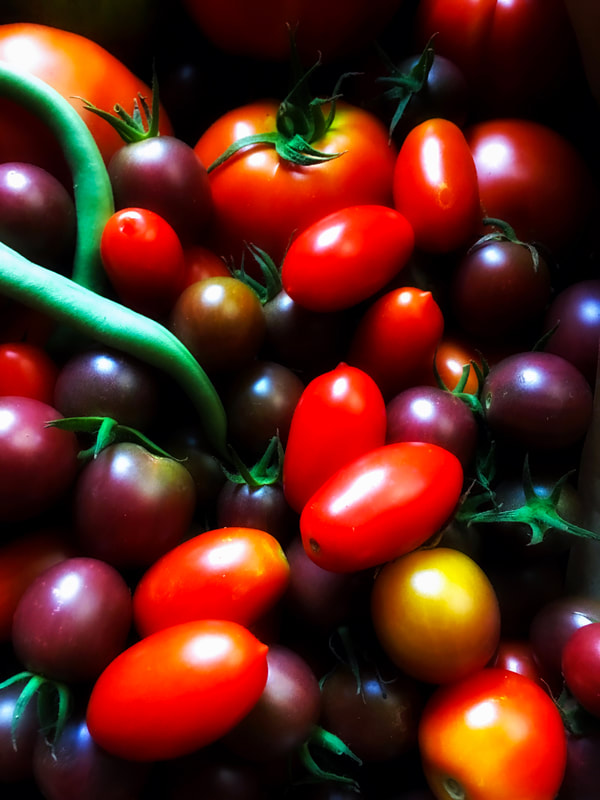
Adapted from: Feasting at Home
Number of Servings: 2-3 Ingredients Gremolata (Zesty Italian Herb Sauce)
Directions Gremolata (Zesty Italian Herb Sauce)
Eggplant
NOTES:


She's back.
All apologies. It's been a while. There's a great excuse, though.
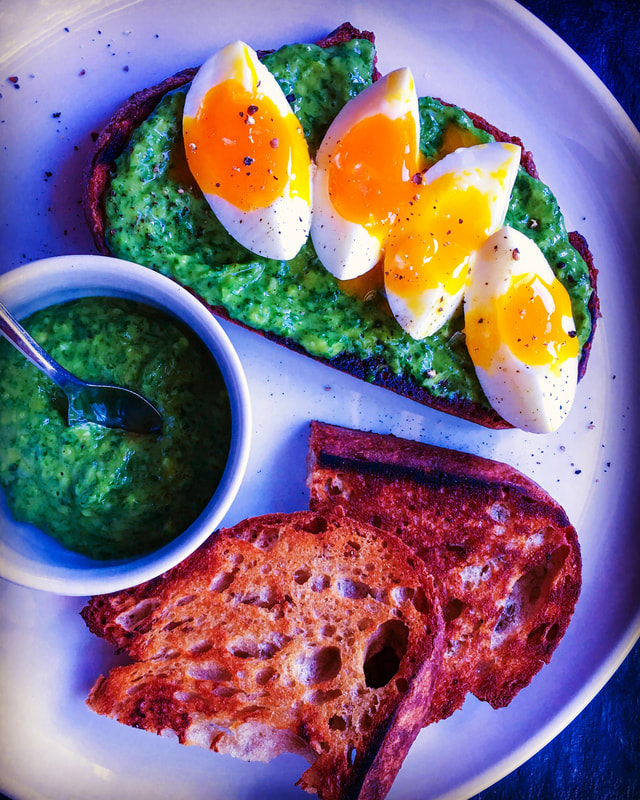
I traveled with my sister Julie to Bangkok, Thailand for two weeks to help my teacher/acting-coach big brother John move back to the States. Arduously busy, yes (this was not your typical move), and somewhat bittersweet for him, as he had lived and worked there for twenty years. While there, my sister and I lived off the street food along the daily one-mile walk from our hotel to my brother's apartment. Breakfast consisted of a single, perfectly delectable marinated pork-strip skewer. A late lunch or dinner was a shared salad-in-a-bag, or fresh steamed corn, stripped off the cob to eat easily while walking. Such a beautiful country, I will certainly return someday with the BF. [Ed. note: I shall hold you to this.] Back home, I have been craving any food that reminds me of the Thai street food: fresh, bright, flavorful and healthy. This herby green avocado sauce is super easy to prepare and literally works with anything. To wit, use it as:
Adapted from: Alexandra's Kitchen Number of servings: ¾ cup Ingredients
Directions
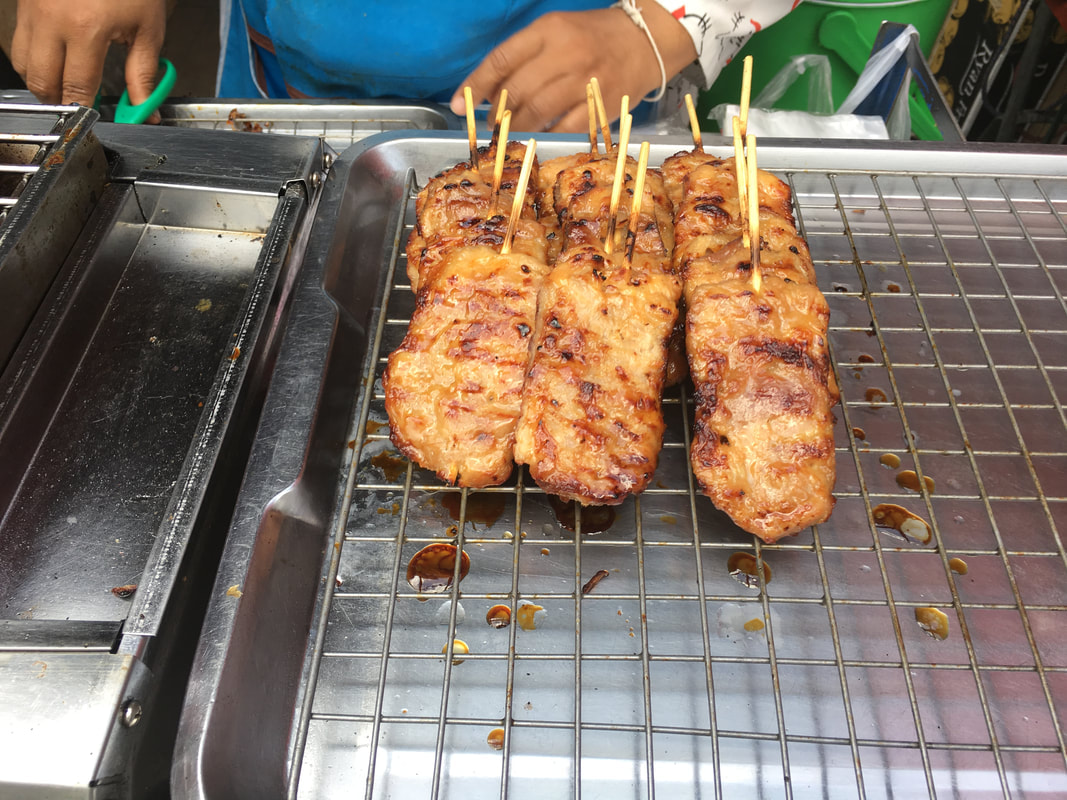
Grilled pork skewers. Breakfast of champions.
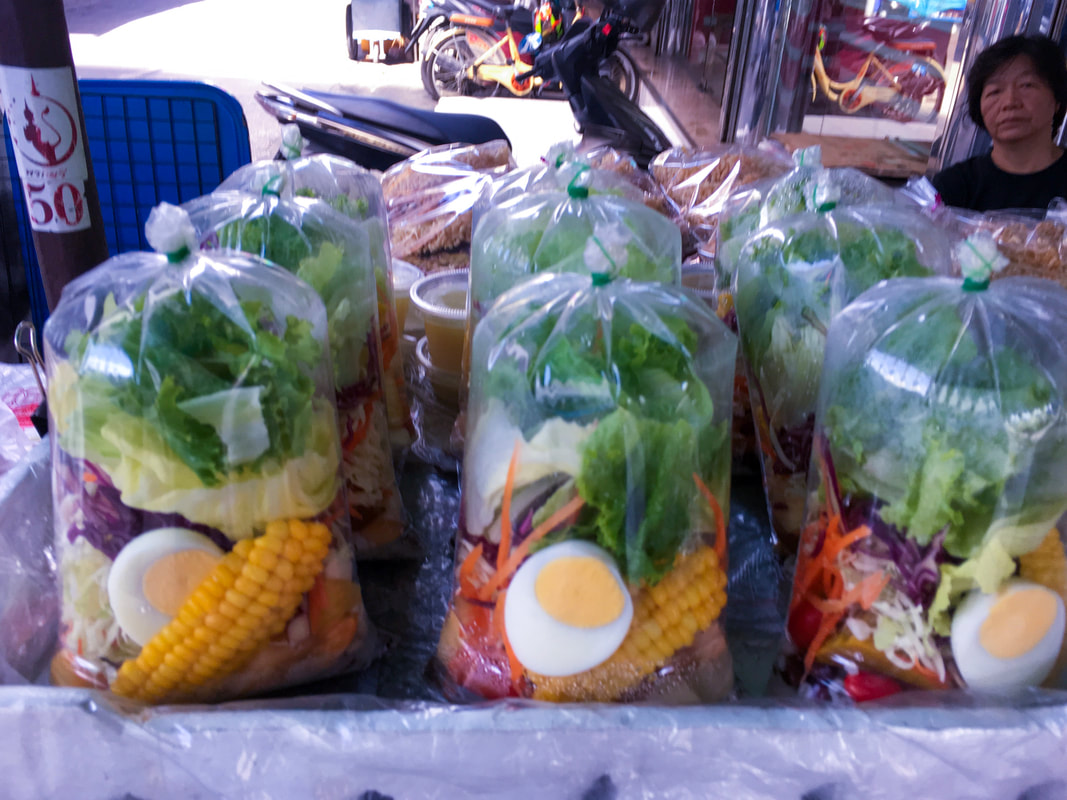
Fresh salad in a bag. Lunch...sometimes dinner.
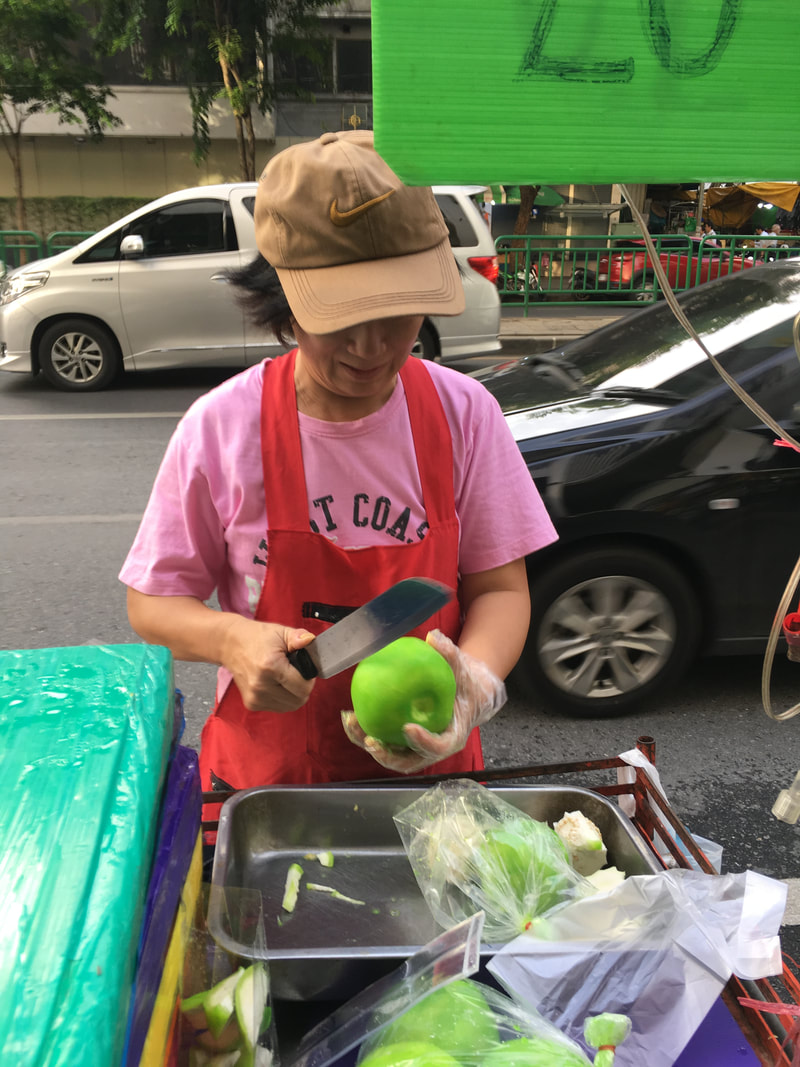
Fresh guava slices on Silom Road (the best Lebanese food I've ever had was from the Silom district).

My Darling restaurant on Khao San Road.

Thai BBQ with my brother John and sisters, Julie, Tai, Pantene and Momay.

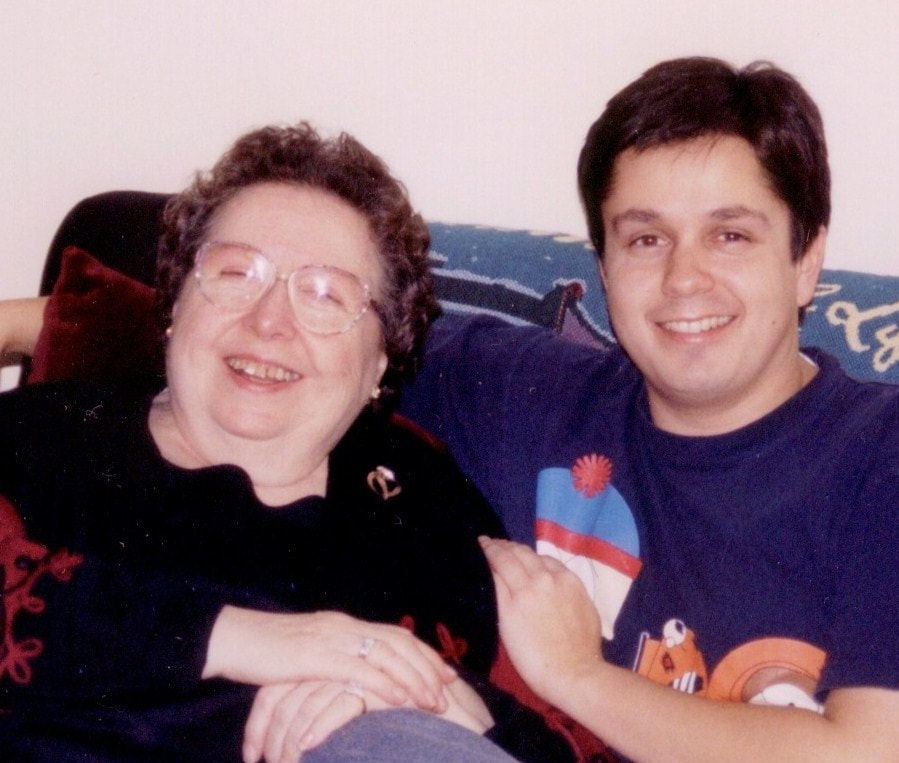
Missed these two! Thank you for holding down the fort!
"More people will come if they think we have punch and pie!"
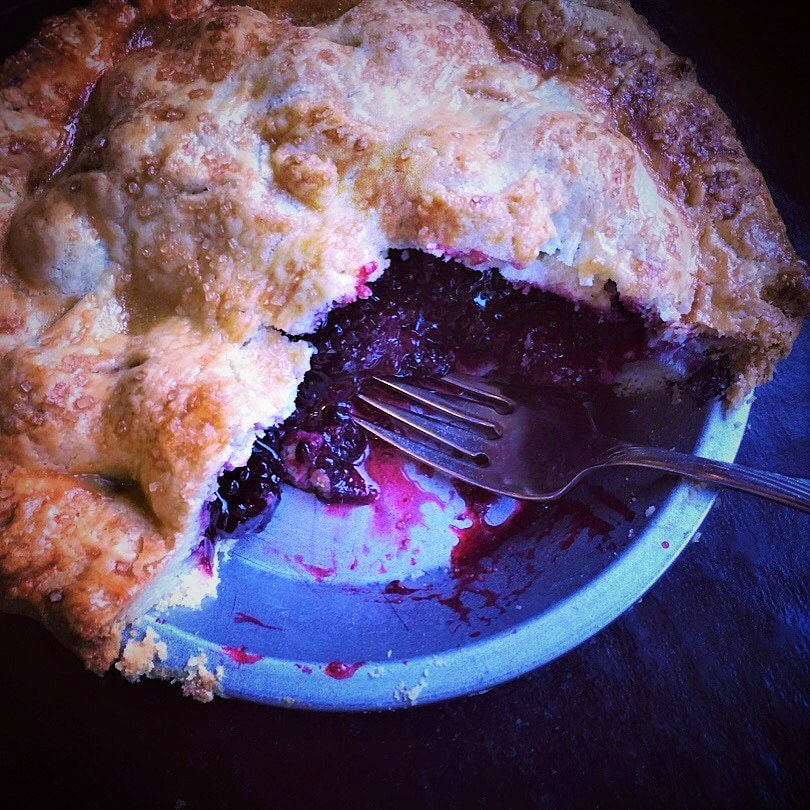
~ Eric Theodore Cartman Twenty-one years ago, four crudely animated foul-mouthed boys began their seemingly endless journey through grade school in the quaint, cozy mountain town of South Park. Through alien abductions, soul-singing chefs, cannabis-drenched towels, and commentary covering all possible levels of political incorrectness, one thing has been perpetually certain: Eric Cartman loves pie. Loves all desserts, actually. Growing up, my siblings and I would ask my Mom, "Can we have dessert?" Her reply would often be, "Yes, you can have a piece of fruit." As if channeling Cartman, we would all bellow in unison, "But Mom, fruit is not a dessert." Honestly, in this form, it really is. 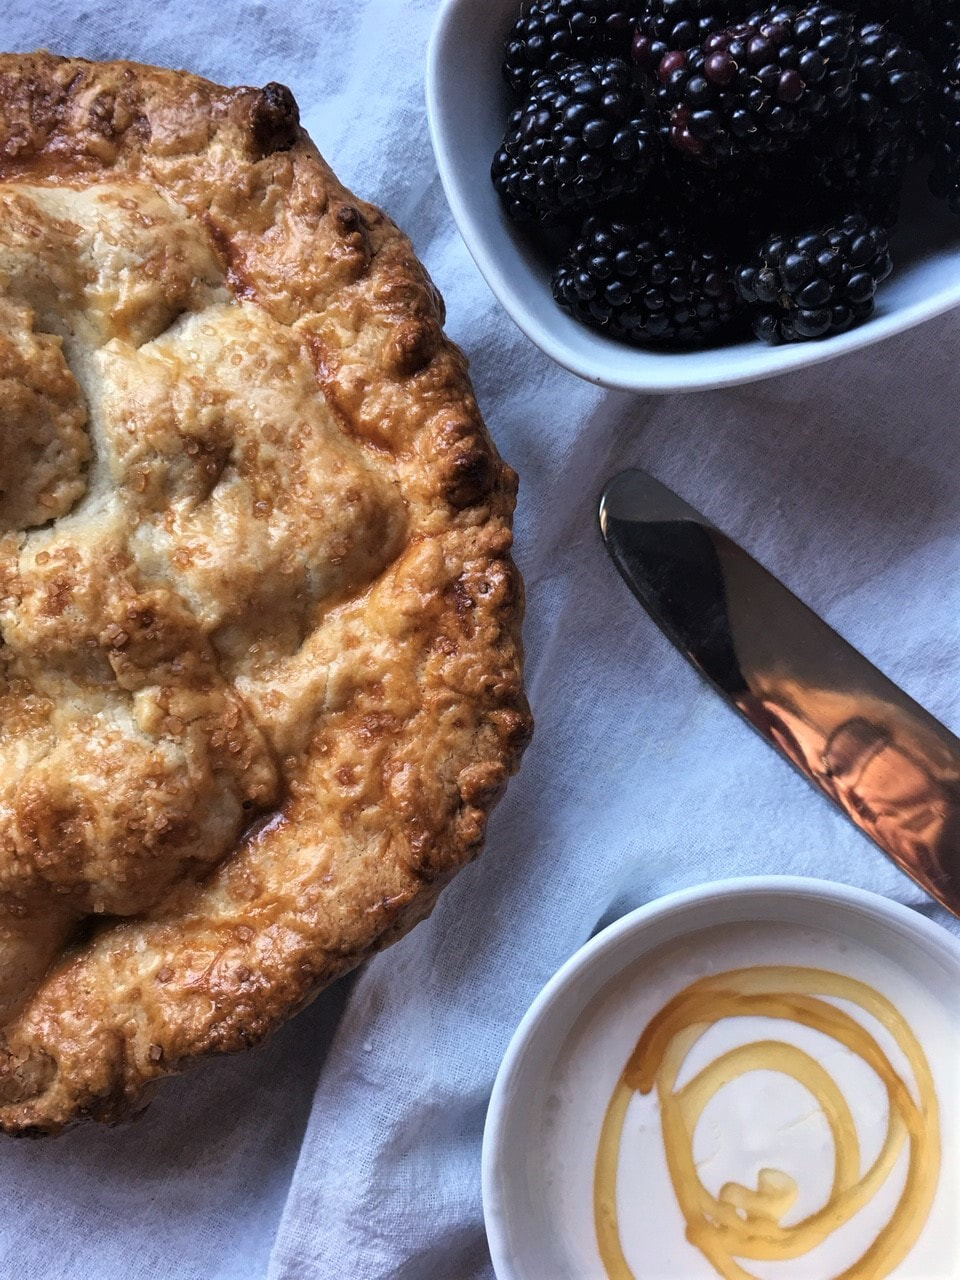
Whenever I bake a pie, especially a blackberry pie, I recall the mother of my best childhood friend (Mrs. C). A master pie maker. She taught me how to make a pie from scratch.
We picked wild blackberries from her daughter's back yard. The berries were so plump, we filled the huge plastic bucket within 15 minutes. Of all the priceless baking tips Mrs. C gave, I'm most thankful for her method of thickening a pie filling with tapioca flour (a.k.a. tapioca starch) instead of cornstarch or all-purpose flour. Tapioca flour makes the filling bright and clear, whereas cornstarch or A.P. flour can give the filling a cloudy look and chalky taste. This recipe is adapted from Julia Frey's blog Vikalinka. Besides some general streamlining, my changes include adding a bit of cinnamon to the filling, upping the amount of blackberries, and subbing tapioca flour in place of A.P. flour. I love her idea of topping the pie with honeyed creme fraiche (a favorite that really complements the blackberries well). One note, if you're lucky enough to have wild blackberries in your backyard, use them (and I'm envious). If not, store bought will do just fine. If you're short on time, you can also use your favorite store-bought pie crust. Just don't forget the honeyed creme fraiche. More people will come if they think you have honeyed creme fraiche. 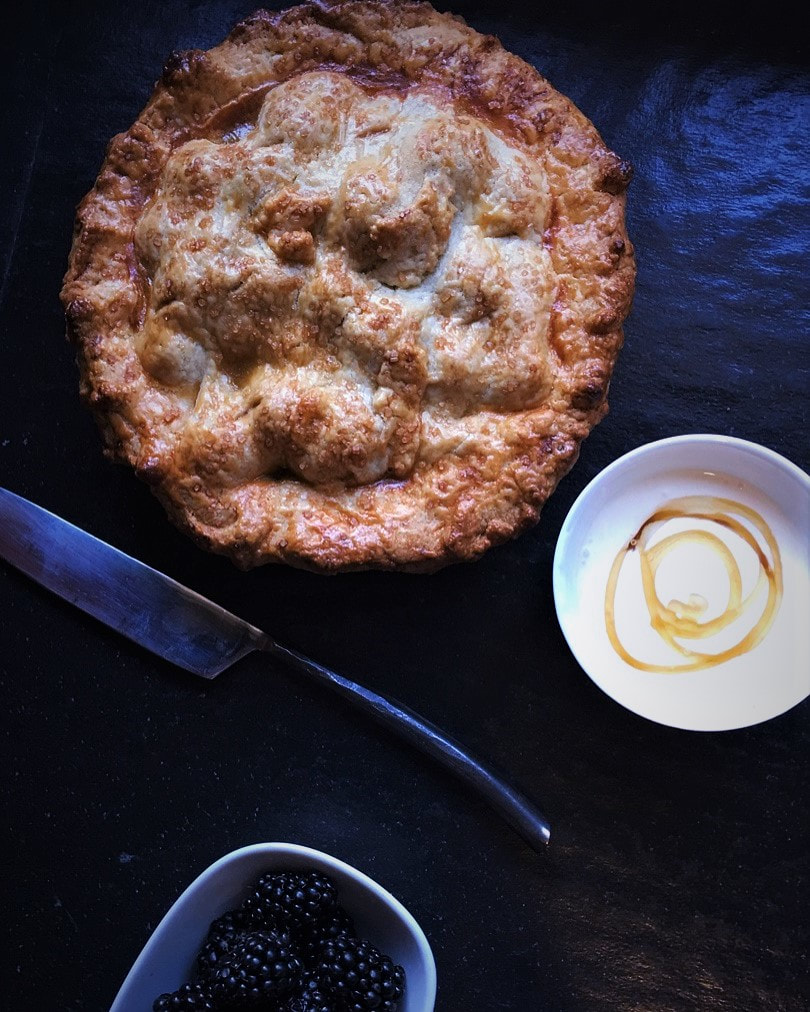
Adapted from: Vikalinka
Number of servings; 8 Ingredients Blackberry Filling
Directions Blackberry Filling
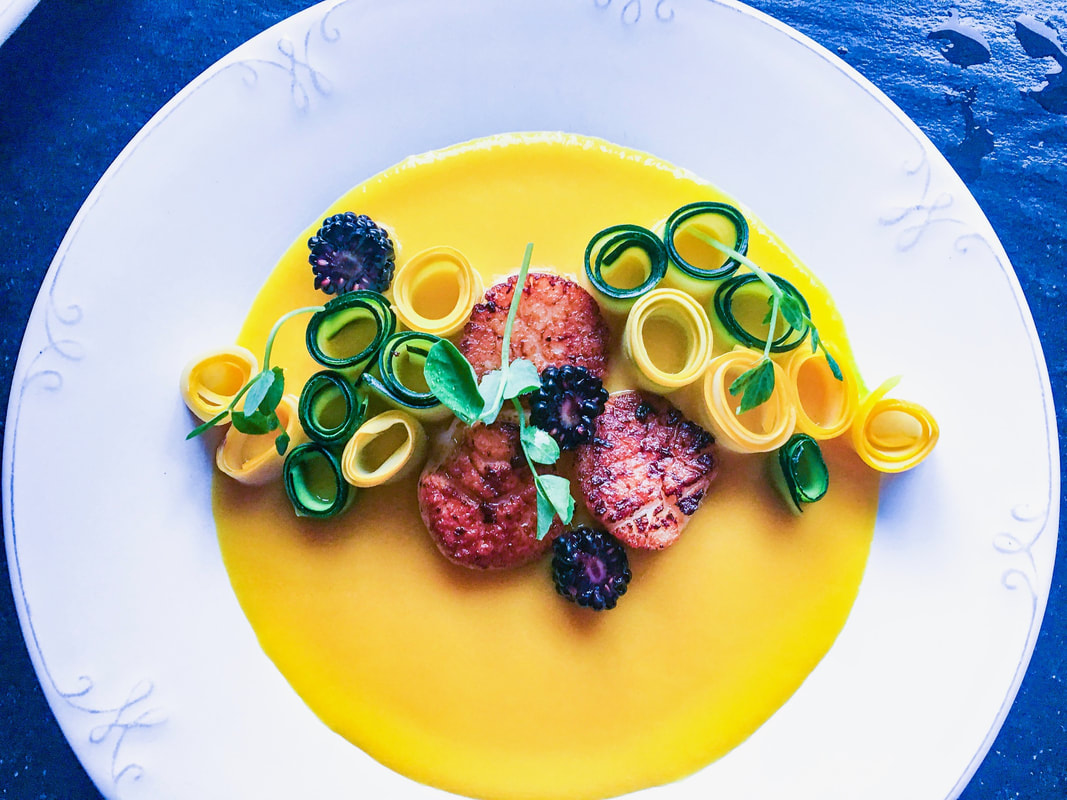
What is coulis? A coulis is a sauce made from puréed and strained vegetables or fruits. I personally prefer a very smooth sauce, so I strain it after blending. You don't need to do this. Notice the top photo with scallops, I strained that sauce. The bottom photo with halibut I did not. Notice the difference in texture. It's delicious either way.
Around this time of year many of my friends have an abundance of bell peppers in their gardens. So much so, they're giving them away as fast as they can. This Moveable-Feast-original yellow bell pepper coulis is one of my favorite dishes to make because it's easy to prepare, healthy (fat free) and very versatile. I can make a big batch at the beginning of the week (it keeps well in the fridge for days) and use it for three or four different meals, throughout. The sauce works well as a base for chicken, shrimp, scallops, halibut, any fish, pork, black bean cakes, mushroom meatballs, crispy tofu, anything. You can even serve it as soup. Made the halibut meal (below) for the BF and he loved it. Made the scallop meal (above) as a special dinner for a friend celebrating her recent Life Coach certification, and her mother. Whether the meal was for two (former) or four (latter), the process was simple. The zucchini roses might seem a bit labor intensive, but honestly they're not, and they add a distinctive flair to the dish. Enjoy this one while the bell peppers are still in season! 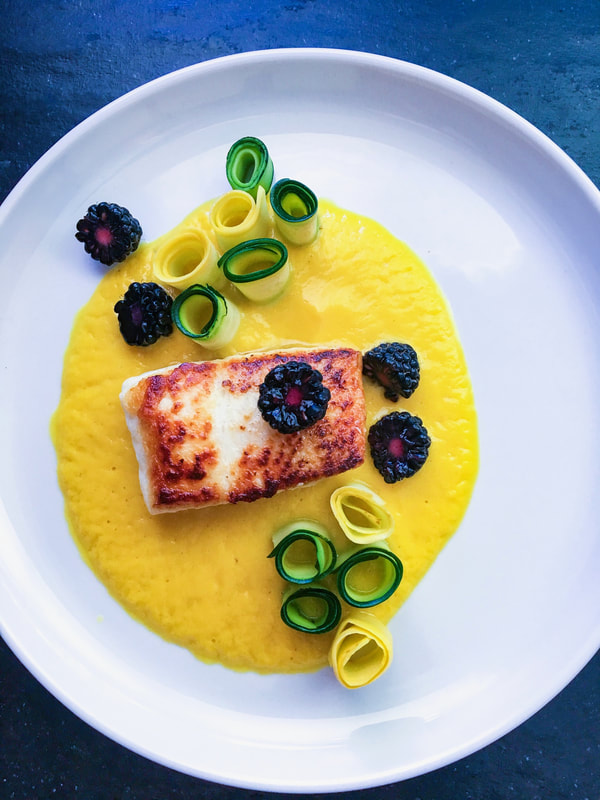
Number of servings: 4
Ingredients Yellow Bell Pepper Coulis
Directions Yellow Bell Pepper Coulis
NOTE: I have cooked a batch of Trader Joe's frozen scallops (defrosted), and fresh scallops from my favorite excellent local fish monger, and everyone liked Trader Joe's the best. 
"Life is short. Take the trip. Buy the shoes. Eat the cake."
- Unknown Today is mamala's birthday, and as with my BF-mom's birthday, we gather here today to celebrate their collective sweet tooth. Mamala passionately loved root beer floats and "black cows" (made with Coke instead of root beer), quintessential summer treats. Are they as nostalgic for you as they are for me? If so, what was your first memory of them? (Feel free to comment below!) Even though I was lucky enough to grow up with an A&W in my hometown (it's still there), growing up we didn't frequent it too often. Mamala made her own floats at home, and oh how I loved watching her make them. One scoop of vanilla ice cream in a frosted glass. Root beer poured just so. The carbonation would foam up instantly, but never overflowed. She had the touch. I also remember she used a long, slender soda spoon to give it a slight stir. I made it home for almost all of her birthdays, but one year it wasn't possible and the BF and I Fed Exed these root beer float cupcakes (frosting in a separate container, ice cream not included) to my sister and mom. They were delighted, and a little surprised, to discover what was in the box. 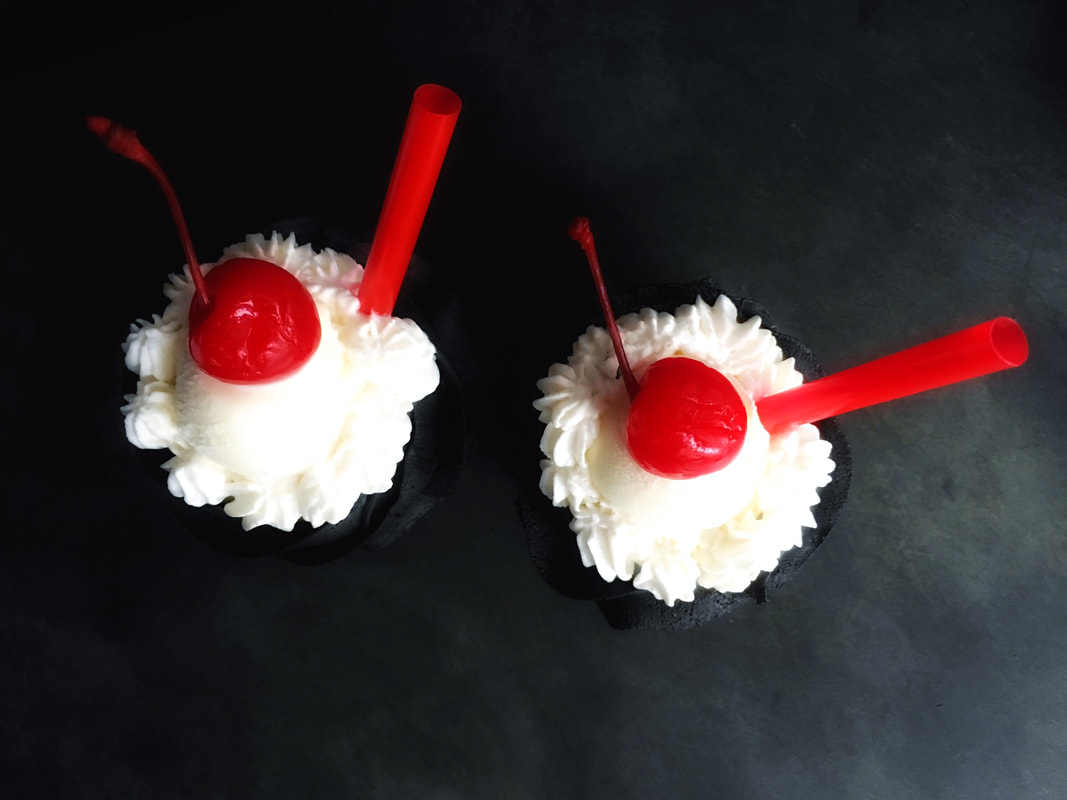
My first attempt at this was as a full-sized bundt cake, as was originally written in one of my favorite cookbooks, Baked: New Frontiers in Baking, by Matt Lewis and Renato Polafito. When I spied the cupcake version on the Smitten Kitchen blog, knew I had to make it for mamala. I added the root beer fudge frosting.
If you don't have time to make individual cupcakes, make it into a bundt, frost it and serve ice cream on the side. Either way, you won't be sorry. 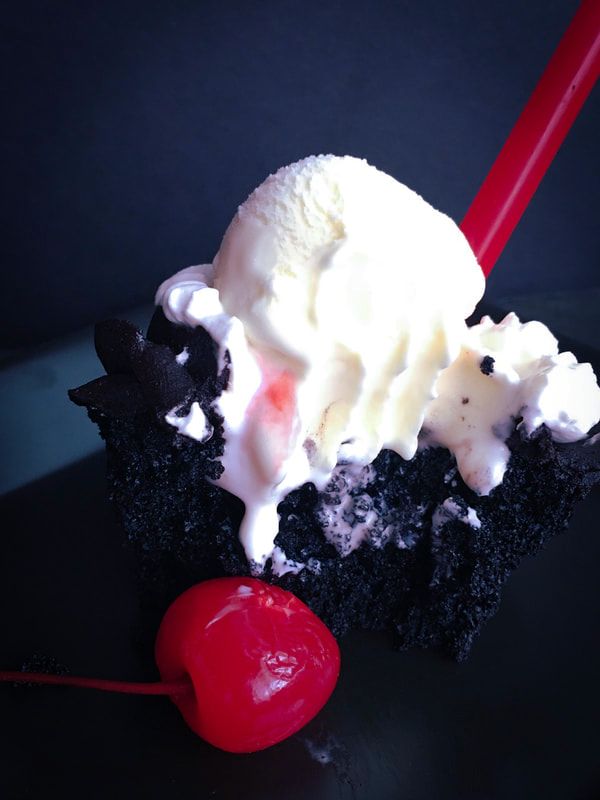
Adapted from: Matt Lewis and Renato Polafito, Baked: New Frontiers in Baking and Smitten Kitchen (cupcakes)
Number of servings: 22 cupcakes or one (10-inch) bundt cake Ingredients Cupcakes
Directions Cupcakes
NOTES:
PS: One year ago... www.moveablefeast.me/blog/lush-chocolate-cake-with-chocolate-malt-frosting 
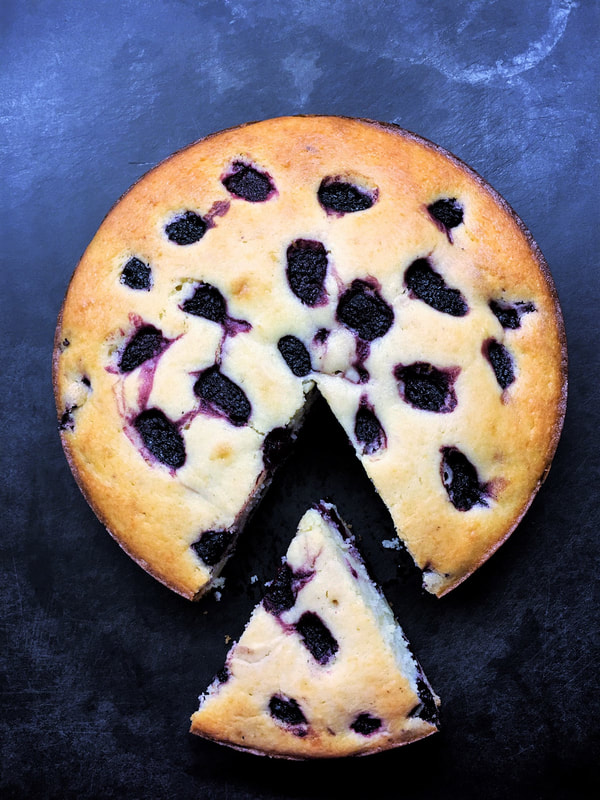
Marionberries have a short season. July to be precise. The plump, Oregon-borne morsels are the cabernet of blackberries, with a tart-yet-sweet flavor that's somewhere between raspberries and blackberries.
NPR states, "The marionberry, a cross between Chehalem and Olallie blackberries, was bred at Oregon State University as part of a berry-developing partnership with the U.S. Department of Agriculture that dates back to the early 1900s. It's named for Marion County in the Willamette Valley, where most of the field trials took place." [Ed. note: To be clear, this has nothing to do with the late-D.C.-Mayor Marion S. Barry, who in 1990 was caught in an FBI sting smoking crack. Man, this blog suddenly got dark, didn't it? All apologies, we now return you to your regular programming.] The original recipe calls for raspberries, but I chose marionberries as an homage to my home state. Feel free to use raspberries, blackberries or even boysenberries. I have been lucky enough to find fresh marionberries, but have used frozen too and it's delicious. An incredibly moist, unassuming everyday cake that is perfect for breakfast, tea or a light dessert. Works well with ice cream or softly whipped cream, but it needs no accoutrement Well, maybe a cup of coffee! 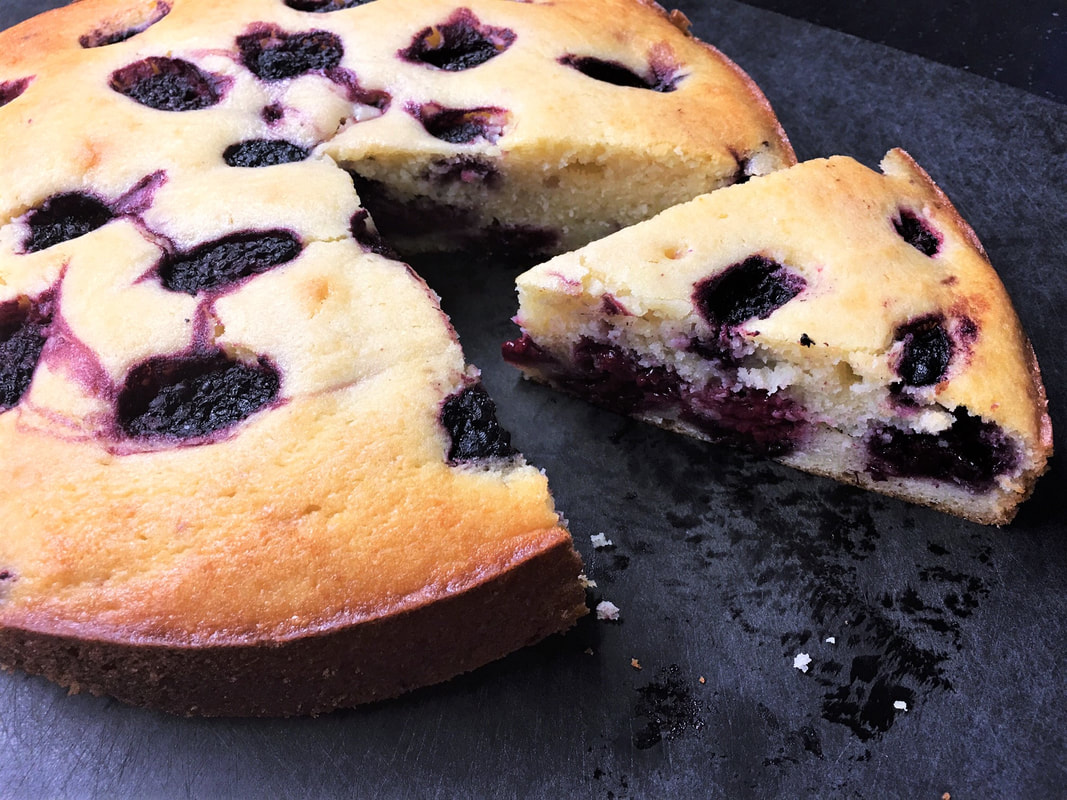
Adapted from: Bon Appetit, March 2015 and Orangette
Number of servings: 8 Ingredients
Directions
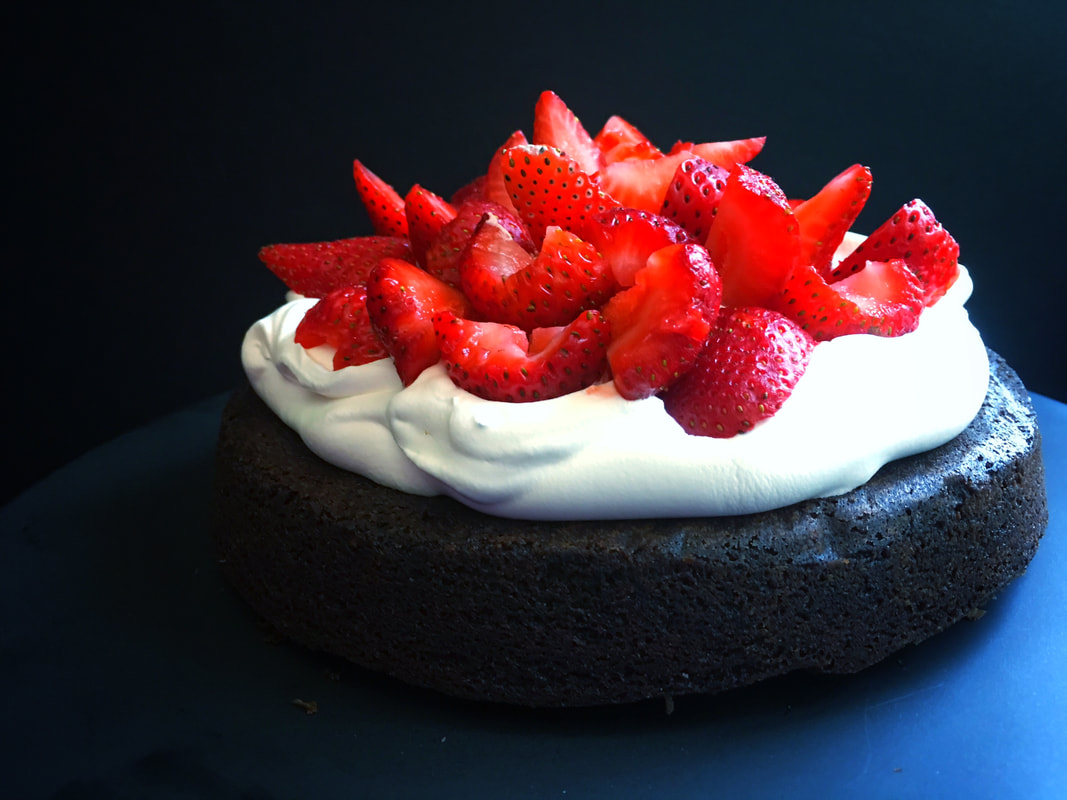
"Chocolate doesn't ask silly questions, chocolate understands."
-author unknown You don't see too many chocolate desserts in the summer. Usually it's all about summer fruit pies, tarts, crostatas, cobblers, crisps, ice cream, sorbets. Nothing against them, all delicious, but my soul still craves chocolate. So this is an attempt at the best of both worlds. Even the BF loves it and he's not exactly fond of mixing fruit with cake. [Ed. note: As The Offspring once eloquently opined, gotta keep 'em separated. (I'm just kidding, this is really good.)] The best part of this dessert is that it's the best hack of the summer. I make every single meal for my clients and family from scratch. Every day. But once in awhile, especially in the summer heat, it's nice to make things a little easier for the BF and me. Here you can be versatile, feel free to use your favorite boxed brownie mix (Duncan Hines Dark Chocolate Fudge Brownies "Extra Thick and Fudgy" was used here) or a time-tested from-scratch recipe. You can make homemade whipped cream or Cool Whip, I won't tell. Like another berry better than strawberries? Go for it. For years, I had prepared this dessert with homemade brownies and fresh whipped cream. Then one night a friend came over for an impromptu dinner. I was short on time, knew the guest couldn't eat dairy, and hates coconut milk. So out came the boxed brownie mix (no butter) and Cool Whip (no cream), and it was awesome. She loved it. It also held up better in the warm weather than homemade and did not wilt or weep in the fridge. The BF and I had leftovers for a few days and there wasn't a single crumb left. Hope you enjoy this one over a very Happy Fourth of July! Not only is it our nation's birthday, but it's also our rescue lab Marlowe's fifth. [Ed. note: She doesn't look a day over four.] And as a final note, it is also a year since I started this blog, the one-year blogaversary, and I want to sincerely thank you for reading. Feel free to reach out to me here, or on Instagram, Facebook, or Twitter (links above). Cheers! Flashback to blog #1: www.moveablefeast.me/blog/crispy-salmon-with-strawberry-salsa 
Number of Servings: 4-6
Ingredients
Directions


Born on the Fourth of July. Happy Fifth Birthday Marlowe!

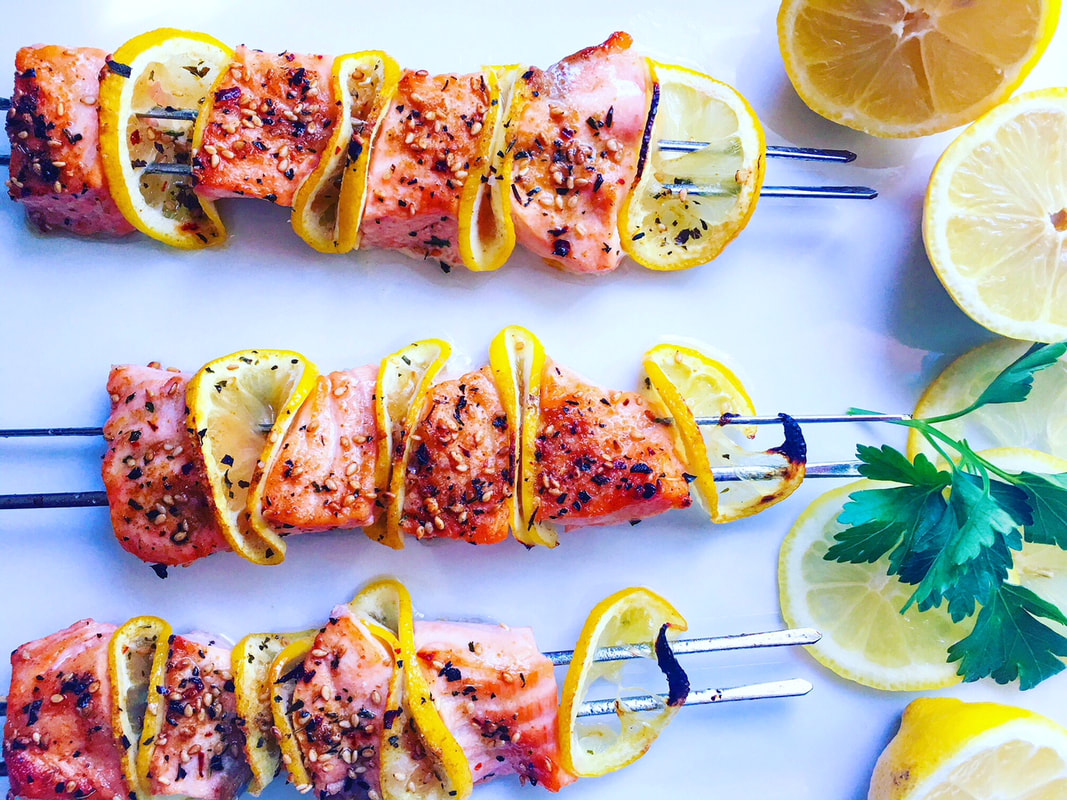
"I wonder what it would be like to live in a world where it was always June."
- L.M. Montgomery Although well past high school and bright college days, still have that feeling in June that I'm playing hooky, and am compelled to commemorate the begining of September with "school shopping." I was 11 years old when Alice Cooper's "Schools Out" was released. My older teenage brother played it loudly and incessently. [Ed. note: Is there any other way?] He also had an enormous Alice poster above his bed, the infamous one with Vince Furnier wrapped in a boa. Later. he would con my Momala into allowing him to go to a concert by taking my then eight-year-old sister, basically convincing her that Cooper was a folk singer. [Ed. note: GENIUS.] Never fails, June comes around and I can't get the "School's Out" lyrics out of my head. My BF and I live across the street from a 4th-8th grade school, in the house he grew up in. [Ed. note: La Entrada, class of '83, represent.] Many of the neighborhood kids are graduating and will be in high school come September. Bittersweet, for me. Time is going by at warp speed and summer will be over before we know it. These salmon kebabs, I make them every summer. It's beyond me that I never thought about threading meat or fish with two skewers instead of one (see picture). A game changer. The kebabs will not flip and spin every time you turn them. Bonus, most of you will probably already have all the necessary spices in your pantry. We try to eat salmon as often as possible, and these kebabs are exceptionally flavorful and easy to make. Clients love them, and they're fast to prepare from start to finish (great for weeknight dinners). If you use your oven broiler, like me, we're talking five minutes. Adapted from: Bon Appetit, June 2013 Number of servings; 4 Ingredients
Directions
Well, we got no class And we got no principals We ain't got no intelligence We can't even think of a word that rhymes ~ Alice Cooper |
AuthorI'm Jacquie, personal chef & recipe developer in the beautiful Pacific Northwest. Lover of books, bourbon, chocolate and movies. Archives
May 2020
Categories
All
|


 RSS Feed
