Labor Day weekend. The end of summer. [Ed. note: Fact check = BOO] Baseball pennant races and the beginning of football season. [Ed. note: Fact check = YAY] During my childhood it was family gatherings, the Jerry Lewis MDA Telethon [Ed. note: Fact check = LADY], and literally the next day, the beginning of school. [Ed. note: Fact check = BOO REDEUX] A time many of you fire up the grill, and yet maybe some of you are looking for a healthy alternative.
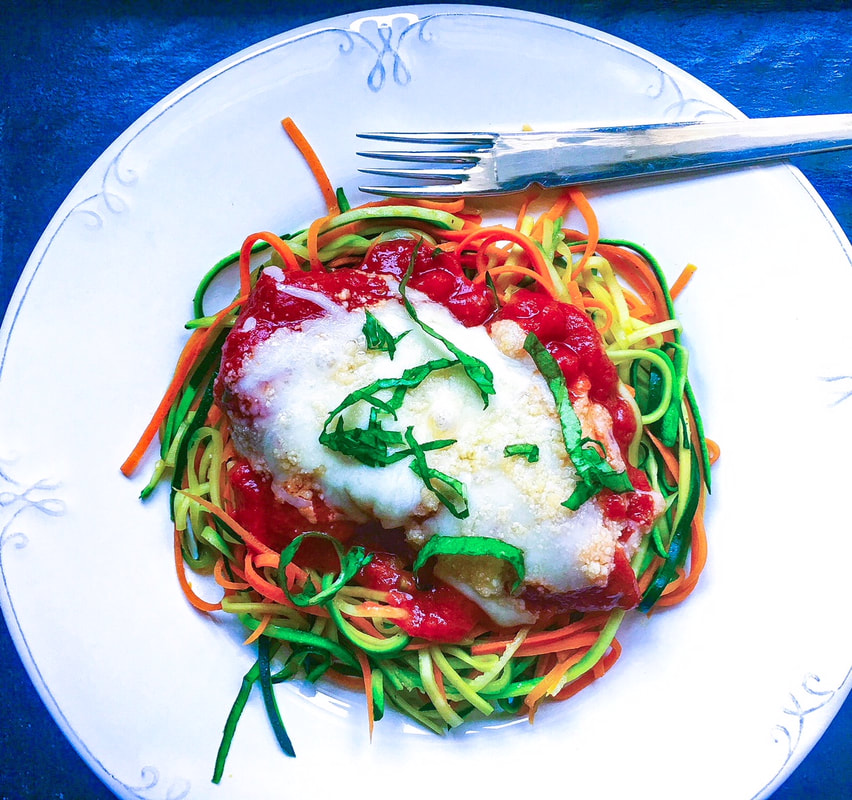
It's not that I actively solicit requests (although to be clear, please never be afraid to reach out!), but for years this healthy chicken parmesan has been a hit with clients, friends, and family, and they all demand the recipe. The common comment usually revolves around how deceptively healthy this is. Sporting unbreaded chicken and loaded with vegetables, even the BF has said it feels like a pasta-inspired "cheat" that…really isn't. [Ed. note: Fact check = TRUE] The dish is tasty any time of year. In summer, you can't beat a vegetable medley of zucchini, yellow zucchini, carrots and parsnips. In winter, instead of zucchini I substitute rutabaga, kohlrabi, butternut squash or celery root. Bonus: it's low carb, gluten free, grain free, and ready in under an hour. Perfect for weeknights, and if you are tending a summer garden as we approach Labor Day, this is a wonderful way to utilize those vegetables. If you own one, you can use a Spiralizer, but I actually found it much easier to simply use a hand-held julienne peeler (see photo below). Last September, I used the same inexpensive tool to whip up the Vegetable Noodle Nest with Soft Boiled Egg. www.moveablefeast.me/blog/vegetable-noodle-nest-with-soft-boiled-egg Of note, almost all Spiralized or juilienned vegetables (especially root varieties) hold well for several days in the fridge, with the exception of zucchini, which tends to get a little limp and watery after a day. After Spiralizing the veggies, wrap them in a paper towel and place in a Ziplock bag. Get all the air out of the bag, and presto, you're done. For myself and the BF, the meal prep occurs at the beginning of the week, and all I have to do is sauté the veggies when dinner time comes around. To quote the immortal words of my spirit animal Ina Garten, "How easy is that?" Hope everyone has a wonderful Labor Day weekend, and repeating: if you see anything on the other sections of my web site (i.e., photos) that you'd like to see a recipe blog post for, let me know in the comments below or reach out on any of the social media platforms listed. [Ed. note: We also accept e-mail, snail mail, carrier pigeon, smoke signals, drums, etc.] 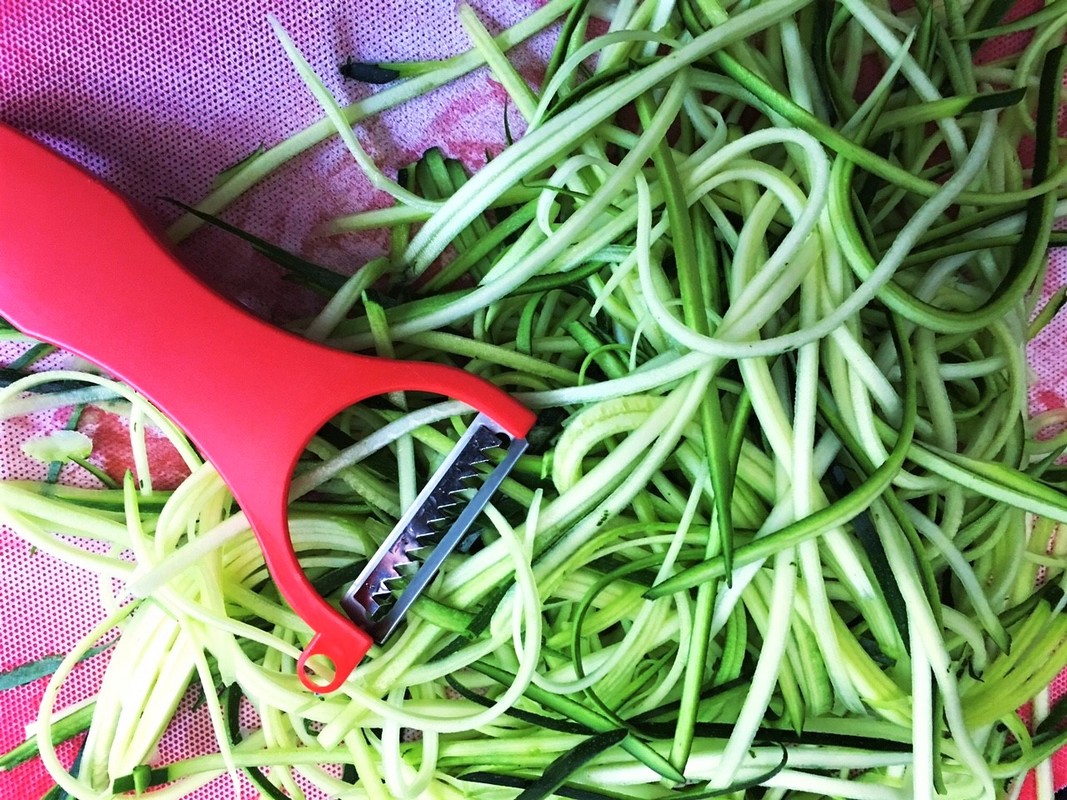
Inspired by: Giada De Laurentiis, FoodNetwork.com
Number of servings: 4 Ingredients Chicken Parmesan
Vegetables
Directions Vegetable Prep
Chicken Parmesan
Vegetables (While the chicken is in the oven...)
5 Comments
"Your body is not a temple, it's an amusement park. Enjoy the ride."
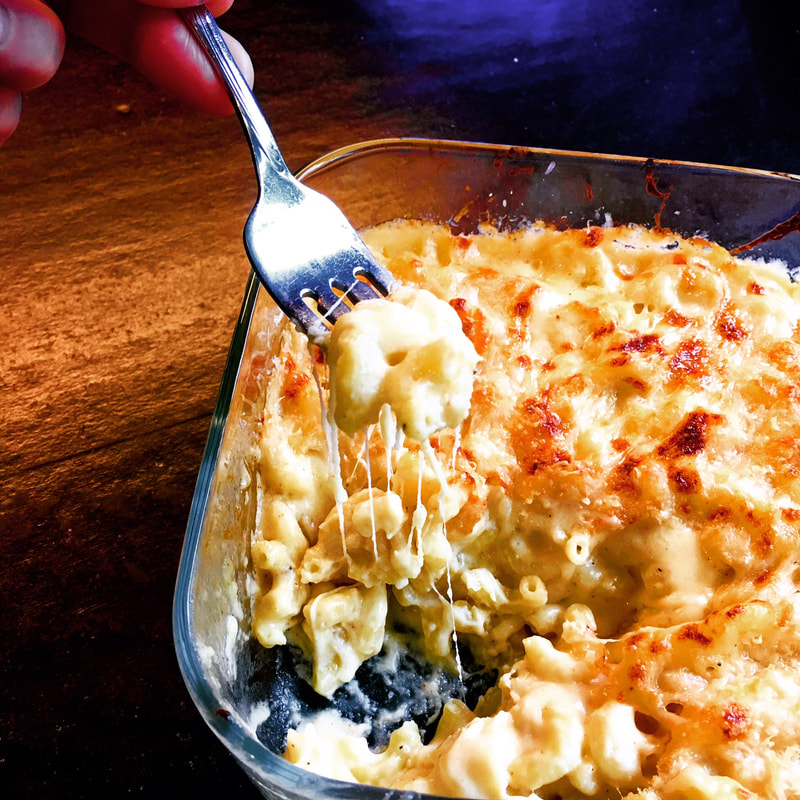
-Anthony Bourdain My siblings and I did not grow up with macaroni and cheese. I know. It's like I have to turn in my "kid" card or something. You see, Momala and Dad didn't exactly grow up with it either, so it never made an appearance on our dinner table. Not sorry at all, as she made the best spaghetti sauce I have ever had in my life. It took ten hours of cooking and, although it sounds odd, her secret ingredient was a cup of brewed coffee. It had a deeply exotic flavor and, as much as I have tried...never been able to replicate it. This particular recipe is a mac-and-cheese lover's dream. Four cheeses. [Ed. note: Turns up the porn music.] Over the years, I have made a metric ton of mac and cheese for my clients, and have over a dozen different varieties on my menus. Typically, after trying a recipe for the first time, notes sprout around the margins with any changes I personally make to the original script, i.e., "Do again," "awesome," "needs tweaking," "BF likes it," "add to client menu," or the killer "do NOT make again." On this recipe, well... 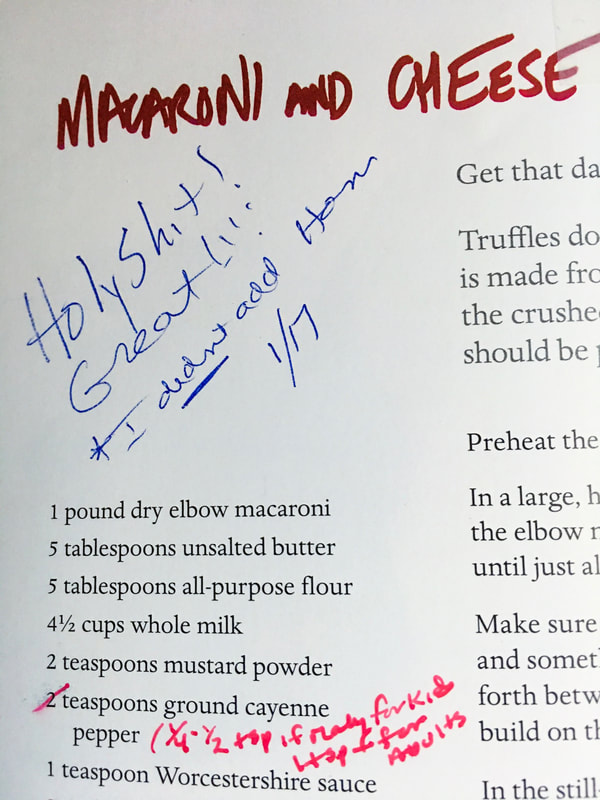
"Holy Shit! Great!!!!" [Ed. note: Take it from a guy who wrote and edited for a magazine that literally had its name, with one exclamation point, trademarked: Four exclamation points is serious.]
Ooeey, gooey, stringy, melty goodness, with a crusty golden top and phenomenal flavor that both kids and adults adore. In fact, on my menu it's called "Adult Mac & Cheese." [Ed. note: Porn music continues.] This recipe comes from the late Anthony Bourdain's Appetites. The BF and I are longtme fans of his books and television shows, and for me, personally, he had a monumental impact, instilling a great respect for food, the animals themselves, the restaurant business, and the people behind every aspect of meal creation. A quick aside: two years ago Bourdain was on a spoken-word tour in San Francisco. On previous tours, I had tried to get tickets for the BF and I, but they had always sold out too quickly. This time, I was a redailing machine and scored the tickets. Excited as I was, my personal-chef schedule was so busy that I couldn't adjust my client for the night of the show, so the tickets ended up being given to my dear friend Maria, who of course loved it. Was disappointed that I didn't get to see him, but I assured myself Bourdain would come back to San Francisco again on a future tour. Of course, that will not happen. At the show, Maria was kind enough to buy me a copy of Appetites as a gift. Very thoughtful gesture at the time, but now, considering his passing, I cherish it more than ever. If you look at the picture below, you can see the ragged bookmarks and Post-It tabs demarking the dishes I have made and have yet to try. When I open it up now, I feel like hugging my loved ones a little tighter, for a little longer. I may or may not be traveling to parts unknown anytime soon, with or without reservations, but hopefully channeling his spirit I will continue to share my table and break bread with people I love. Old friends and new. People who look, talk, dress, or vote differently than I. Am not one to want to sound as if on a soapbox, but I believe food brings people together in spite of any differences, and think Bourdain believed that, too. Going to miss you, Chef. 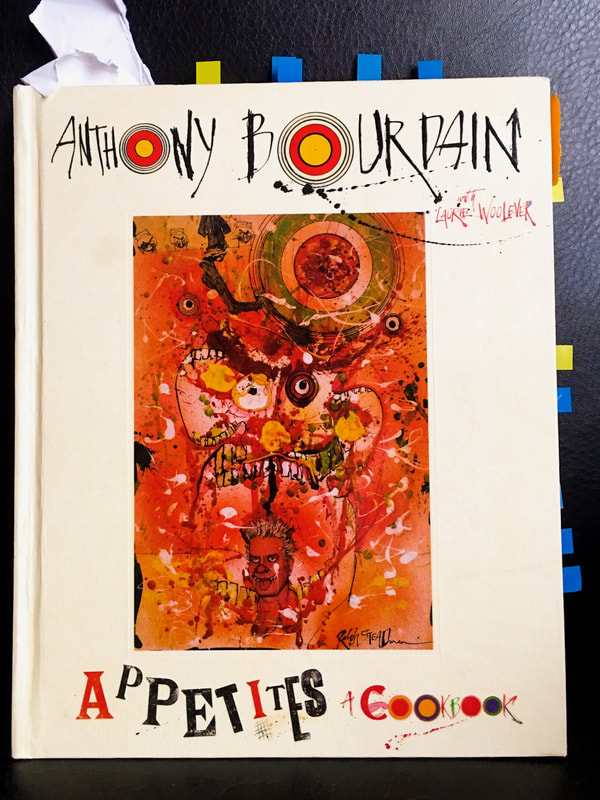
Adapted from: Anthony Bourdain, Appetites: A Cookbook
Number of servings: 8-10 Ingredients
Directions
NOTE: This makes a large amount of mac & cheese, but it's easy to cut the recipe in half for four servings. 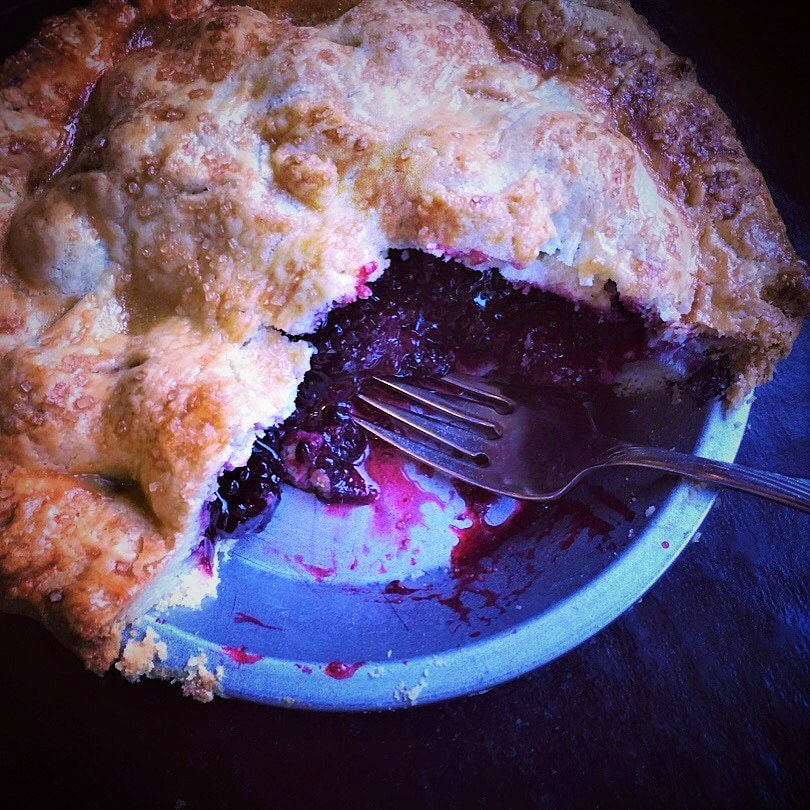
"More people will come if they think we have punch and pie!"
~ Eric Theodore Cartman Twenty-one years ago, four crudely animated foul-mouthed boys began their seemingly endless journey through grade school in the quaint, cozy mountain town of South Park. Through alien abductions, soul-singing chefs, cannabis-drenched towels, and commentary covering all possible levels of political incorrectness, one thing has been perpetually certain: Eric Cartman loves pie. Loves all desserts, actually. Growing up, my siblings and I would ask my Mom, "Can we have dessert?" Her reply would often be, "Yes, you can have a piece of fruit." As if channeling Cartman, we would all bellow in unison, "But Mom, fruit is not a dessert." Honestly, in this form, it really is. 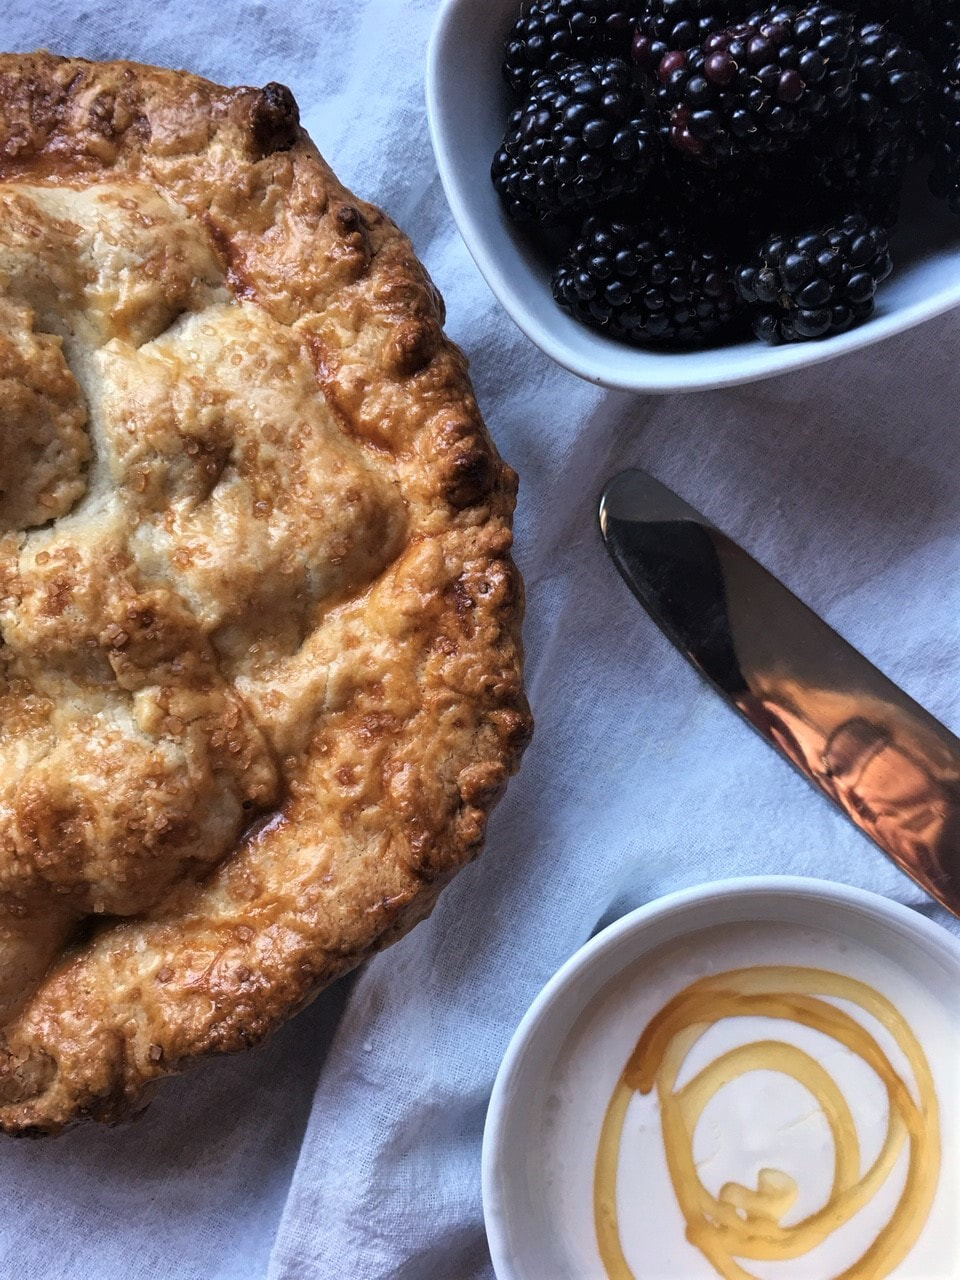
Whenever I bake a pie, especially a blackberry pie, I recall the mother of my best childhood friend (Mrs. C). A master pie maker. She taught me how to make a pie from scratch.
We picked wild blackberries from her daughter's back yard. The berries were so plump, we filled the huge plastic bucket within 15 minutes. Of all the priceless baking tips Mrs. C gave, I'm most thankful for her method of thickening a pie filling with tapioca flour (a.k.a. tapioca starch) instead of cornstarch or all-purpose flour. Tapioca flour makes the filling bright and clear, whereas cornstarch or A.P. flour can give the filling a cloudy look and chalky taste. This recipe is adapted from Julia Frey's blog Vikalinka. Besides some general streamlining, my changes include adding a bit of cinnamon to the filling, upping the amount of blackberries, and subbing tapioca flour in place of A.P. flour. I love her idea of topping the pie with honeyed creme fraiche (a favorite that really complements the blackberries well). One note, if you're lucky enough to have wild blackberries in your backyard, use them (and I'm envious). If not, store bought will do just fine. If you're short on time, you can also use your favorite store-bought pie crust. Just don't forget the honeyed creme fraiche. More people will come if they think you have honeyed creme fraiche. 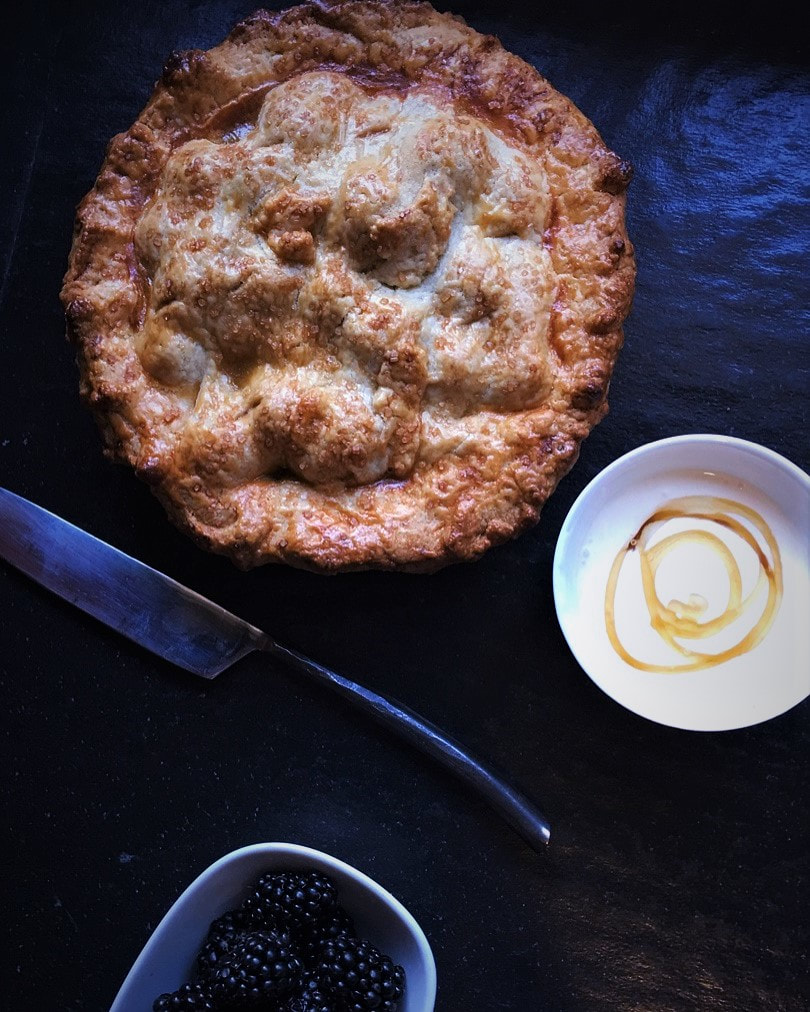
Adapted from: Vikalinka
Number of servings; 8 Ingredients Blackberry Filling
Directions Blackberry Filling
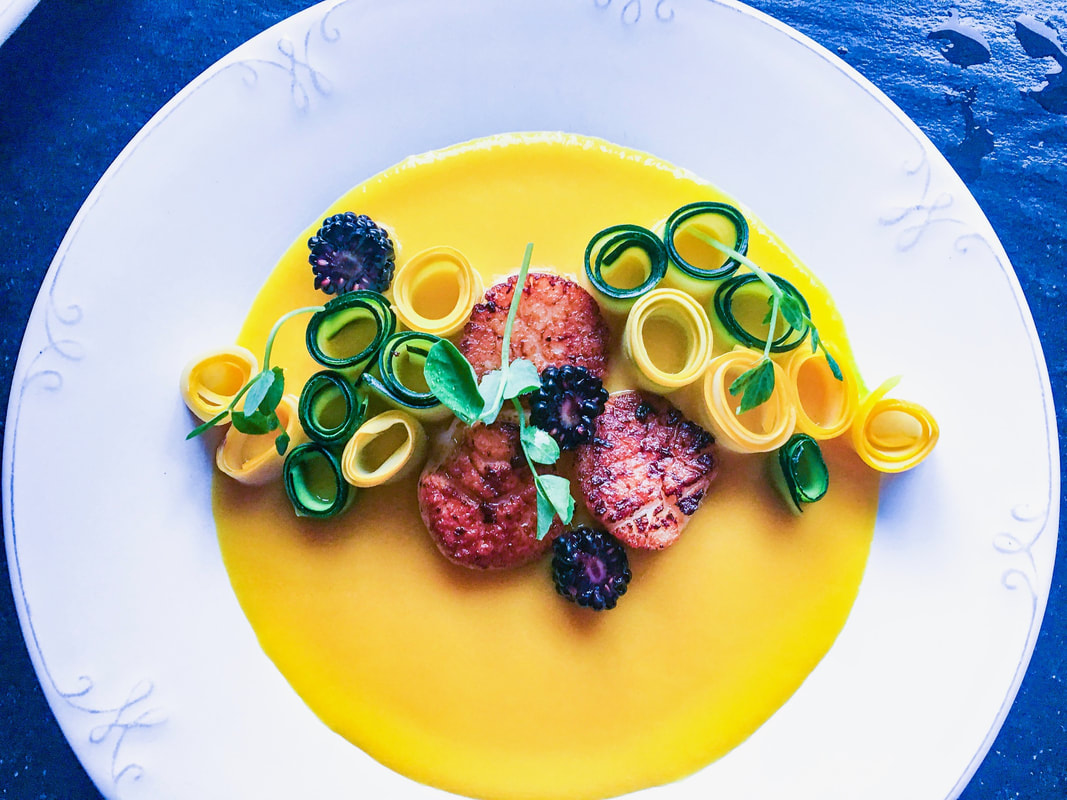
What is coulis? A coulis is a sauce made from puréed and strained vegetables or fruits. I personally prefer a very smooth sauce, so I strain it after blending. You don't need to do this. Notice the top photo with scallops, I strained that sauce. The bottom photo with halibut I did not. Notice the difference in texture. It's delicious either way.
Around this time of year many of my friends have an abundance of bell peppers in their gardens. So much so, they're giving them away as fast as they can. This Moveable-Feast-original yellow bell pepper coulis is one of my favorite dishes to make because it's easy to prepare, healthy (fat free) and very versatile. I can make a big batch at the beginning of the week (it keeps well in the fridge for days) and use it for three or four different meals, throughout. The sauce works well as a base for chicken, shrimp, scallops, halibut, any fish, pork, black bean cakes, mushroom meatballs, crispy tofu, anything. You can even serve it as soup. Made the halibut meal (below) for the BF and he loved it. Made the scallop meal (above) as a special dinner for a friend celebrating her recent Life Coach certification, and her mother. Whether the meal was for two (former) or four (latter), the process was simple. The zucchini roses might seem a bit labor intensive, but honestly they're not, and they add a distinctive flair to the dish. Enjoy this one while the bell peppers are still in season! 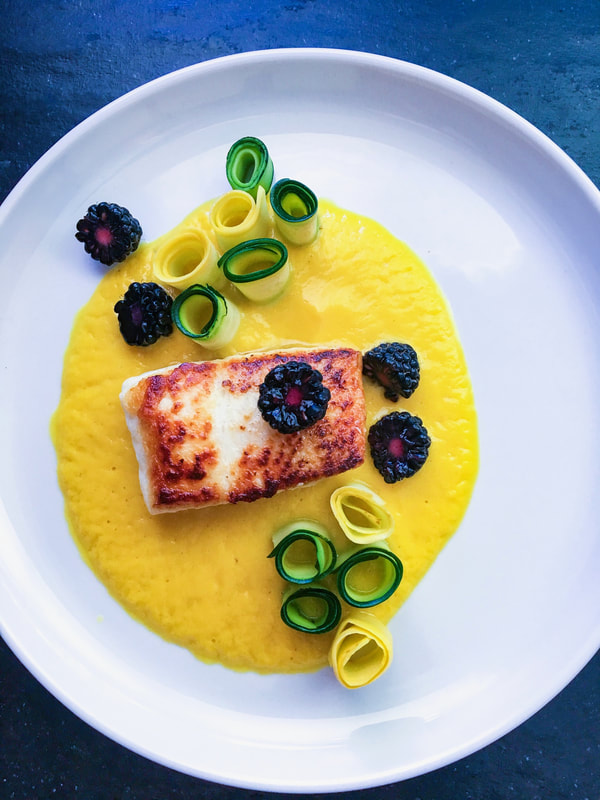
Number of servings: 4
Ingredients Yellow Bell Pepper Coulis
Directions Yellow Bell Pepper Coulis
NOTE: I have cooked a batch of Trader Joe's frozen scallops (defrosted), and fresh scallops from my favorite excellent local fish monger, and everyone liked Trader Joe's the best. 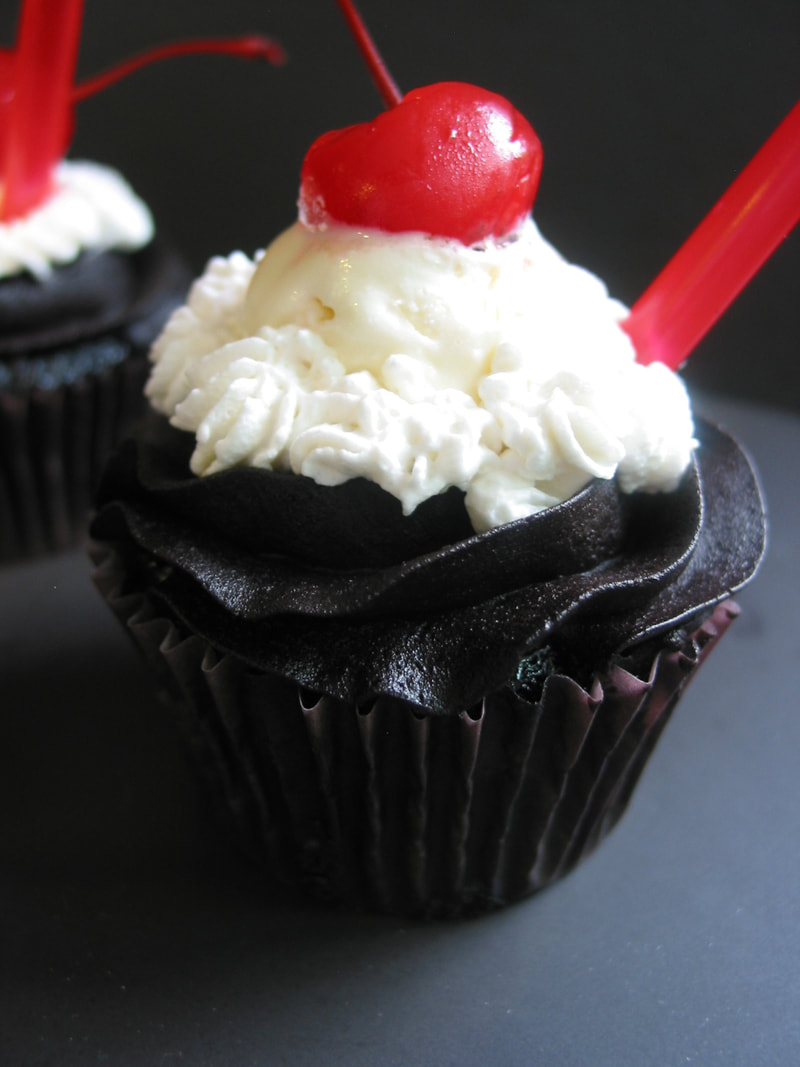
"Life is short. Take the trip. Buy the shoes. Eat the cake."
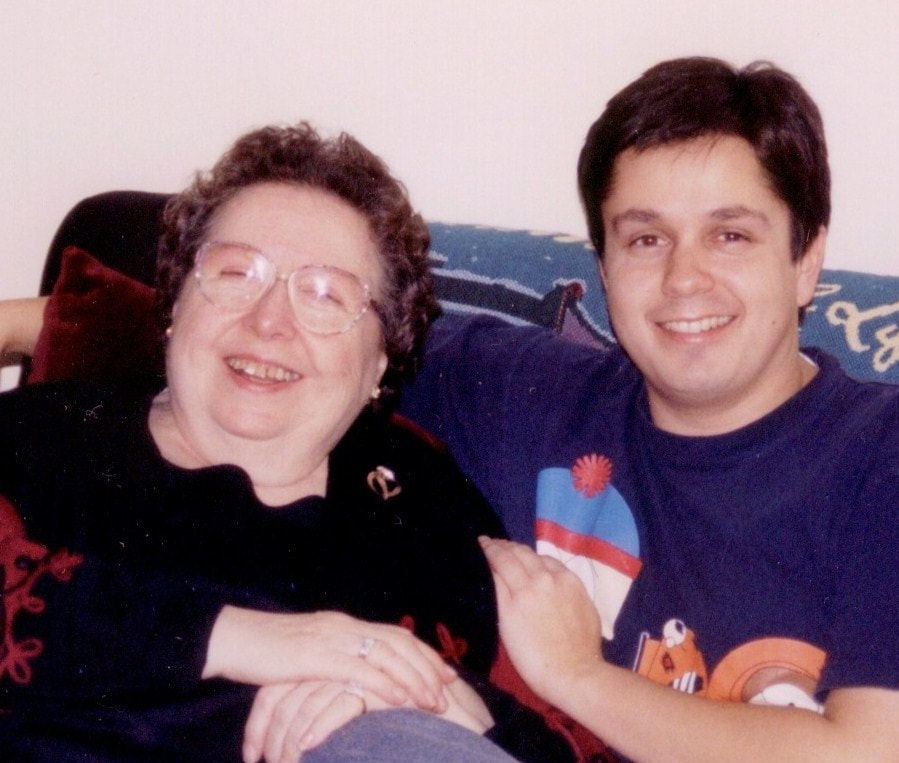
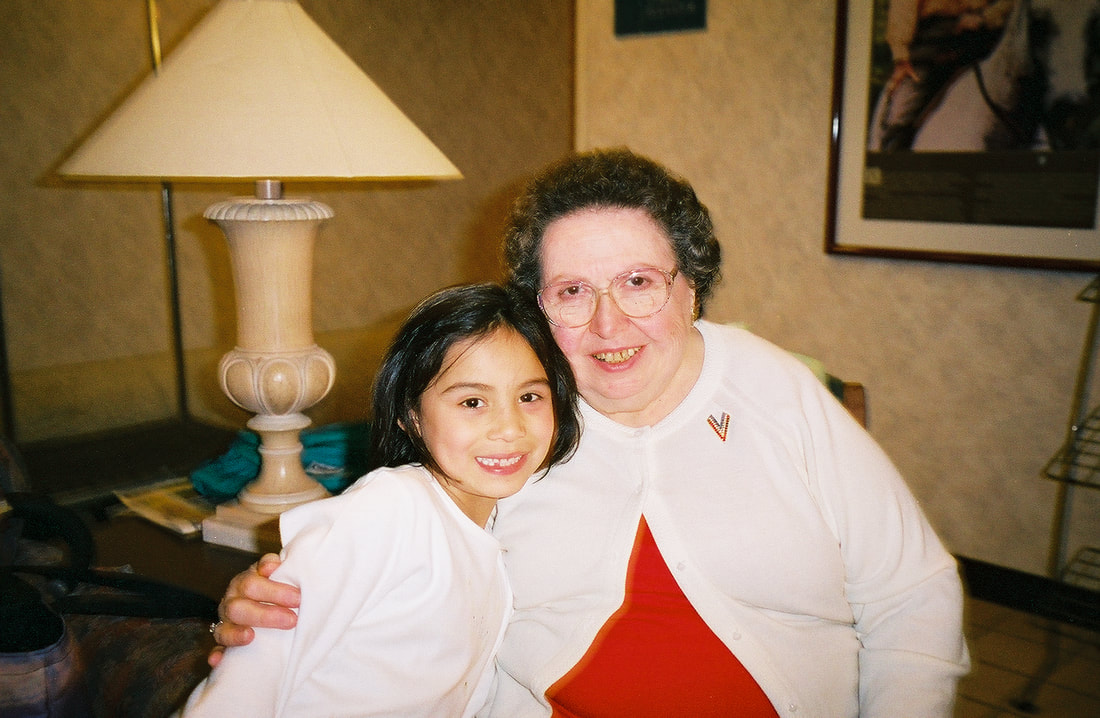
- Unknown Today is mamala's birthday, and as with my BF-mom's birthday, we gather here today to celebrate their collective sweet tooth. Mamala passionately loved root beer floats and "black cows" (made with Coke instead of root beer), quintessential summer treats. Are they as nostalgic for you as they are for me? If so, what was your first memory of them? (Feel free to comment below!) Even though I was lucky enough to grow up with an A&W in my hometown (it's still there), growing up we didn't frequent it too often. Mamala made her own floats at home, and oh how I loved watching her make them. One scoop of vanilla ice cream in a frosted glass. Root beer poured just so. The carbonation would foam up instantly, but never overflowed. She had the touch. I also remember she used a long, slender soda spoon to give it a slight stir. I made it home for almost all of her birthdays, but one year it wasn't possible and the BF and I Fed Exed these root beer float cupcakes (frosting in a separate container, ice cream not included) to my sister and mom. They were delighted, and a little surprised, to discover what was in the box. 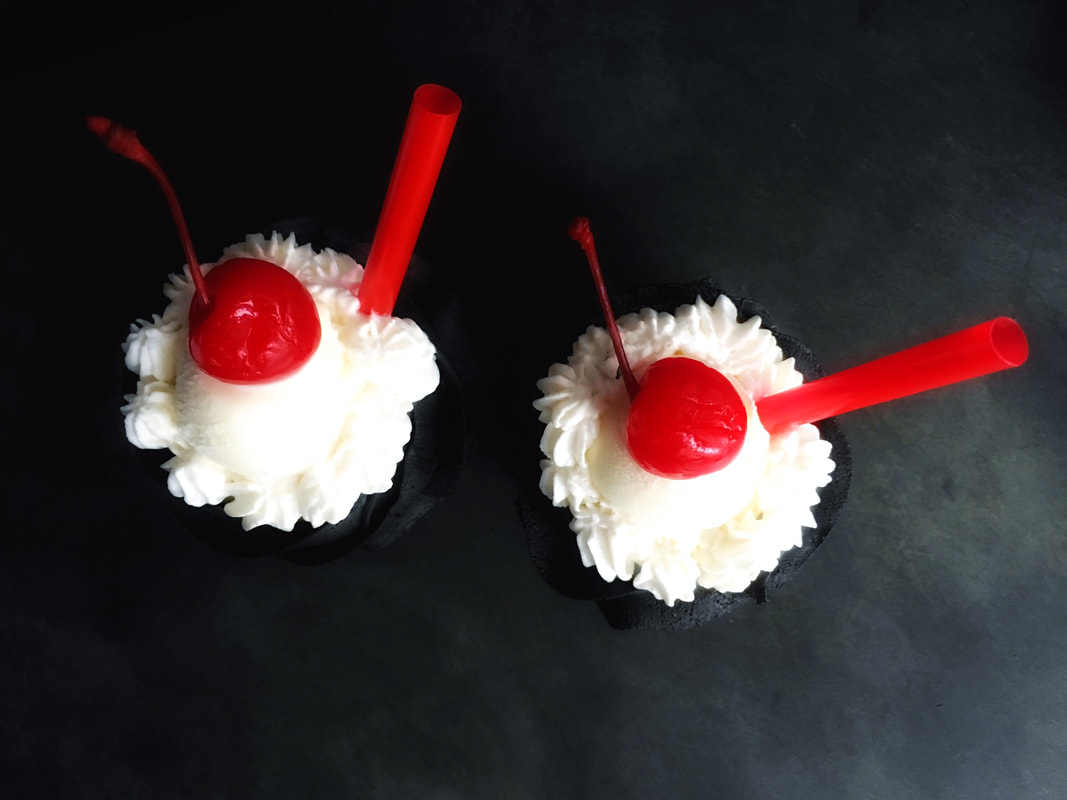
My first attempt at this was as a full-sized bundt cake, as was originally written in one of my favorite cookbooks, Baked: New Frontiers in Baking, by Matt Lewis and Renato Polafito. When I spied the cupcake version on the Smitten Kitchen blog, knew I had to make it for mamala. I added the root beer fudge frosting.
If you don't have time to make individual cupcakes, make it into a bundt, frost it and serve ice cream on the side. Either way, you won't be sorry. 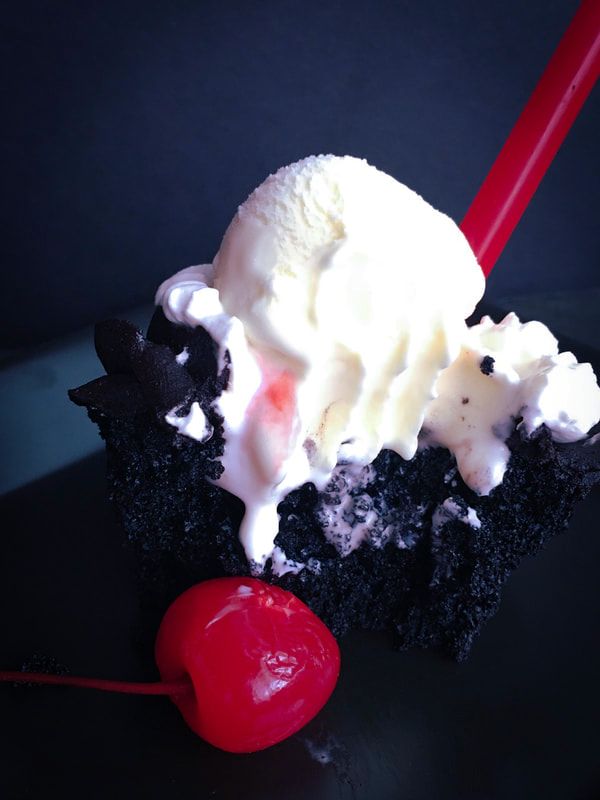
Adapted from: Matt Lewis and Renato Polafito, Baked: New Frontiers in Baking and Smitten Kitchen (cupcakes)
Number of servings: 22 cupcakes or one (10-inch) bundt cake Ingredients Cupcakes
Directions Cupcakes
NOTES:
PS: One year ago... www.moveablefeast.me/blog/lush-chocolate-cake-with-chocolate-malt-frosting 
“Cut my pie into four pieces, I don’t think I could eat eight.”
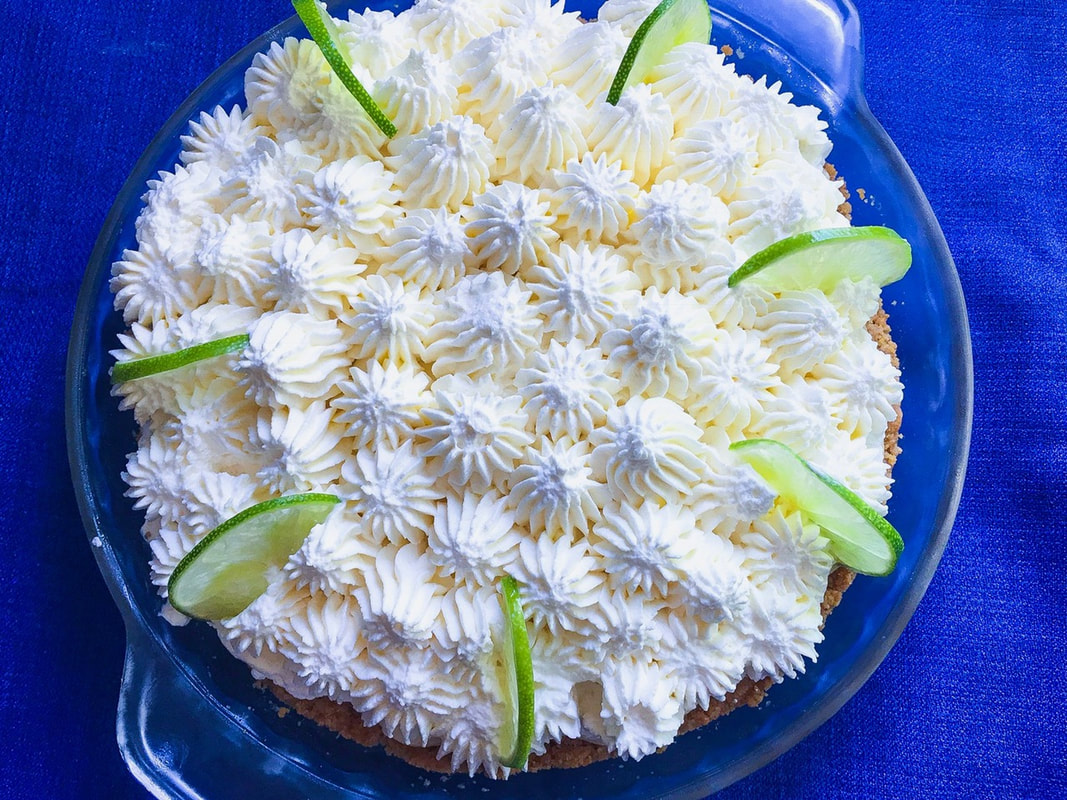
- Yogi Berra August 3 is the MIL/BF-mother's birthday (passed in 2016), and last year we got into some trouble with butterscotch (www.moveablefeast.me/blog/butterscotch-cookie-ice-cream-sandwiches), a favorite of hers. She also loved anything with lemon or lime [Ed. note: Marie Callender's should have gone out of business, such was our love of their sour-cream varietals.], so this year I'm honoring her with a killer key lime pie adapted from Joe's Stone Crab restaurant in Miami. The BF definitely inherited the "tart" gene, and vociferously approves. 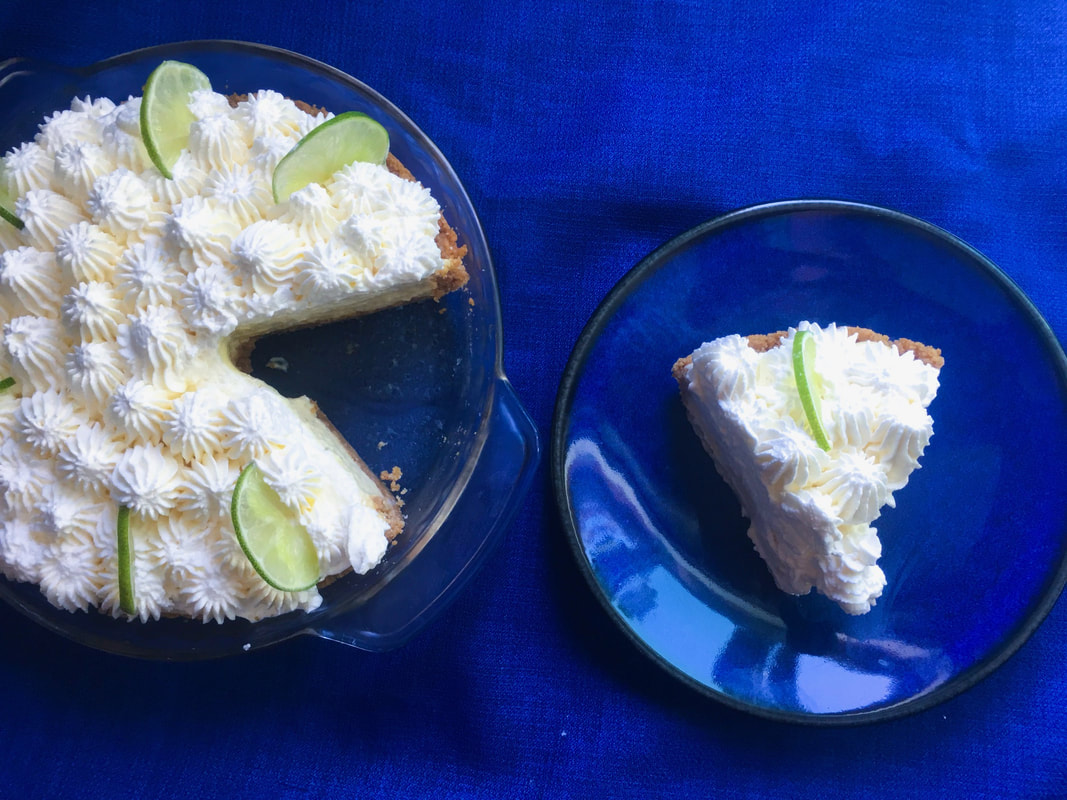
Creamy, tart filling with a raft of whipped cream on top, utterly addicting. It's also very easy to make, as in under an hour to assemble. Why don't I make this more often? [Ed. note: Because my primary care physician will send you a personal note, "Please stop."]
A perfect summer dessert, especially for those who possess the "tart" gene. 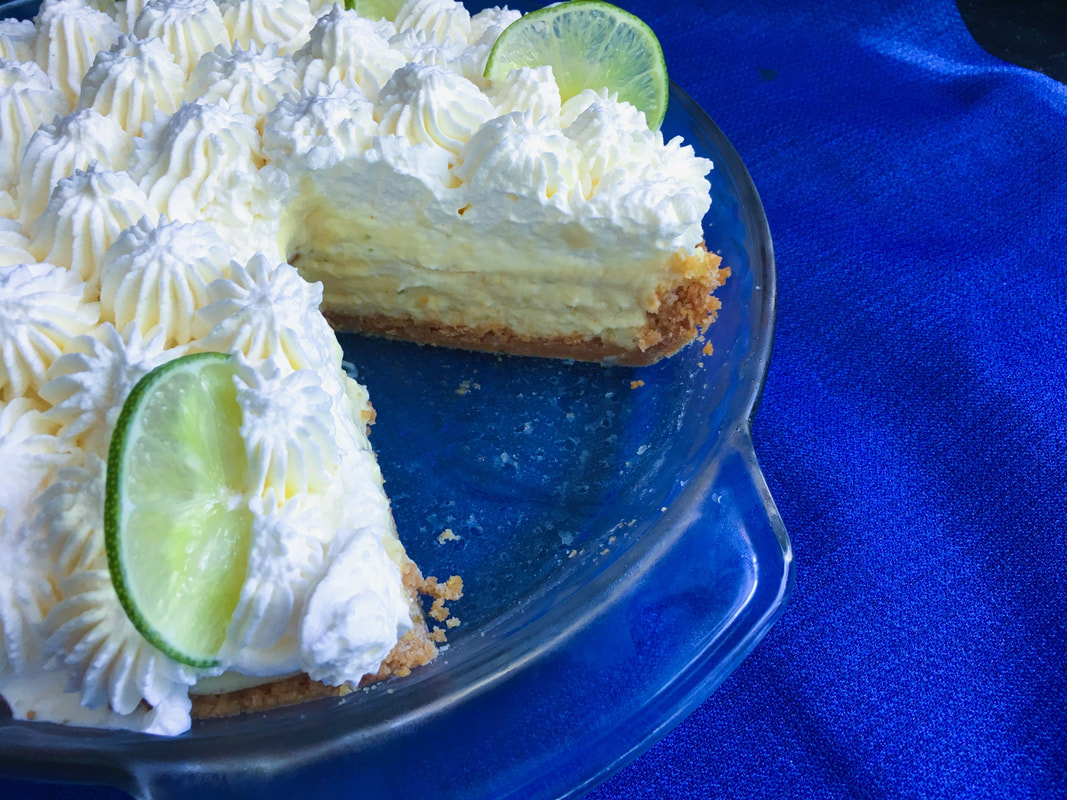
Adapted from: Joe's Stone Crab
Number of servings: 8 Ingredients Graham Cracker Crust
Directions Graham Cracker Crust
NOTES:
PS: One year ago... www.moveablefeast.me/blog/chocolate-pavlova-with-berries 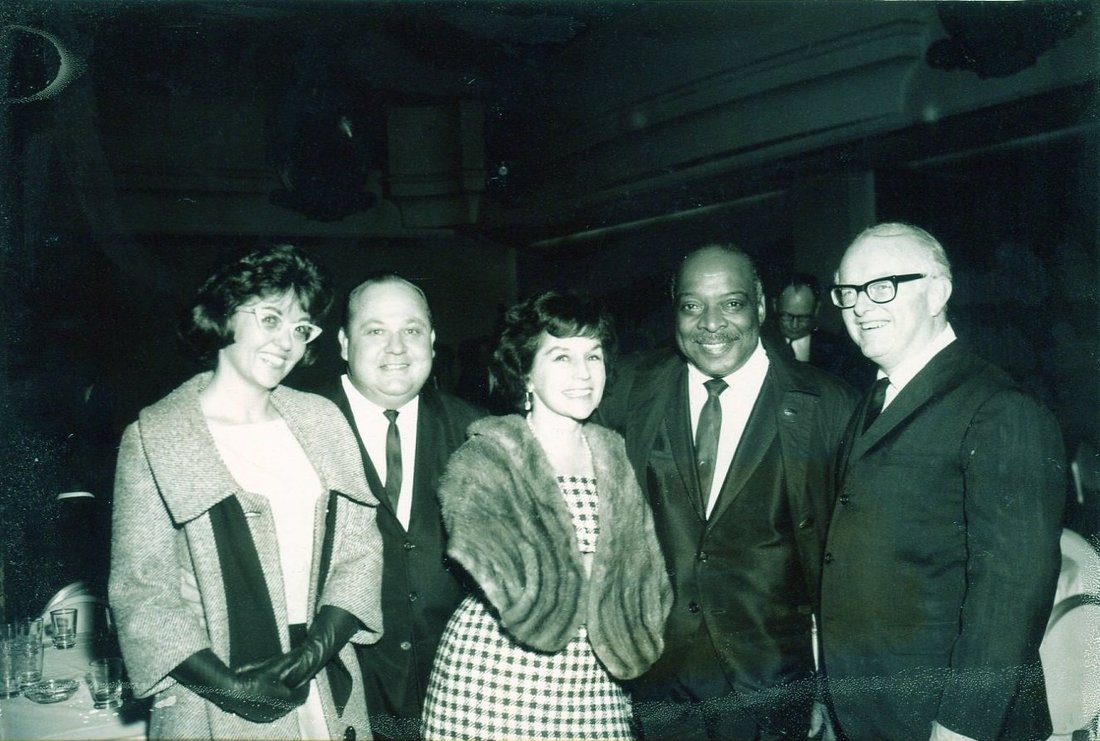
BF's mom Kathy (far left) with friends, and Count Basie, at the Fairmont Hotel in San Francisco, 1961.
|
AuthorI'm Jacquie, personal chef & recipe developer in the beautiful Pacific Northwest. Lover of books, bourbon, chocolate and movies. Archives
May 2020
Categories
All
|


 RSS Feed
