
I probably drive the BF crazy [Ed. note: like no one else, and for some reason I can't help myself], but I start asking him to choose his birthday cake-dessert about a month before his birthday. Usually give a choice of some great found recipe that includes either apples, caramel, butterscotch or lemon. Love hunting for the perfect recipe, with the goal of getting his eyes to bug out.
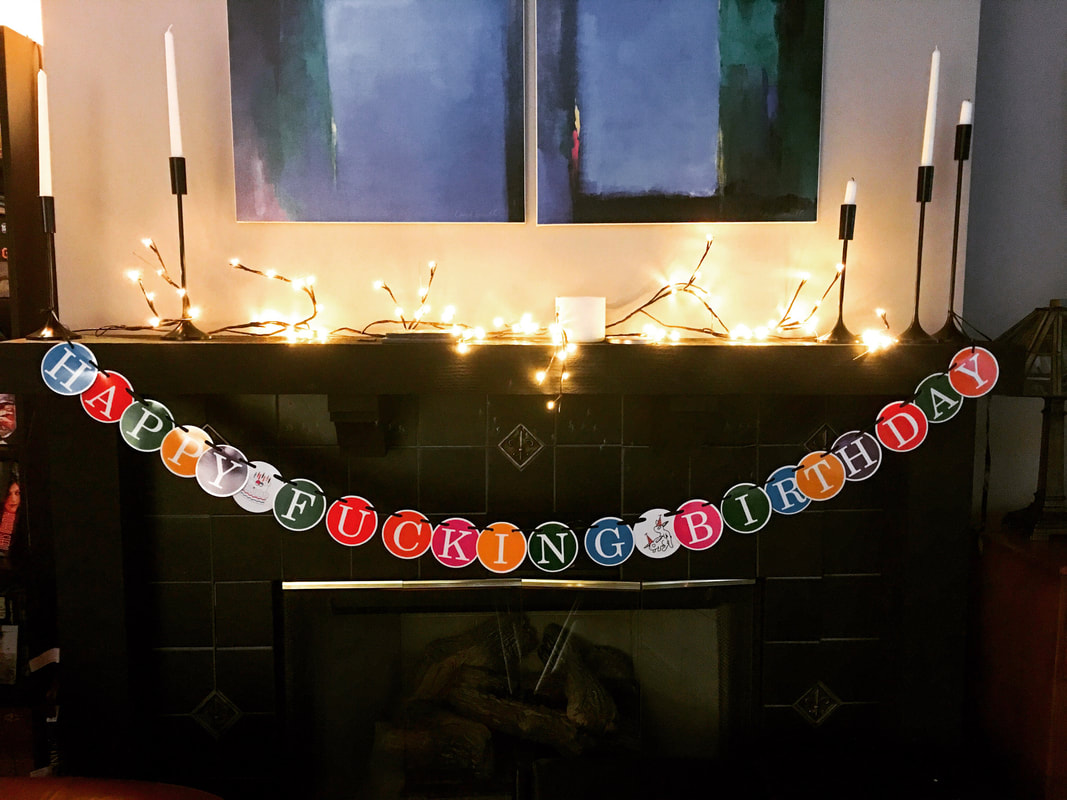
These apple pie bars are a client favorite, and whenever I make them the BF ends up in the kitchen, plaintively staring and asking if there are "extras." [Ed. note: "Oh those were for the clients?"] Needless to say the dessert has become one of his favorites, so I decided to make it for his birthday in lieu of a traditional cake. This was a very special birthday, by the way. [Ed. note: #LOLOLD] One of the great things about this dessert is the shortbread dough is used for both the bottom crust and crumble on top. (Meaning there's no pie crust to roll out.) As the brilliant Ina Garten likes to say, "How easy is that?" To really send it over the top, drizzle the bars with gooey caramel (optional, but recommended). Perfectly okay to eat with your hands, or dish/bowl them up with a scoop of vanilla ice cream. 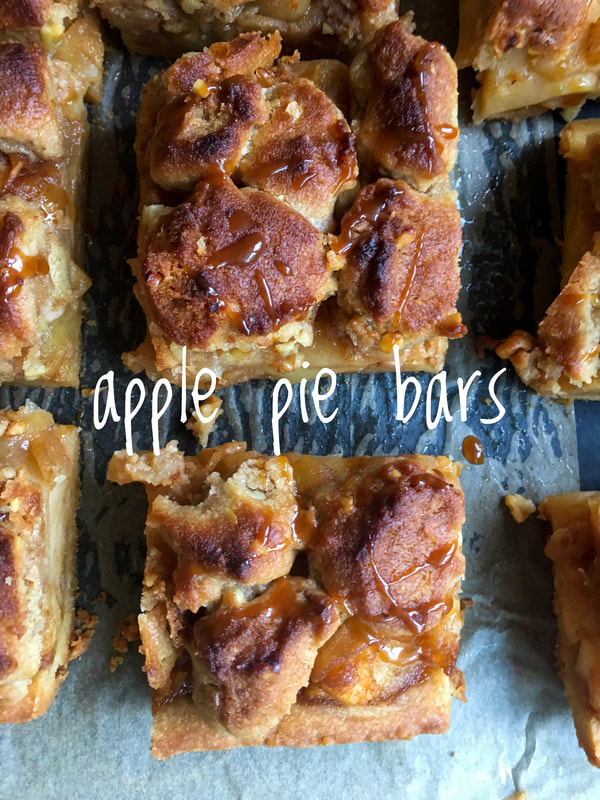
In addition to offering an alternative to your everyday pedestrian cookie, these bars have another perk: they travel well. Simply wrap up the baking pan and cut the bars when you get to your destination. As for optimal portion size, Garten advises, "I cut the bars in fairly large 3 x 3-inch squares if I'm serving them on a plate with a scoop of vanilla ice cream on the side. If I'm serving them on a platter of small petits fours to pick up with your fingers, I'll cut them in smaller bite-size pieces."
NOTES:
PS: Speaking of Thanksgiving, a year ago we were thinking ahead with this whipped cranberry butter (www.moveablefeast.me/blog/whipped-cranberry-butter). Also, Adam Sandler sings! PPS: Another client-approved holiday-time dessert, your friends and family won't know this yummy mini pumpkin cheesecake is sugar-free and low-carb. That is, unless you tell them. So don't. (www.moveablefeast.me/blog/mini-pumpkin-cheesecake-sugar-free-and-low-carb) 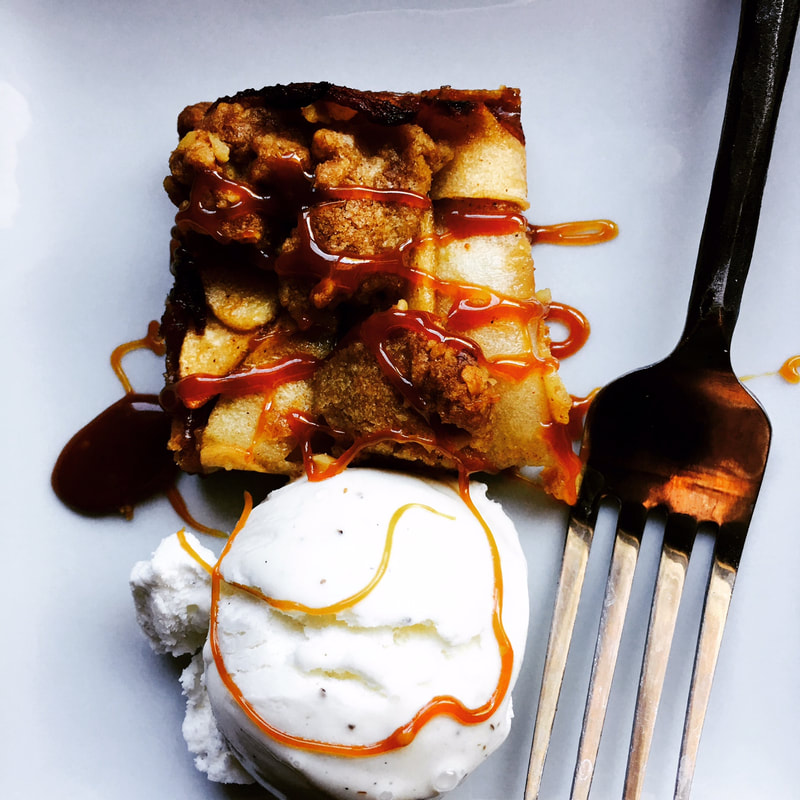
Adapted from: Ina Garten, Cooking For Jeffrey
Number of Servings: Makes one 9 x 13-inch pan Ingredients Crust
Directions Crust
6 Comments
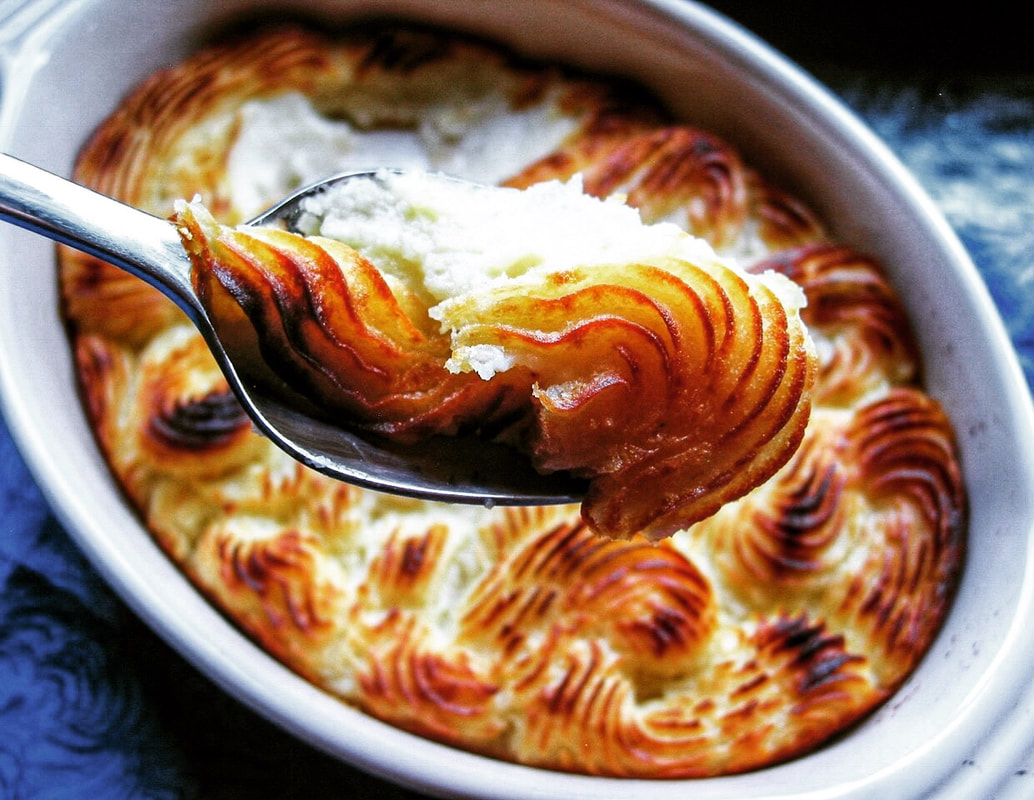
Pommes Duchesse. Sounds fancy. Looks fancy. But really, this is simply a fun way of "piping" mashed potatoes into a baking dish, just in time for the Thanksgiving countdown (in my book, never too soon).
These potatoes are an always-requested Thanksgiving staple in our household, and also a perfect accompaniment to any poultry or red meat (as one of our relatives is not fond of turkey). Another regular vegetarian guest annually asks, "You're making the potatoes, right?" Looking more elegant than regular mashed, they work well for any special occasion, and aren't any more difficult to make. [Ed. note: Don't say this to your guests. Lie. Lie and tell them it took you months to prepare this and those ingrates should kiss the ground you walk on and okay I'll shut up.] 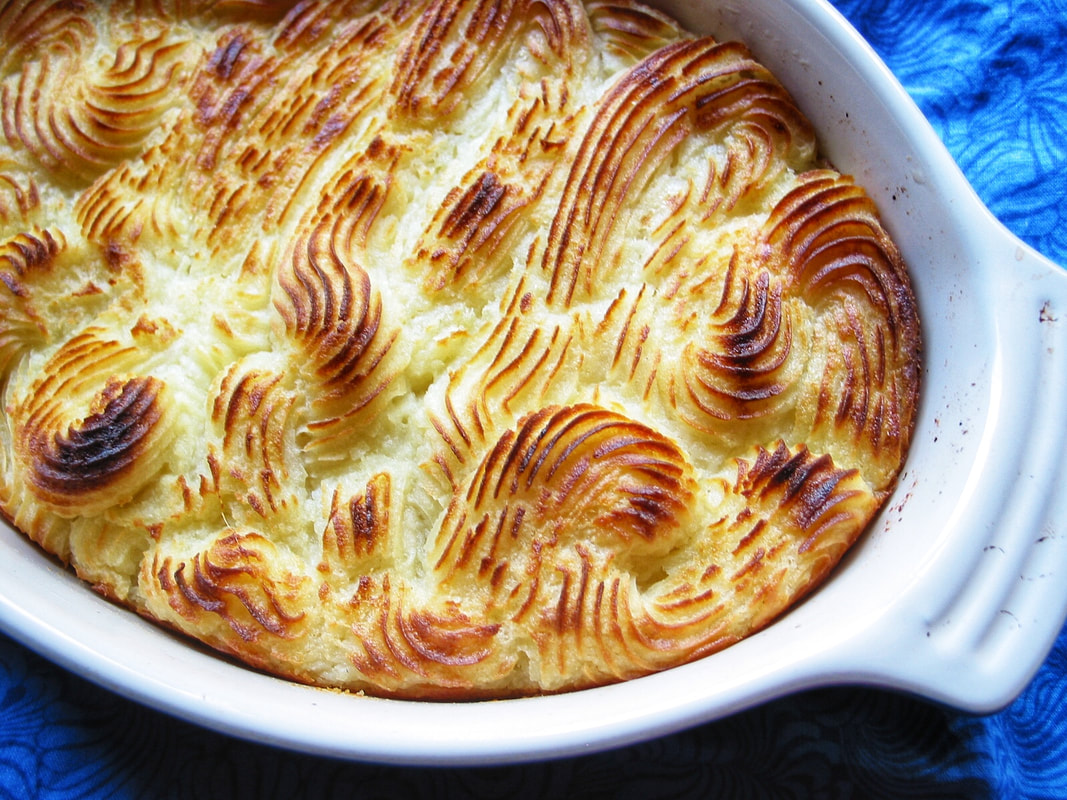
The original recipe calls for piping the potatoes into eight puffs of potato swirls. Those are glorious, and I've made them that way many times, but here I decided to freestyle the swirls and just make a decorative pattern in the baking dish. Either way you decide to do it, it's good.
If you don't have a pastry bag and a piping tip, just spoon the mashed potatoes into the baking dish and create decorative swirls with the tines of a fork. The end result will still be crispy on the outside and soft and buttery on the inside. However you decide to present them, Pommes Duchesse will be an impressive addition to any holiday (or everyday) feast. PS: A year ago we were feeling pretty healthy with this butternut squash soup with red curry croutons (www.moveablefeast.me/blog/butternut-squash-soup-with-red-curry-croutons). 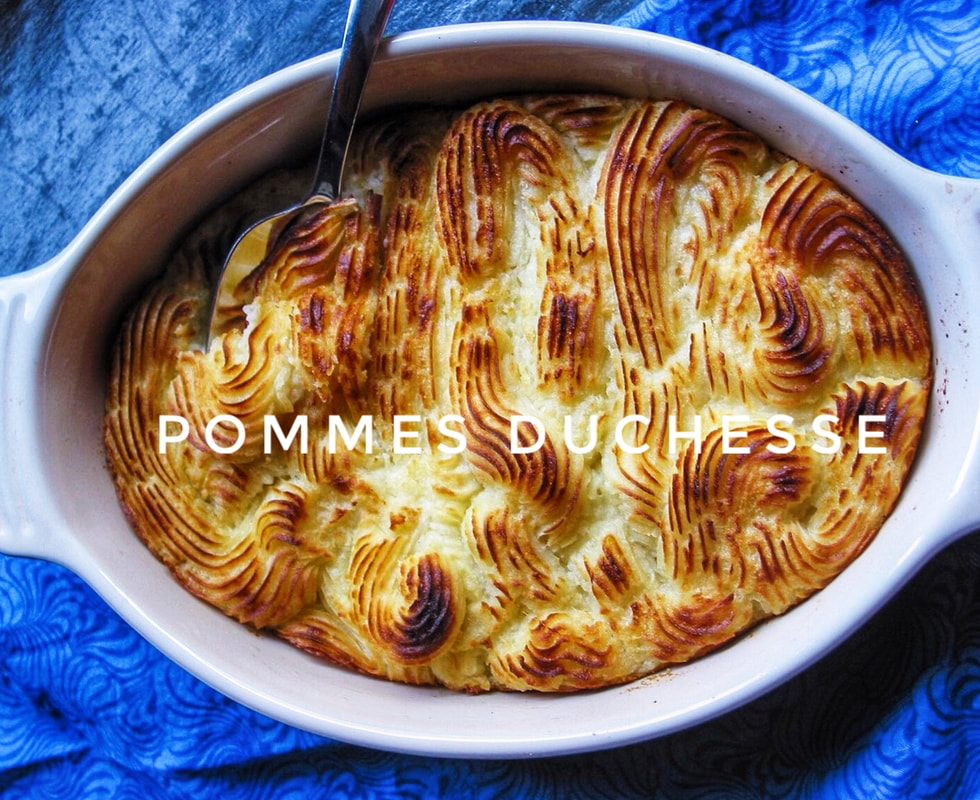
Adapted from: Geoffrey Zakarian, The Kitchen (Food Network)
Number of servings: 8 Ingredients
Directions

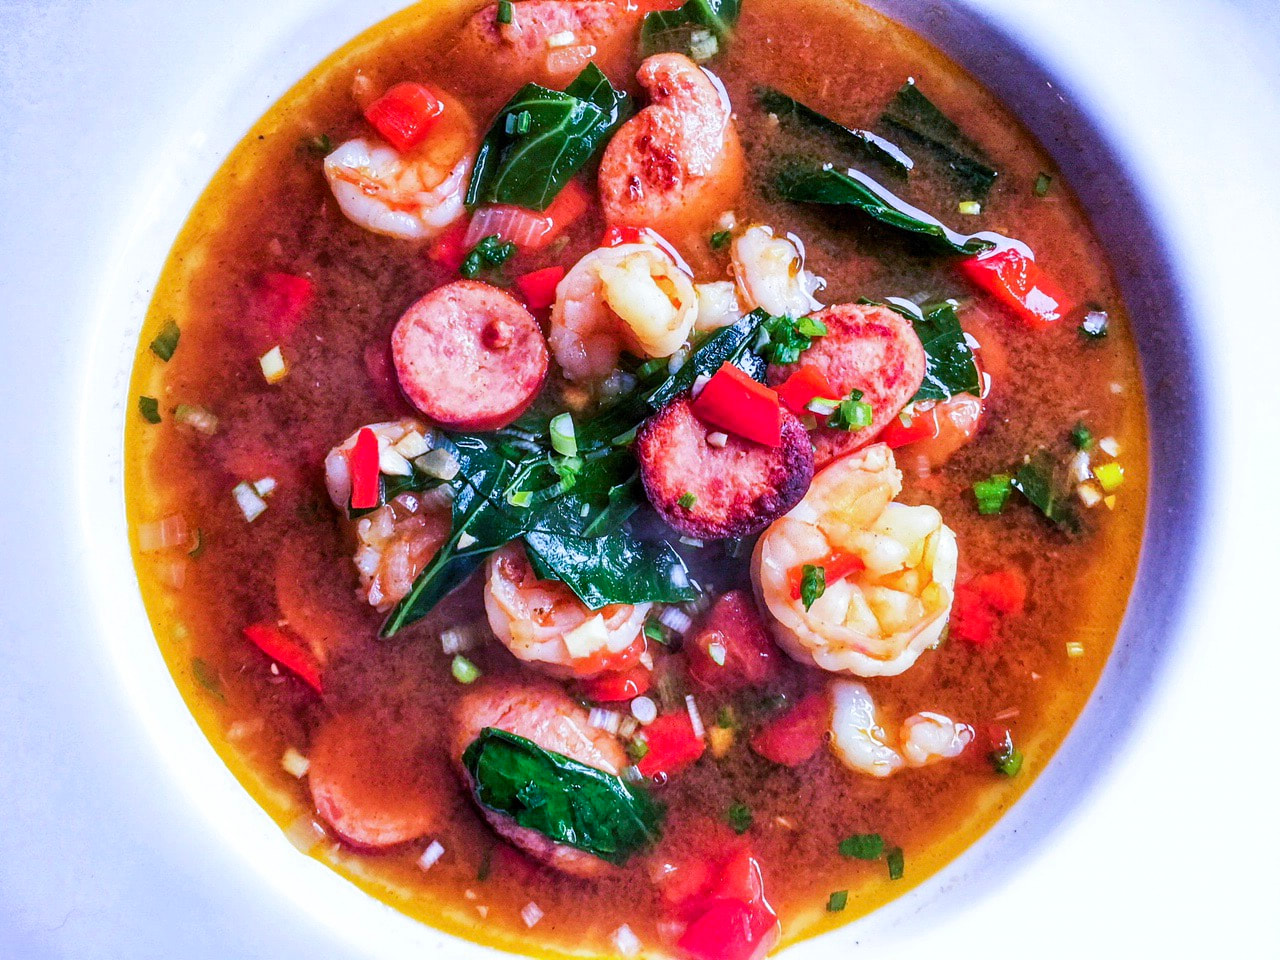
Just because Mardi Gras may have passed, doesn't mean it's not too late to serve this light, brothy, hearty and incredibly flavorful gumbo. (In our household, Mardi Gras-month is always a time for celebrating everything New Orleans.) Adapted from a recipe the great Emeril Lagasse published in a dog-eared copy of the September, 1994 issue of Bon Appetit.
New Orleans is, hands down, an all-time favorite city for me and the BF. Incredible food, history, architecture and music [Ed. note: Tipitina's, represent!] everywhere you step. We never, ever tire of that city, and are lucky to have visited at all different times of the year. We also can't leave until we've had a bowl of gumbo...somewhere. A few of my favorite places to enjoy the staple are Dooky Chase Restaurant, Galatoire's and Nola's. Come to think of it, it's been many years since the BF and I have been. Perhaps we need to head back soon? [Ed. note: Do not tease!] NOTES:

A small sampling of my vast voodoo doll collection.

Until next year, Laissez les bon temps rouler!
Adapted from: Bon Appetit, September 1994 Number of servings: 8 Ingredients Stage I
Directions
PS: A year ago chocolate and peanut butter squared off and clashed in a titanic battle for the ages (www.moveablefeast.me/blog/chocolate-peanut-butter-tart), then there was an attempt to make up for that dessert bomb with some roasted shrimp and asparagus with shallot lemon vinaigrette (www.moveablefeast.me/blog/shrimp-asparagus-with-shallot-lemon-vinaigrette). PPS: "Iko Iko" is one of my favorite songs, takes me right back to New Orleans. 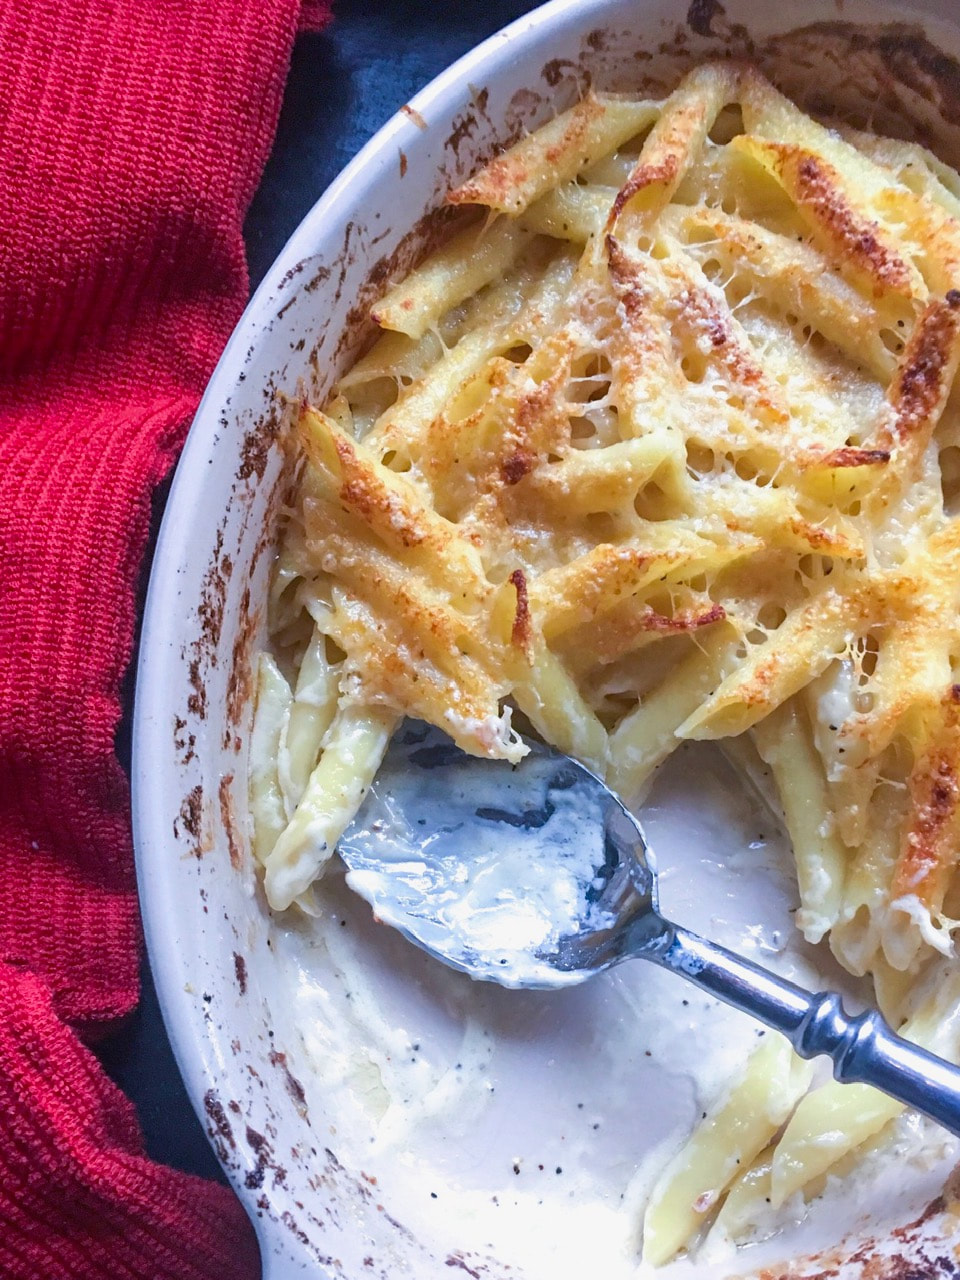
Pasta. Parmesan cheese. Cream. Prosciutto. Four ingredients. [Ed. note: Can't get The Count from Sesame Street out of my head, "One, two, three, four ingredients heh heh heh."]
Make it vegetarian by omitting the prosciutto. Three ingredients. You're welcome. An indulgent winter meal that reheats very well, I make it once a year for the BF and he goes clinically insane over it. [Ed. note: Do I need to concur? Folks, she doesn't lie.] NOTES:

Adapted from: Gourmet, December 2006
Number of servings: 6 (main course) or 8 (side dish) Ingredients
Directions
PS: A year ago we stepped it up to four ingredients to satisfy the sweet tooth with this sumptuous café au lait pudding adapted from Ashley Rodriguez's Date Night In (www.moveablefeast.me/blog/cafe-au-lait-pudding). 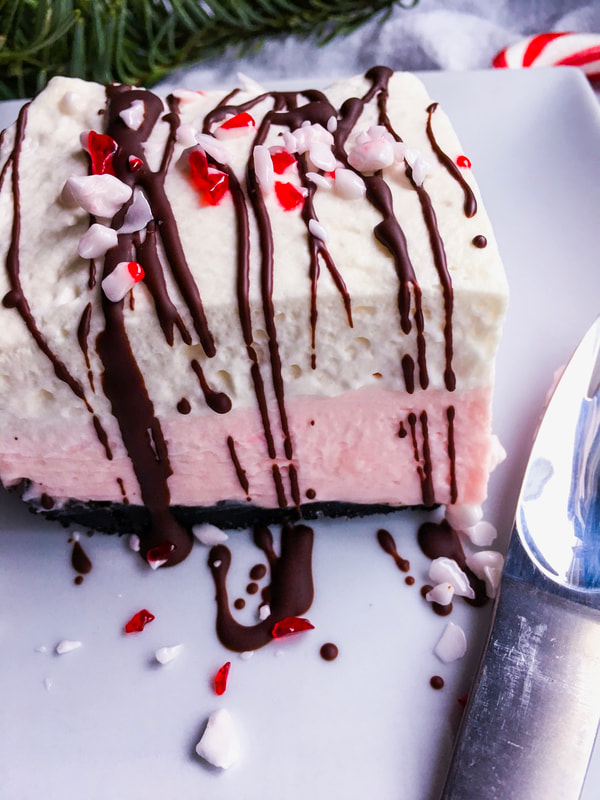
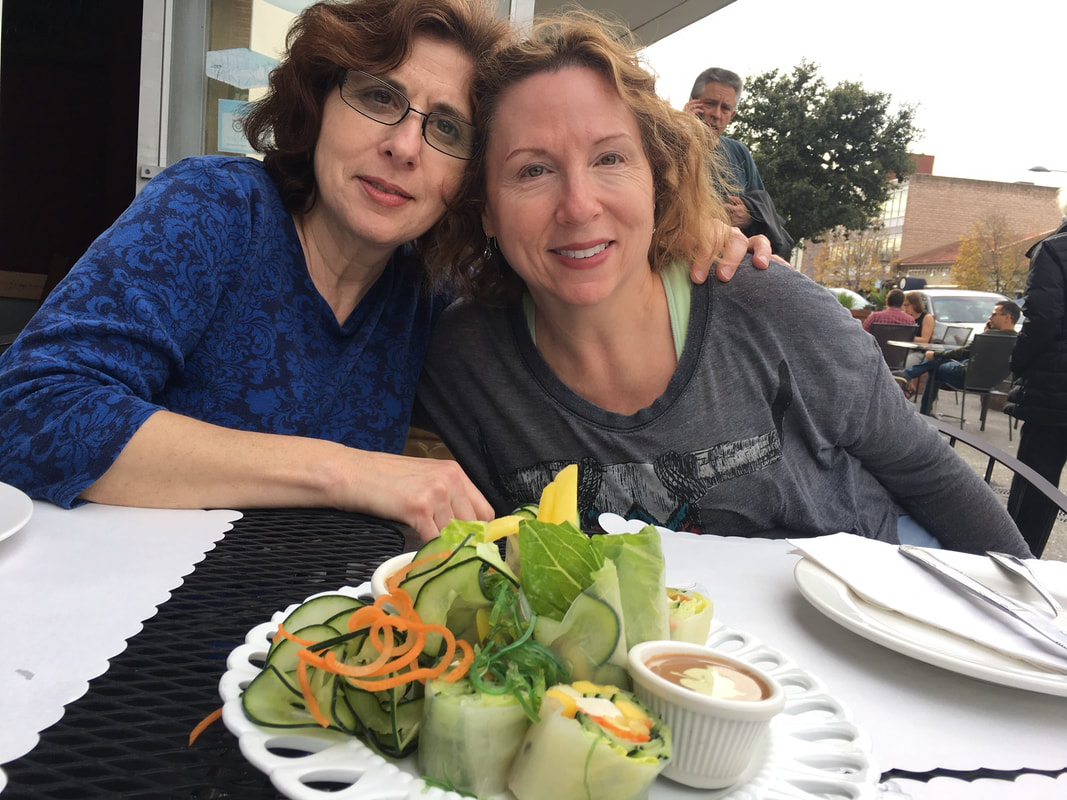
'Tis the season for good food and great company. My wonderful cousin and younger sister, traveling from Oregon, paid the BF and I a visit, and we showed them a few of our favorite local spots. Even though I had to work for clients while they were here, we managed to squeeze in much fun.
One day, we visited the Cantor Museum and Rodin Exhibit on the Stanford University campus. On another, we walked up and down Palo Alto's University Avenue and had dinner at a delicious Menlo Park Turkish restaurant. The last day, we took our choco-lab Marlowe and walked around Bol Park, aka "Donkey Park" (Perry was the model for "Donkey," voiced by Eddie Murphy, in the film Shrek), and ate lunch at Thai Bistro on California Avenue. In the evening we made gingerbread cake topped with eggnog whipped cream along with spiralized celeriac latkes [Ed. note: I don't think we ate it in that order?], and watched a superb documentary called Shanghai Ghetto. When they left, while cousin and sister went up the long escalator at a local Bart station, Marlowe let out the most woeful cries as they slowly disappeared from view. [Ed. note: We'll forward the therapy bills.] 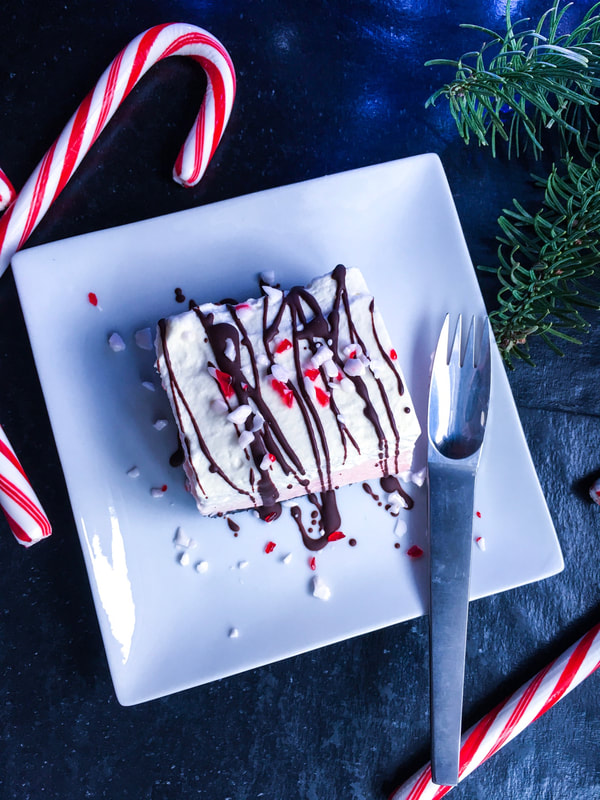
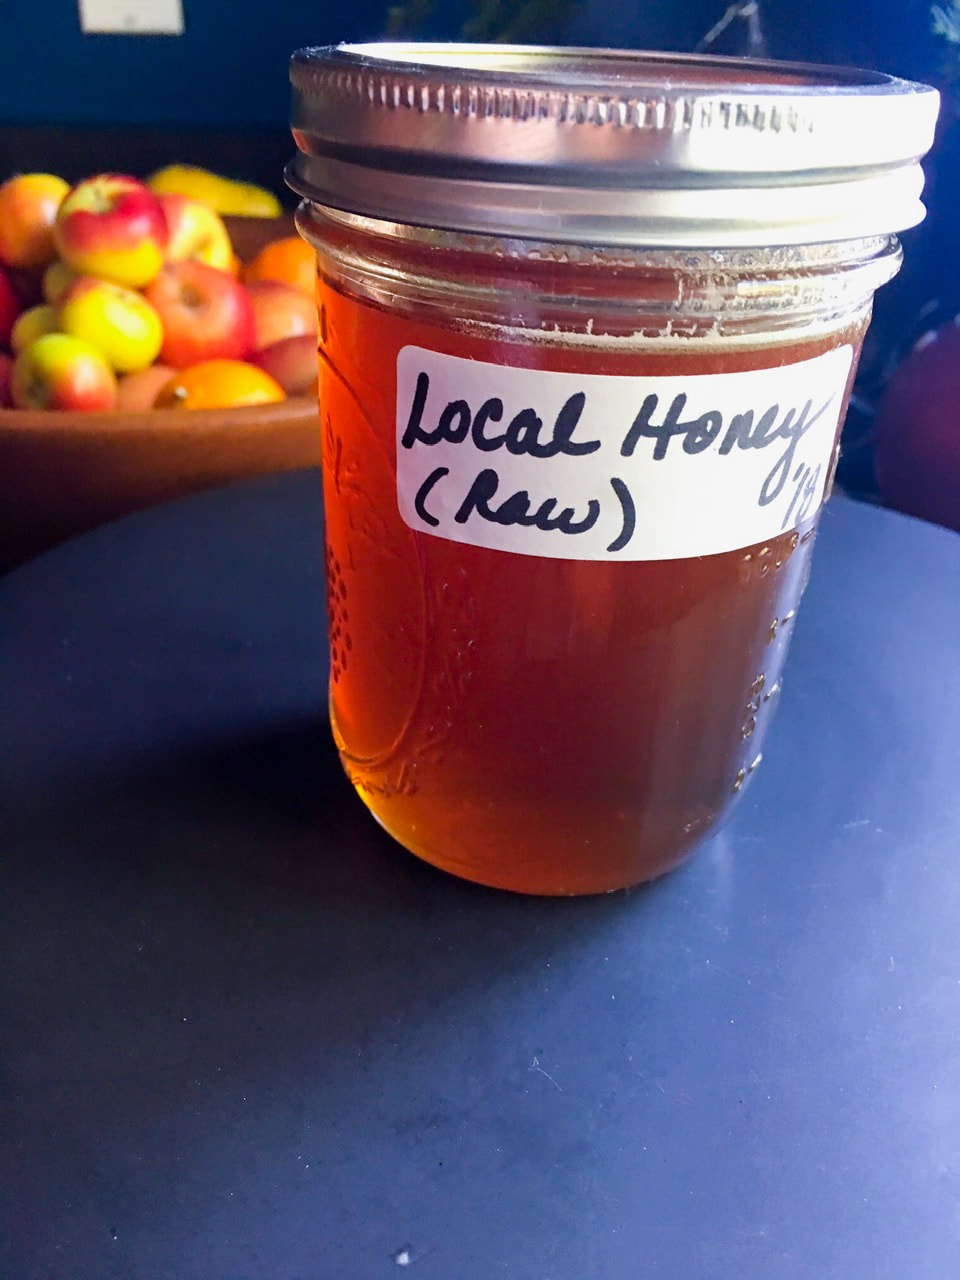
My cousin is an expert beekeeper and gifted us with the most amazing raw honey, which we can't stop dipping into. She also gave us homemade lemongrass soap and lip balm, as well as some sinfully good Burnside Distillery small-batch bourbon, which kept everybody warm! [Ed. note: Can confirm.]
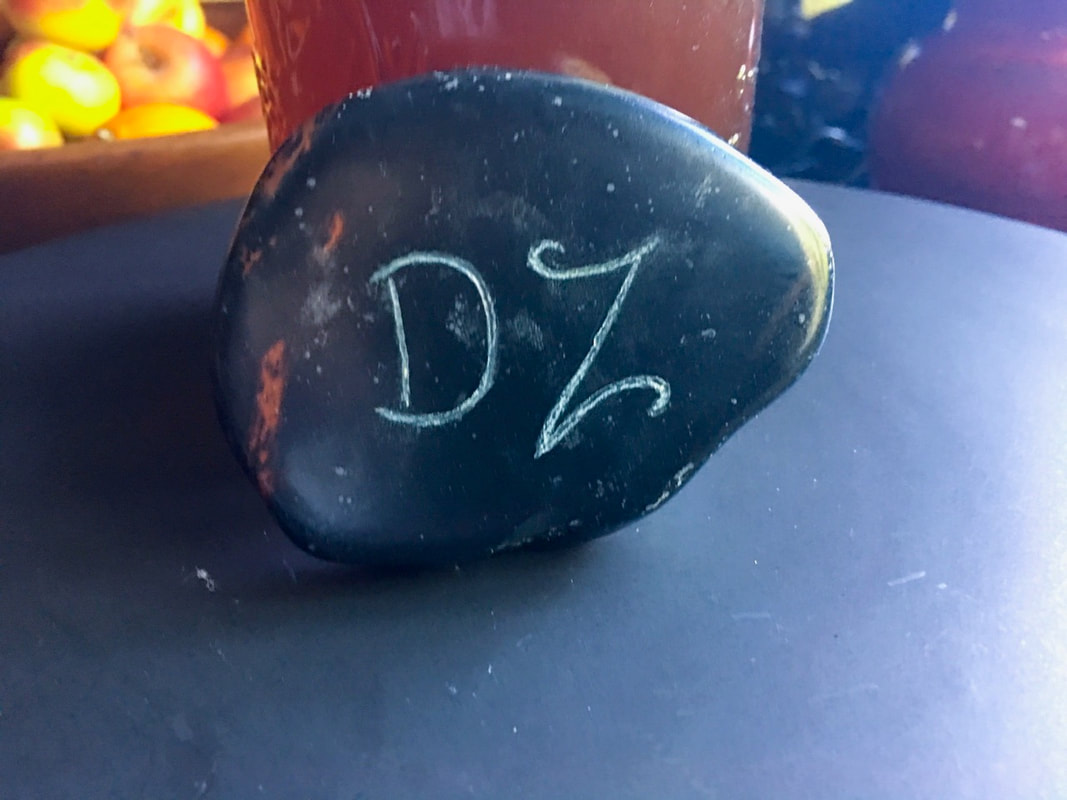
My sister is very knowledgeable and talented with rocks, stones and gems. She gave us beautiful hand-engraved stones that say "Shalom" and "DZ," which now rest proudly on the kitchen window sill that I work in front of every day. More significantly, she also gave me custody of our mom's engagement ring (we trade off every year), which was was so brilliantly polished and shiny it practically glittered. She is also adept in the landscaping arts, and got to work in the backyard well before unpacking. (She makes up for my black thumb.) Marlowe is always a happier camper when she has a "pack," and as usual the did the nighttime "rounds," visiting the visitors as they slept. Life is good when these girls are with us. 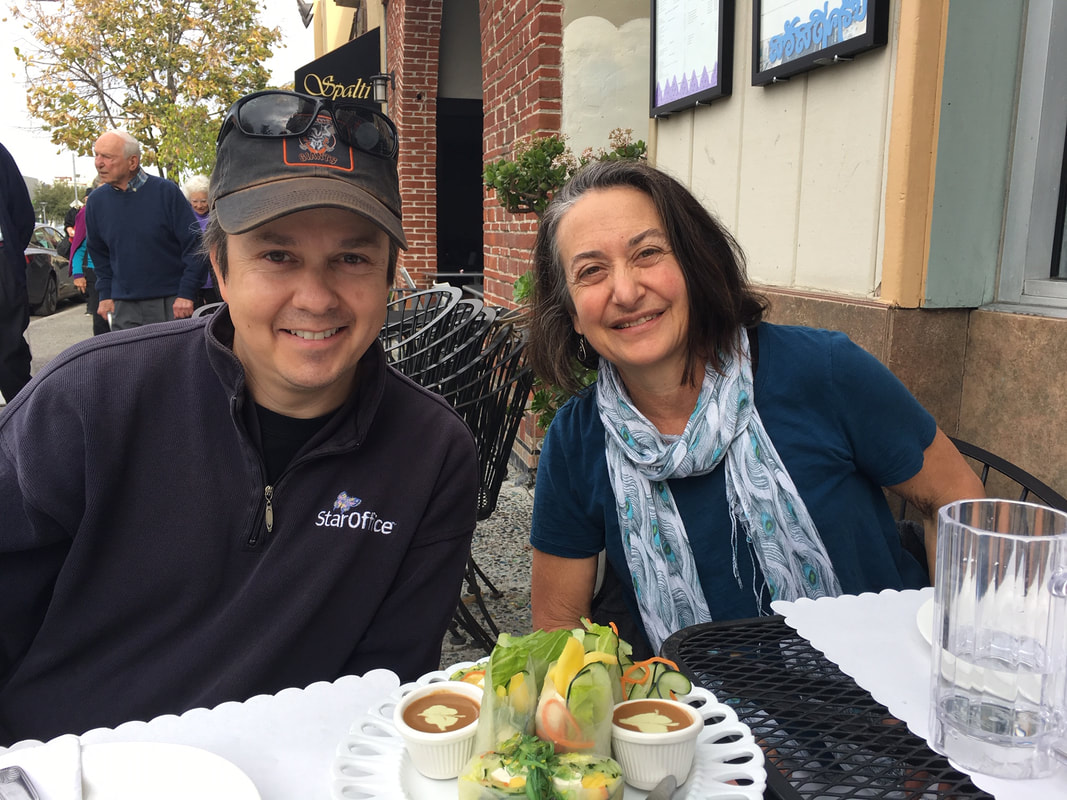
And it wouldn't be a family gathering without dessert, so for December: peppermint! It just says winter to me.
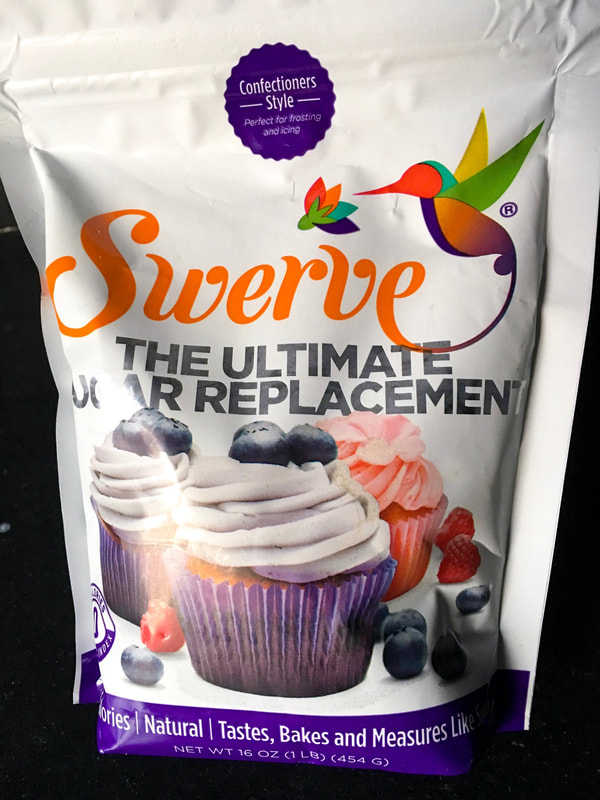
This cheesecake is almost too easy. No baking, no sugar, low carb and comes together in about 15 minutes. With a crust that tastes like Oreo cookies, it was the most popular dessert of the visit, even though we had plenty of other desserts with real sugar. There's only a slight change to the original recipe (upped the whipping cream from 2 tablespoons to 4), as I like a fluffier mousse-like cheesecake. Also added a pinch of salt to the crust. Should also note that I used my favorite brand of sugar substitute called Swerve, but you can use whatever you like.
Adapted from: All Day I Dream About Food
Number of servings: 16 Ingredients Crust
Directions Crust
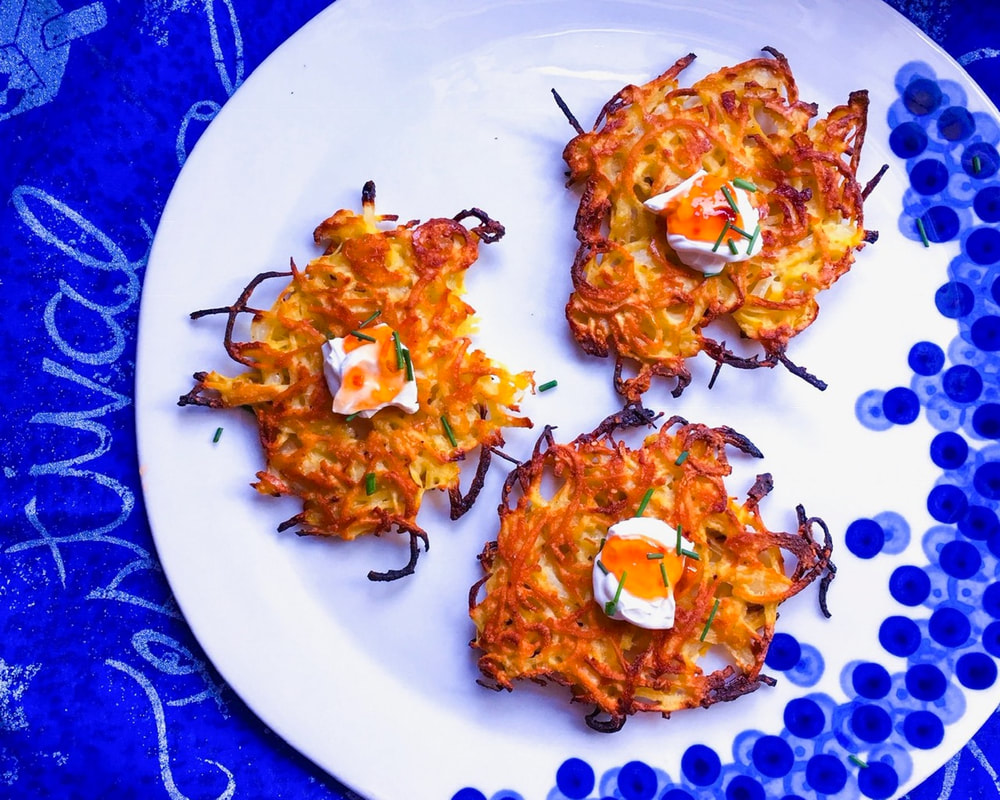
Happy Hanukkah! One of my favorite holidays to celebrate with my BF and family. It's also latke time!
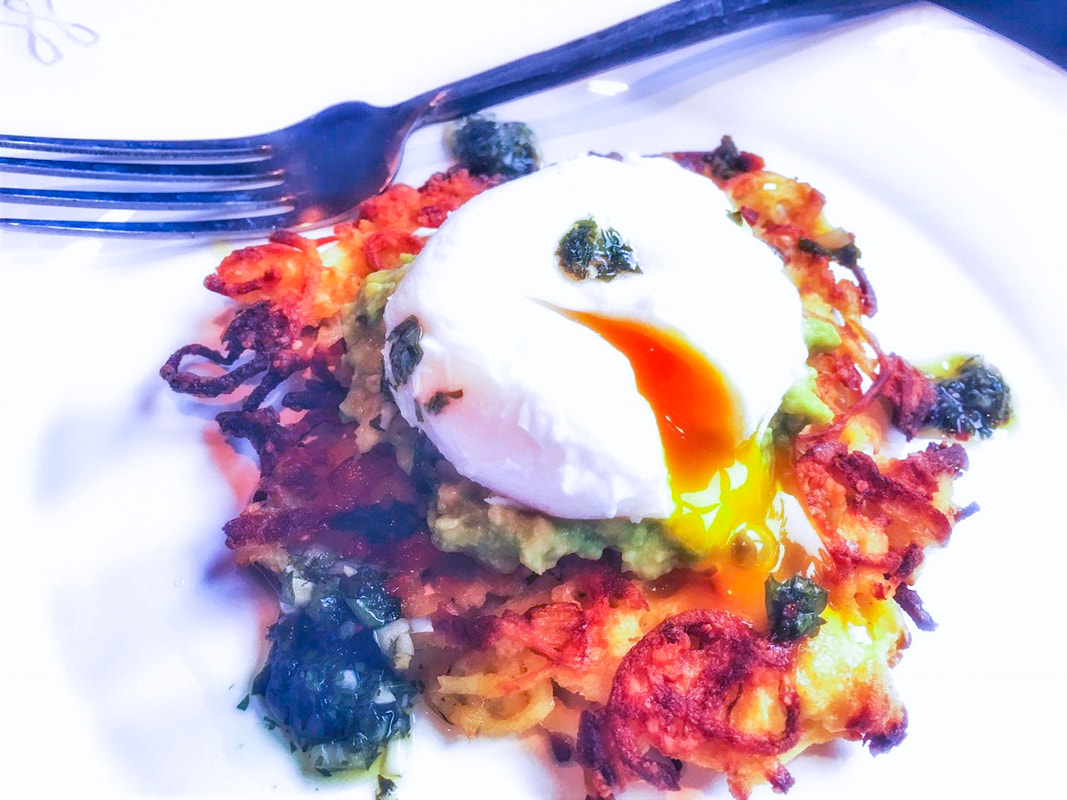
I love this method for making latkes, mainly because it's baked and not fried. You use oil, but it won't splatter all over the stove. And yes, it's parsnips instead of potatoes. Parsnips taste nutty and sweet, so to complement that sweetness you can top the latkes with tangy creme fraiche or sour cream, hot pepper jelly and chives (as shown in the photos above and below). Smoked fish or poached eggs are also delicious as a topper. The BF and I love them with mashed avocado and a poached egg, drizzled with chimichurri sauce (bottom photo). If you don't have a Spiralizer, don't worry, the large grate on your hand grater will work fine. The bones of the original recipe are from Inspiralized, I just changed the quantities to my liking. 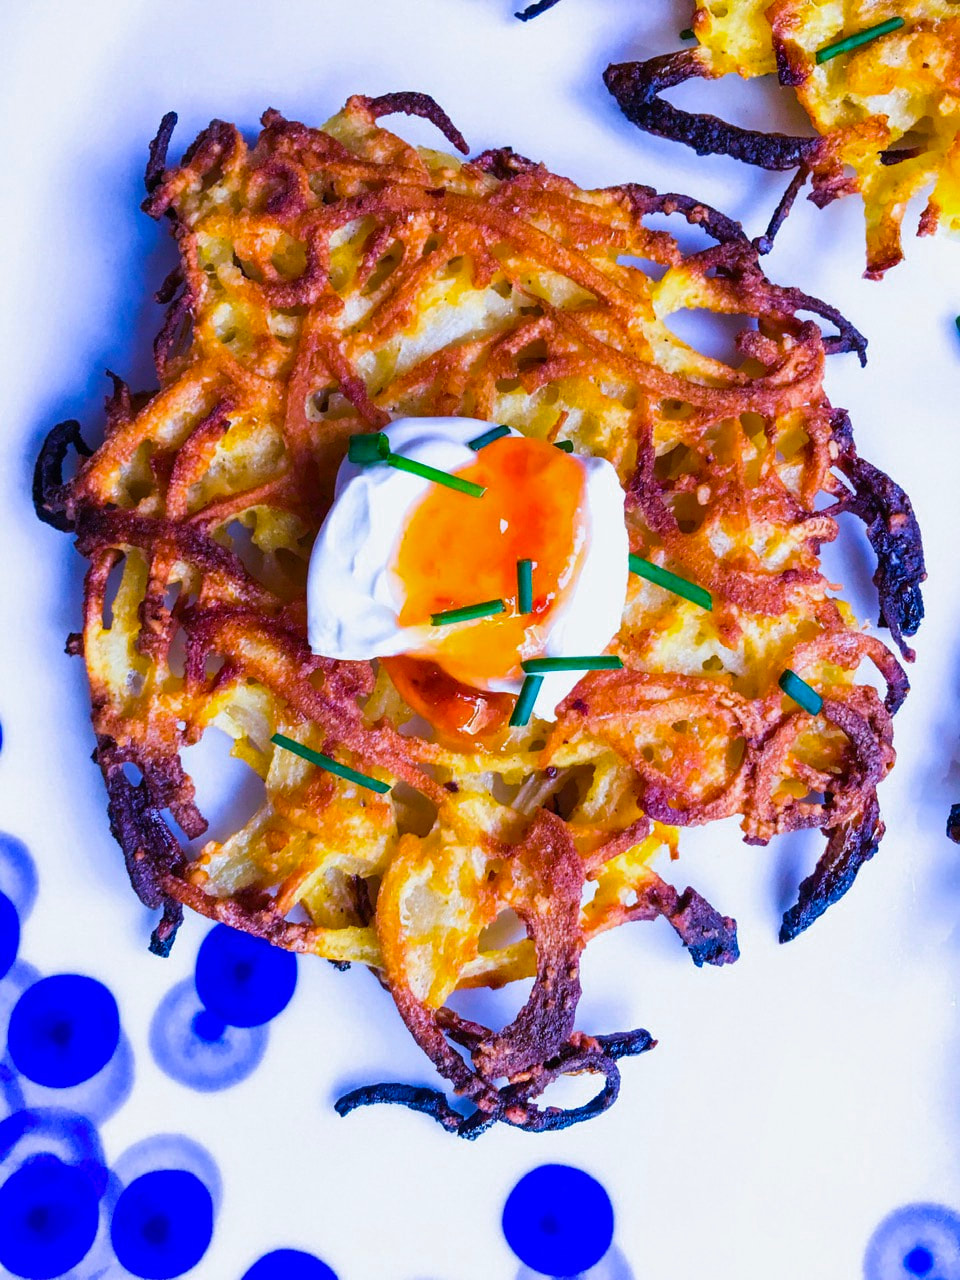
Closing on a different note, my cousins in Chicago recently sent me this amazing "Bohemian Chanukah" by Six 13 (see below), and this, along with the fact the BF and I loved the film Bohemian Rhapsody [Ed. note: if Rami Malek doesn't get a best-actor Oscar nomination for his portrayal of Freddie Mercury, the offending non-voters should be studied in a lab], reminded me that Queen is one of my favorite bands of all time.
How favorite? I actually "gave" a Queen documentary DVD to the BF as a Hanukkah gift, and he kindly reminded me that he'd actually received a press-review copy of the same film years ago when he was working as a music journalist. He offered it to me, and for some reason at the time I said no. Sometimes you need to be reminded. Reminding you that we hope you are enjoying a wonderful holiday with family and friends. Shalom.
Adapted from: Inspiralized
Number of servings: makes 5-6 large latkes or 10-12 mini latkes Ingredients
Directions
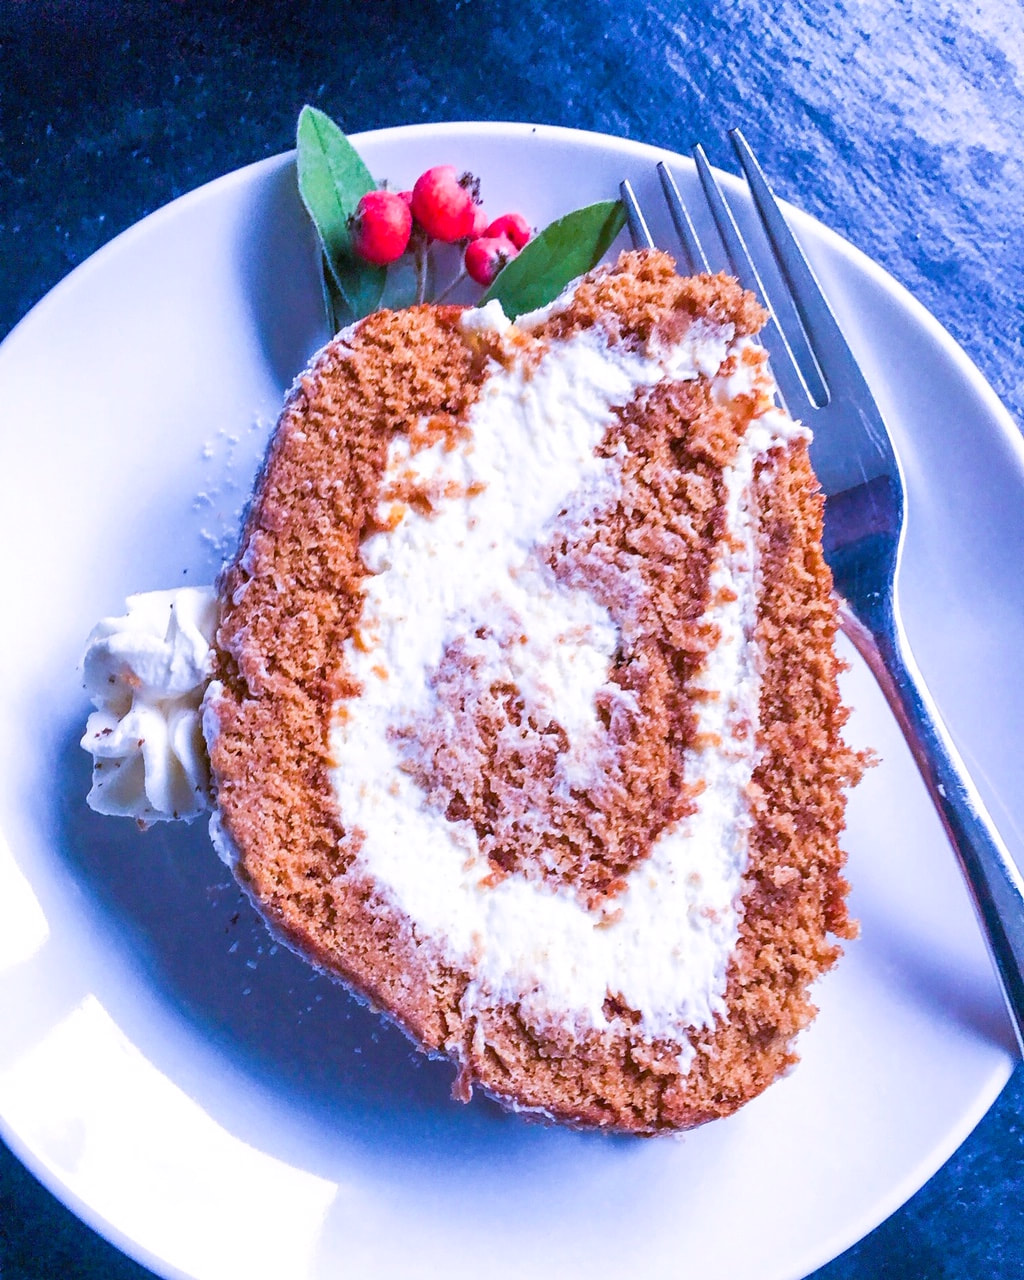
The Holiday season is here, with Hanukkah coming up next week and Christmas soon following. Here we're breaking out a theme most revelers get behind: gingerbread. This looks like a gigantic Hostess Ho Ho [Ed. note: DID SOMEONE SAY HOSTESS HO HO], and may initially appear imposing, but it's actually very light and fluffy, with a beautiful hint of gingerbread spice.
Now it has come to my attention from certain people [Ed. note: umm <whistling>] that some of you might want to make this more of an "adult" dessert and put a dash of bourbon or rum into the eggnog filling. Honestly, I would advise against putting more liquid into the filling; the main reason I added mascarpone cheese was to make the filling more stable. Adding more liquid could make this a bit of a messier proposition. Of course, if you want to have a drink (like a bourbon or hot toddy) with the cake, by all means do. [Ed. note: Don't call this a "log" for cheap comedic effect don't call this a "log" for cheap comedic effect don't call this a "log"...] Happy Holidays! More confections to come! 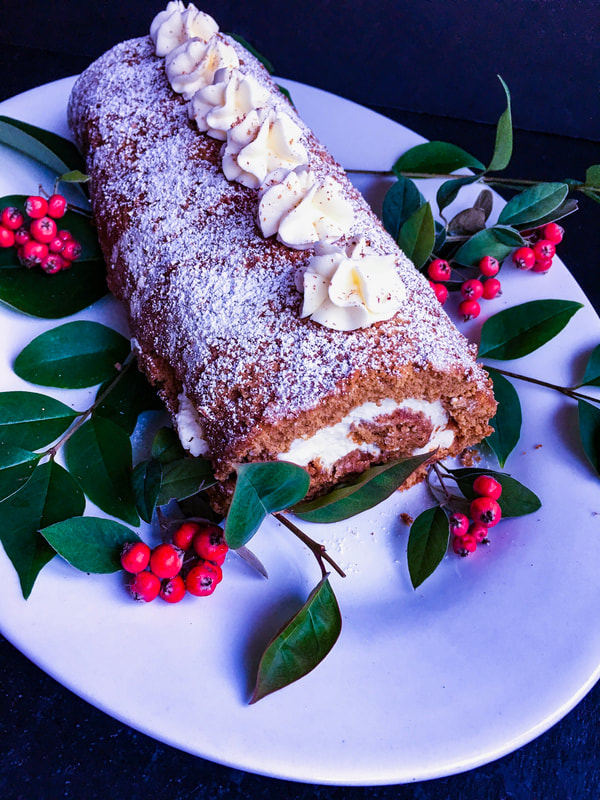
Adapted from: Crazy for Crust
Number of servings: 8-10 Ingredients Cake
Directions
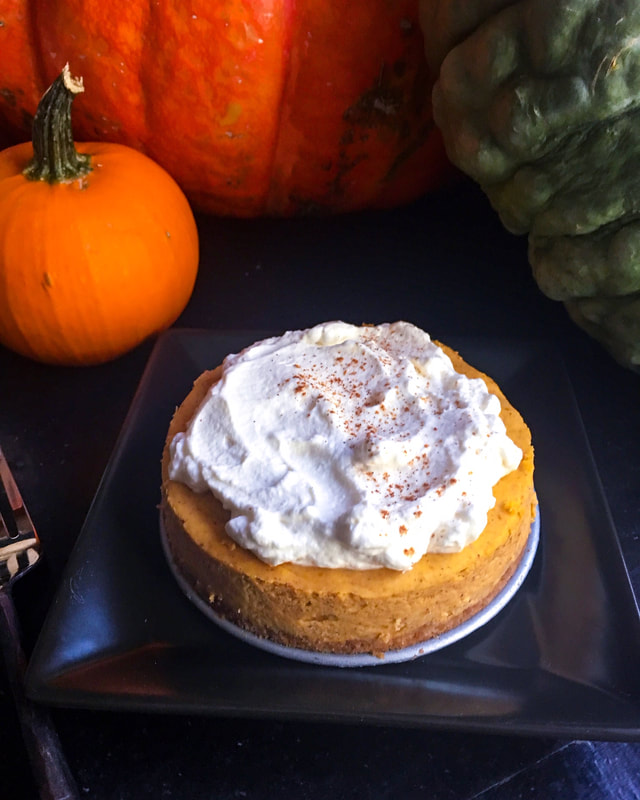
The BF and I recently had a wonderful dinner at a neighbor's house. Husband and wife (turns out she and the BF went to the same university and graduated a year apart) and their two adorable children. The wife made a special request for something sugar-free and low carb, something I always try to pull out of the proverbial hat over the holidays.
So besides the normal sugar-full monstrosity that sent the kids (and BF) spinning [Ed. note: GERPH SNORG FLEEGLE NOP], I presented a version of this pumpkin cheesecake to the wife. "Honey, you have to try this," she gasped at her husband. Soon, everybody was taking a small forkful. The husband and my BF, bless them, went from sumptuous satisfied grins to quizzical bewilderment. The husband cocked his head, "This is...sugar...free?" No wonder, it really did taste like a decadent cheesecake. The BF likes to say these are "weapons." [Ed. note: As in, people, including or especially kids, will not question whether or not the dish has a particular ingredient until you tell them.] When time allows, I experiment and make us sugar-free-grain-free-low-carb desserts (or similarly constructed main dishes) and the BF will say, "It's okay, but it tastes healthy." Kiss of death. So when something gets the "weapon" seal of approval, it must be shared. The pumpkin cheesecake will definitely make an appearance on this year's Thanksgiving dessert table. Many have even asked me to post more sugar-free, low carb desserts, so rest assured, there will be more to come. A big reason why this cheesecake and other such desserts can now be made: sugar substitutes have come a long way in the last 30 years. Had never found one that I liked for baking, until stumbling on a product called Swerve (swervesweet.com/products), which comes in granulated, powdered-confectioners, or brown form. This is not a sponsored post, simply have made countless desserts with it and the performance screams "real thing." Will bet you can't tell the difference. You can purchase Swerve online, or I have been lucky enough to find in my local grocery store. Am sure you could try a different brand, but I highly recommend this one and can't vouch for other brands in the final outcome of this particular dessert. The original recipe for this mini cheesecake says it serves two, but for the aforementioned dinner it was cut into four small pieces and was a perfect ending to the meal. Made a few tweaks to the original recipe from the blog All Day I Dream About Food: upped the cream cheese filling just a bit and doubled the whipped cream topping. For people who count their Net Carbs, half of this cheesecake is only 3 Net Carbs. 
Number of servings: 2 large or 4 small
Adapted from: All Day I Dream About Food for Swerve, The Ultimate Sugar Replacement (swervesweet.com/products) Ingredients Crust
Directions Crust

Well we survived midterms [Ed. note: Anyone get the license plate of that truck that hit us?] and now, more importantly, it's two weeks until Thanksgiving!
It is never too soon to plan the meal. Right now I have a rough menu outline, but so far the only certainty is that this soup will start the evening off, either in a bowl or as soup shooters (shot glass). Have made a bazillion different kinds of butternut squash soup over the years, but this is "The One." Velvety, flavorful, filling, but not heavy. You'll swear there's cream in there. There isn't. You can even make this dairy-free/vegan by omitting the butter and substituting olive oil. Full disclosure, I tend to tinker with recipes to tailor it to my or the BF's taste, but this recipe, didn't change a thing [Ed. note: wut]. The soup works well on its own, but if you want to kick the flavor up a notch I suggest adding the red curry croutons. (Butternut squash and red curry are a match made in heaven.) Another handy tip, I find the hand-immersion blender very convenient, but if you want a truly smooth, velvet consistency, break out the big guns, your "serious" blender, and mix like you mean it. PS: Don't want to give away any secrets, but someone's birthday is coming up [Ed. note: wut]. Last year I didn't mess around and broke out Batman and the Joker for a positively killer caramel apple cake (www.moveablefeast.me/blog/caramel-apple-cake). PPS: Marlowe is very happy if you voted! 
Adapted from: Corky, Lori, Dana and Tracy Pollan, The Pollan Family Table (soup) and Woks of Life (croutons)
Number of servings: makes about 2 quarts (4-6) Ingredients
Directions

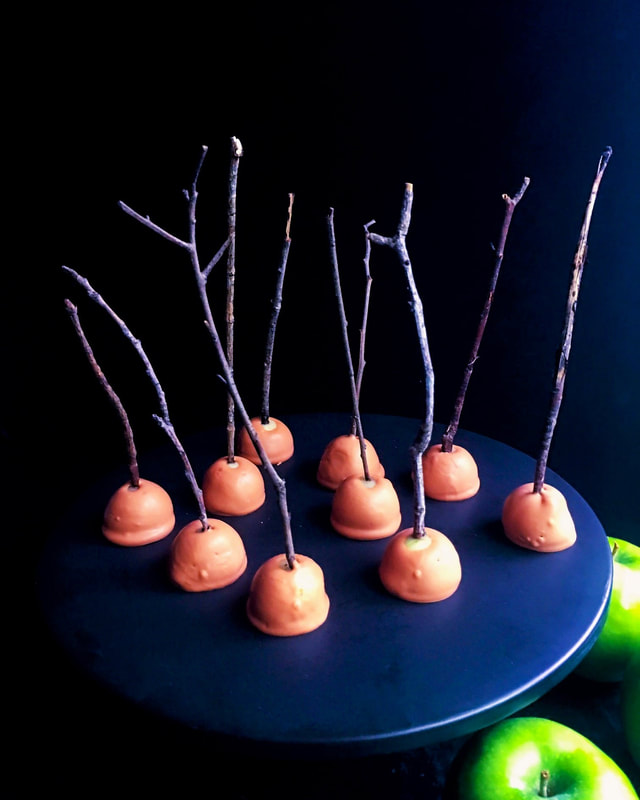
Happy Halloween. 
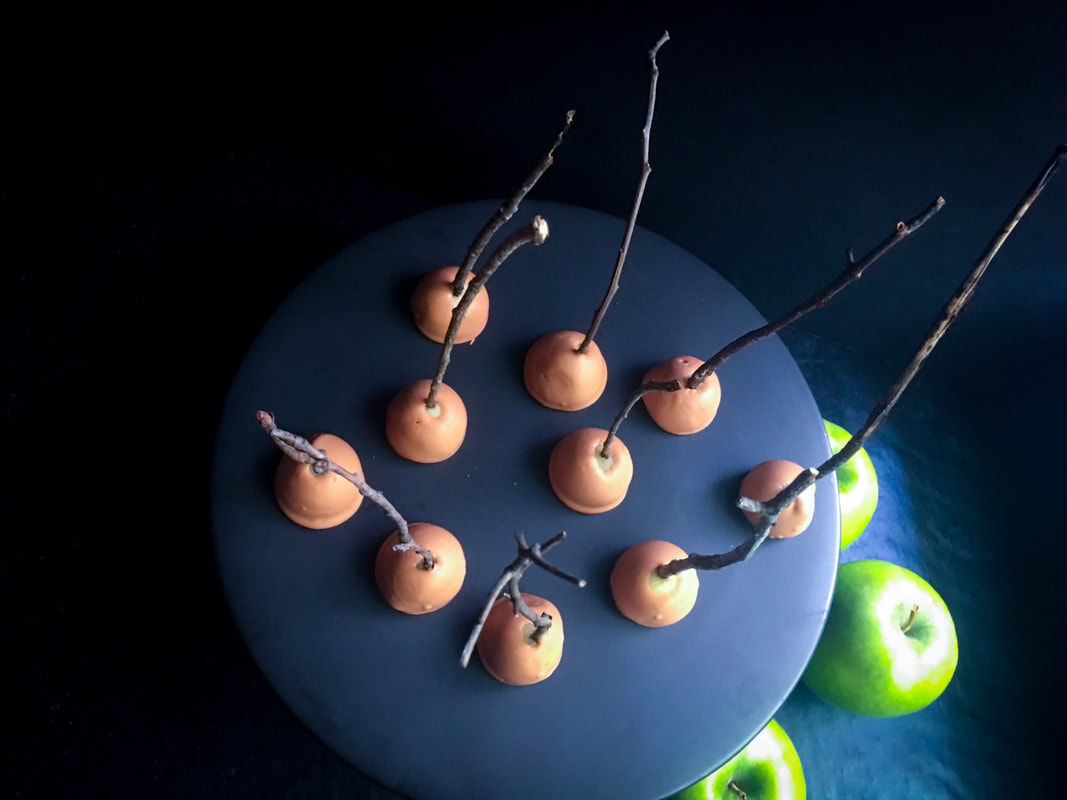
Adapted from: I Am Baker (blog)
Number of servings: Makes approximately 20-24 mini apples Ingredients
Directions
|
AuthorI'm Jacquie, personal chef & recipe developer in the beautiful Pacific Northwest. Lover of books, bourbon, chocolate and movies. Archives
May 2020
Categories
All
|


 RSS Feed
