Moveable Feast
  • home
  • services
  • bio
  • blog
  • contact
  • PHOTOS (summer)
  • photos (winter)
  • PRESS
  • faq

Feast Mode

a moveable feast blog

Crushed Raspberry Tart

6/12/2018

0 Comments

 
Picture
Okay. So, I can be a tad stubborn in my dessert likes and dislikes. The BF can attest.

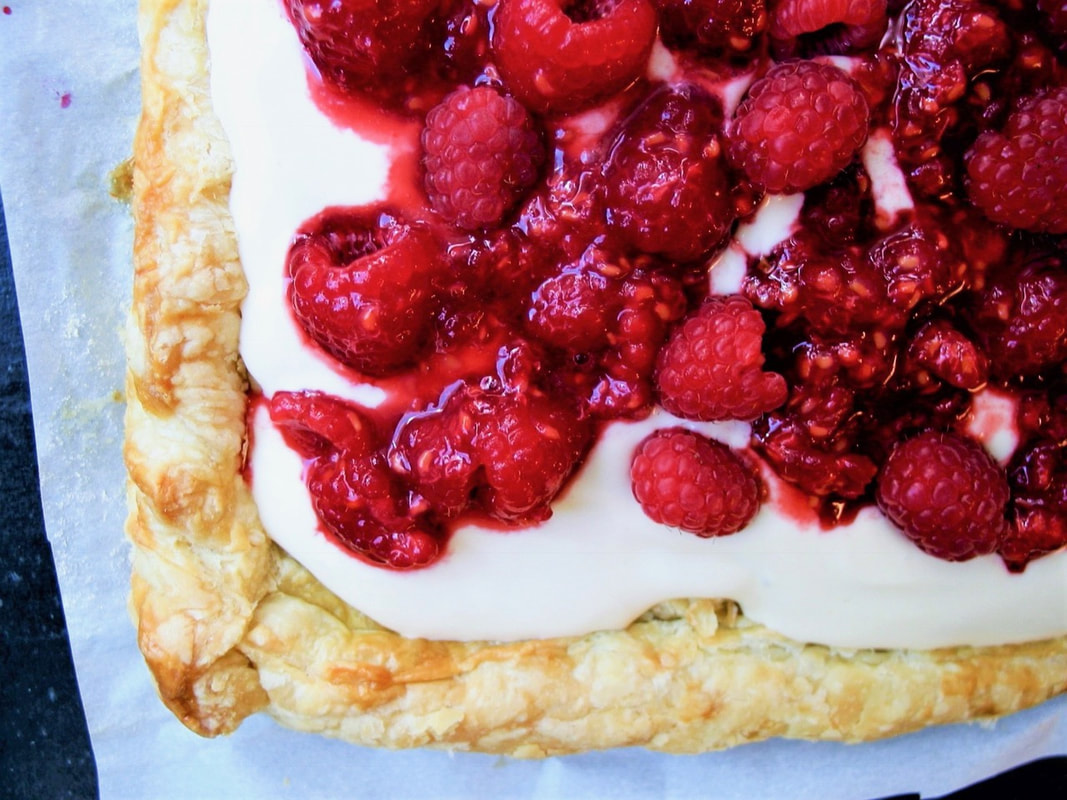
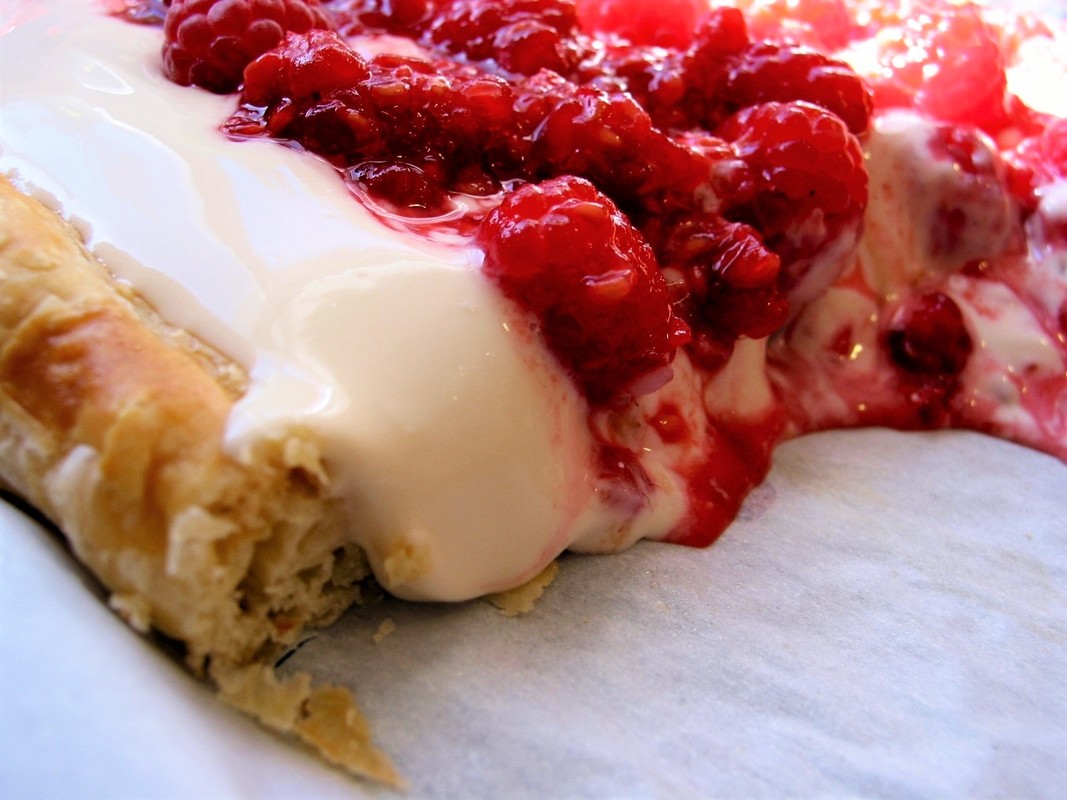
[Ed. note: Want to answer this honestly, but I've been falling asleep before her and value my own life.] 

My existence has revolved around the dictum: if it is not chocolate, it is not dessert. Would think to myself, "What's the point?" It was never a problem to pass up fruit pies, tarts, parfaits, jams, jellies, or other such confections. 

Then several years ago this tart changed my mind. Discovered it from Donna Hay's Seasons and it became a real show stopper for clients. Tart, tangy, colorful, not too sweet, and light. It's also one of the easiest desserts I have ever made.

It's not chocolate, but it works as a terrific distinctive summer dessert to end the meal with.
Picture
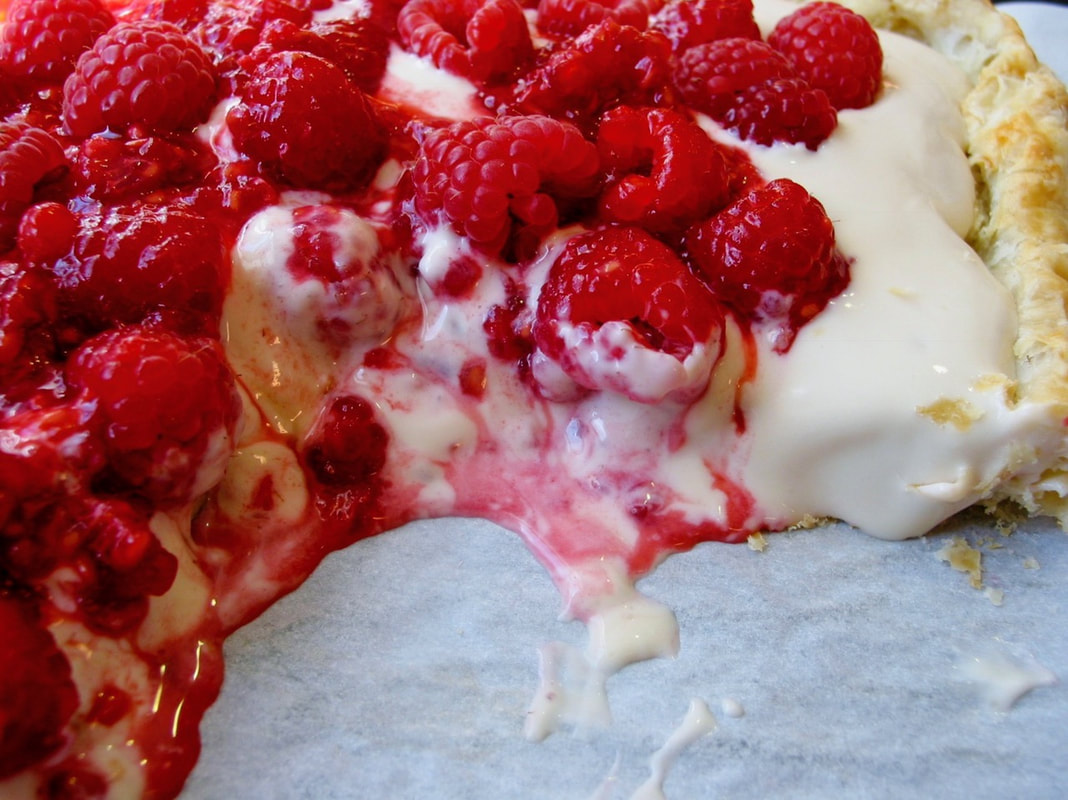
Adapted from: Donna Hay, Seasons
Number of servings: 4-6

Ingredients
Tart and Topping
  • (1)  13 ¼ ounce packet of puff pastry, thawed
  • egg white for brushing
  • 1 tablespoon superfine sugar
  • 2 cups fresh raspberries
  • 1 tablespoon confectioner’s sugar, sifted
​Sour Cream Filling
  • 1 cup sour cream (very thick sour cream works best)
  • ¼ cup heavy whipping cream
  • ⅓ cup brown sugar

Directions
Tart and Topping
  1. Preheat the oven to 400 ºF.
  2. Roll out the puff pastry on a lightly floured surface to ⅛-inch thickness and trim to an 8-inch square. From the remaining dough cut eight strips measuring ½ inch x 8 inch.
  3. Place the dough square on a baking tray lined with non-stick baking paper, brush square with egg white and place half the strips around the edge to form a border, pressing gently to seal. Brush the borders with egg white and place the remaining strips on top. 
  4. Prick the base with a fork. Cover dough with plastic wrap and chill for 30 minutes. Remove the plastic wrap, then sprinkle sugar over the dough and bake for 20 minutes or until crisp and golden. Allow to cool. 
  5. While pastry is cooking, make the sour cream filling.
Sour Cream Filling and Topping
  1. Place sour cream, heavy whipping cream and brown sugar in a bowl and whisk until combined and smooth. Place in fridge. 
  2. Place half the raspberries in a bowl with the confectioner's sugar and crush lightly. Fold in the remaining raspberries and set aside. 
  3. Once the pastry has cooled, spread the sour cream filling over the base of the pastry, spoon over the raspberries and serve. 
Picture
0 Comments

Chocolate Peanut Butter Tart

3/6/2018

2 Comments

 
Picture
You got chocolate in my peanut butter!
You got peanut butter on my chocolate!


For those that don't know, Reese's made a thousand (it seems) variations on this theme.
Everyone from my generation has seen a version of this commercial. And they're right, some things really do pair well together. Even bring out the best in one another.

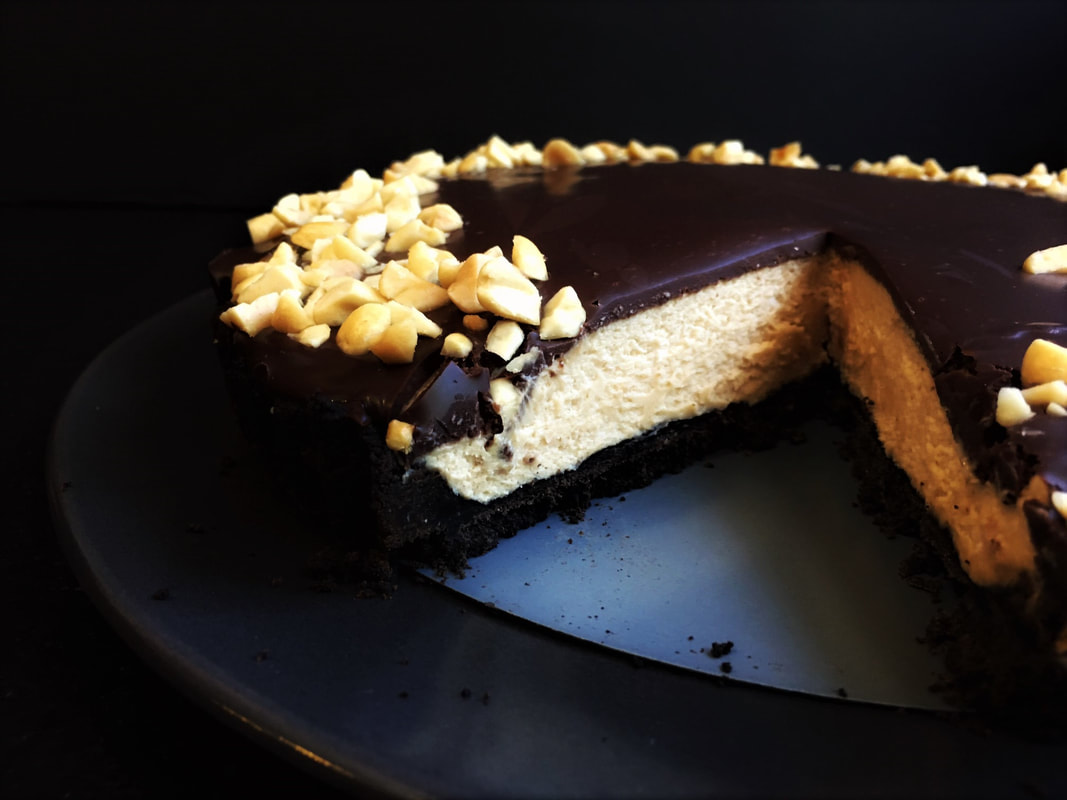
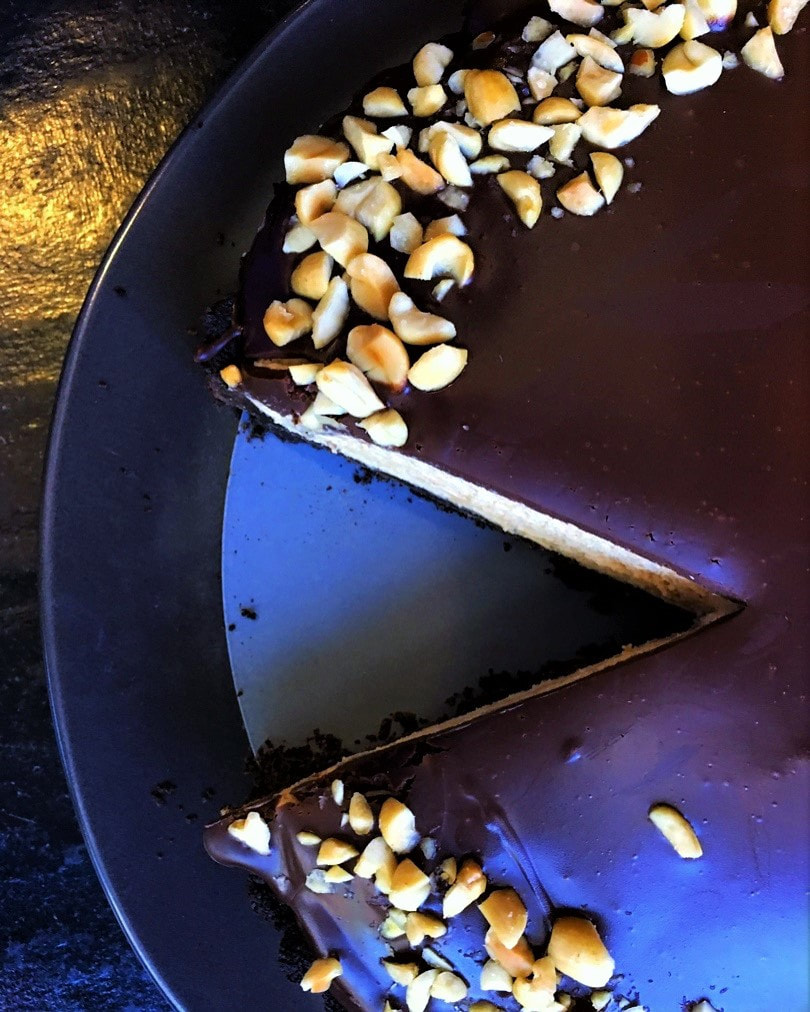
The BF and I have never been die hard peanut butter fans. I didn't grow up with PB&J sandwiches and hated all things peanuty, while he was...what's the phrase? [Ed. note: Psychotically nonplussed.]

I have since learned the error of my ways. Peanut butter and chocolate is to die for, and this tart is like a giant Reese's Peanut Butter Cup in pie form–only way better.
Picture
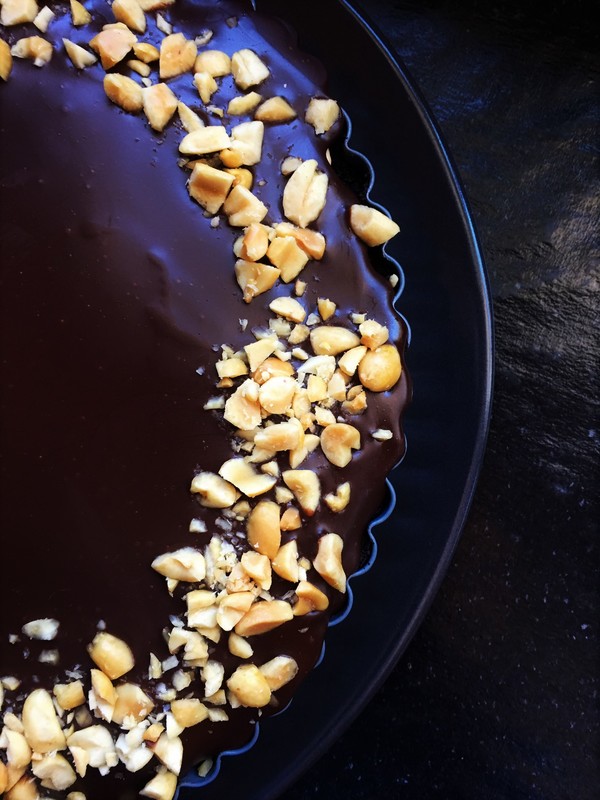
I first made this last year and was shocked at how good it turned out. Silky, creamy, decadent. The BF even loved it, which of course is something I always aim for. Now, it's a go-to for parties, celebrations, catering events, and lo and behold, I keep getting invited back whenever I bring it!

​If you have a peanut butter lover in your life, make this for them (or for you). You won't be sorry.

​You can even make individual parfaits out of this recipe. Place crumbled cookie crust on bottom of your chosen vessel. Spoon the peanut butter filling over the crumbled cookie. Top with ganache and chopped  peanuts. See photo below.
Picture
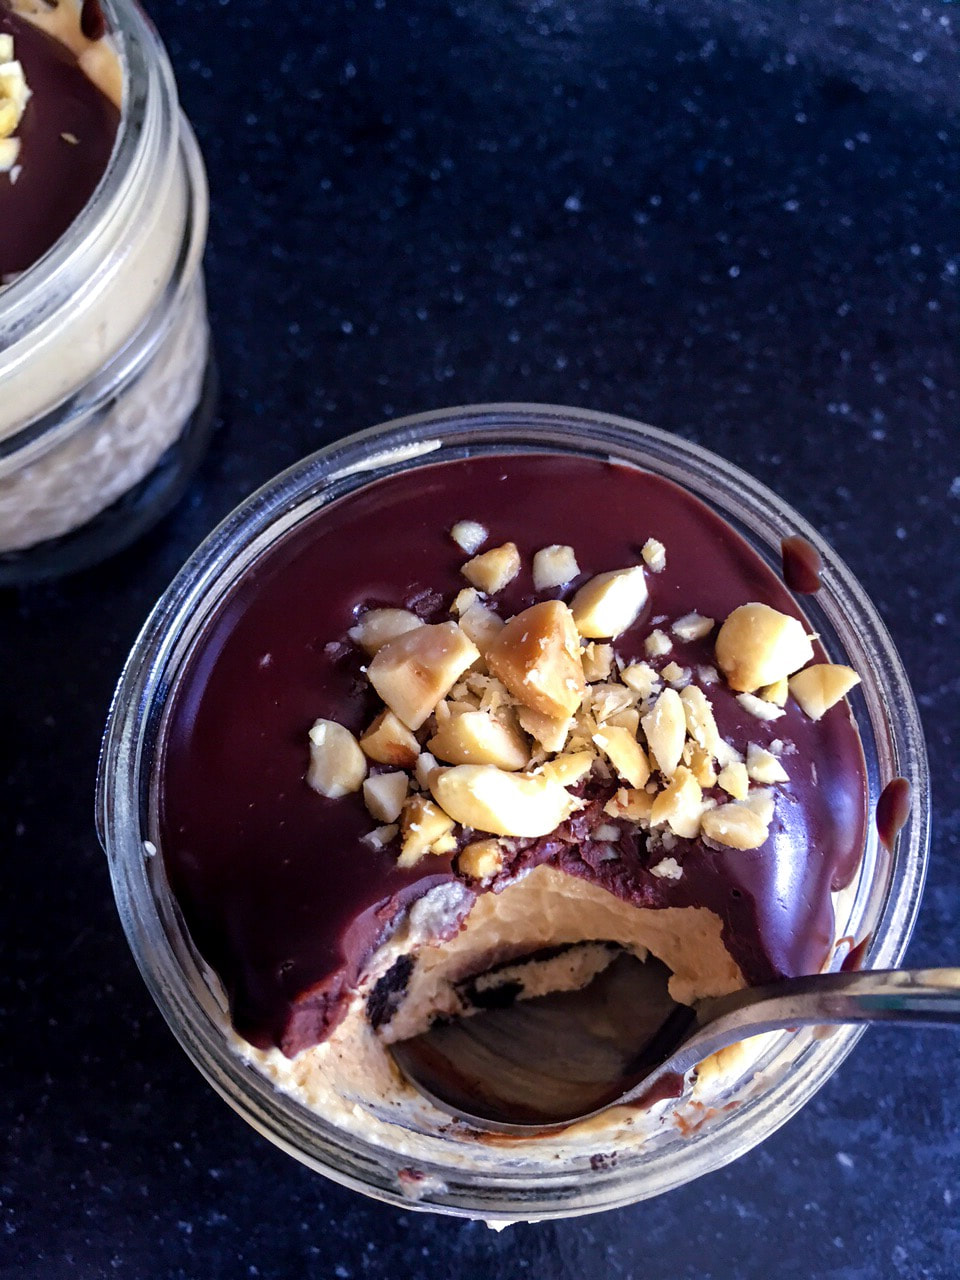
Adapted from: Jenn Segal, Once Upon a Chef
Number of Servings: 10

Ingredients
​Chocolate Tart Crust
  • 4 ounces semisweet chocolate, chopped (use good quality, i.e., Ghirardelli)
  • 4 tablespoons unsalted butter, cut into tablespoons
  • 8 ounces Nabisco Chocolate Wafers (about 32 cookies from a 9-ounce package), finely ground in a food processor to make 2 cups of crumbs
Peanut Butter Filling
  • 8 ounces cream cheese, at room temperature
  • 1 cup smooth peanut butter (I use creamy Jif)
  • 1 cup sugar
  • 2 teaspoons vanilla extract
  • 1 cup cold heavy cream
Chocolate Topping
  • 4 ounces semisweet chocolate, chopped (good quality, i.e., Ghirardelli)
  • ½ cup heavy cream
  • ¼  cup salted roasted peanuts, chopped

Directions
Chocolate Tart Crust
  1. Preheat oven to 375 °F.
  2. In a medium glass bowl, combine the chocolate and butter and microwave at high power in 20-second intervals until the chocolate is just melted. Stir well, then stir in the cookie crumbs.
  3. Press the cookie crumbs evenly over the bottom and up the rim of a 10-inch tart pan with a removable bottom. (Be sure not to make the crust too thick in any one spot, especially around the rim. Keep it thin throughout, otherwise it will come out too hard.)
  4. Bake the crust for 10 minutes, then cool on a rack.
Peanut Butter Filling
  1. In a large bowl, using a hand-held electric mixer, beat the cream cheese with the peanut butter, sugar and vanilla extract until blended.
  2. In another large bowl, using an electric mixer, whip the chilled cream until firm. Fold one-third of the whipped cream into the peanut butter mixture to loosen it, then fold in the remaining whipped cream.
  3. Spoon the filling into the crust, smoothing the surface. Refrigerate uncovered for about 1 hour.
Chocolate Topping
  1. In a medium glass bowl, combine the chocolate with the heavy cream and microwave at high power in 20-second intervals until chocolate is just melted and cream is hot.
  2. Stir the chocolate topping until blended, then let cool to barely warm, stirring occasionally.
  3. Spread chocolate topping over the chilled peanut butter filling and sprinkle chopped peanuts around the edges of the pie. Chill uncovered in refrigerator for 3 more hours.
To Serve
  1. Carefully remove the rim from the pan by gently pressing upwards on the bottom while holding the rim in place. (If using a springform pan, run a thin knife around the crust to loosen it, then remove the springform ring.)
  2. Use a sharp knife to cut the pie into wedges. Run the knife under hot water and dry it between each cut. Serve chilled or slightly cooler than room temperature.
NOTE: This pie can be made a day ahead, then covered and refrigerated until ready to serve.
Picture
2 Comments

Heirloom Tomato Tart with Scallion Goat Cheese Filling

9/13/2017

4 Comments

 
Picture
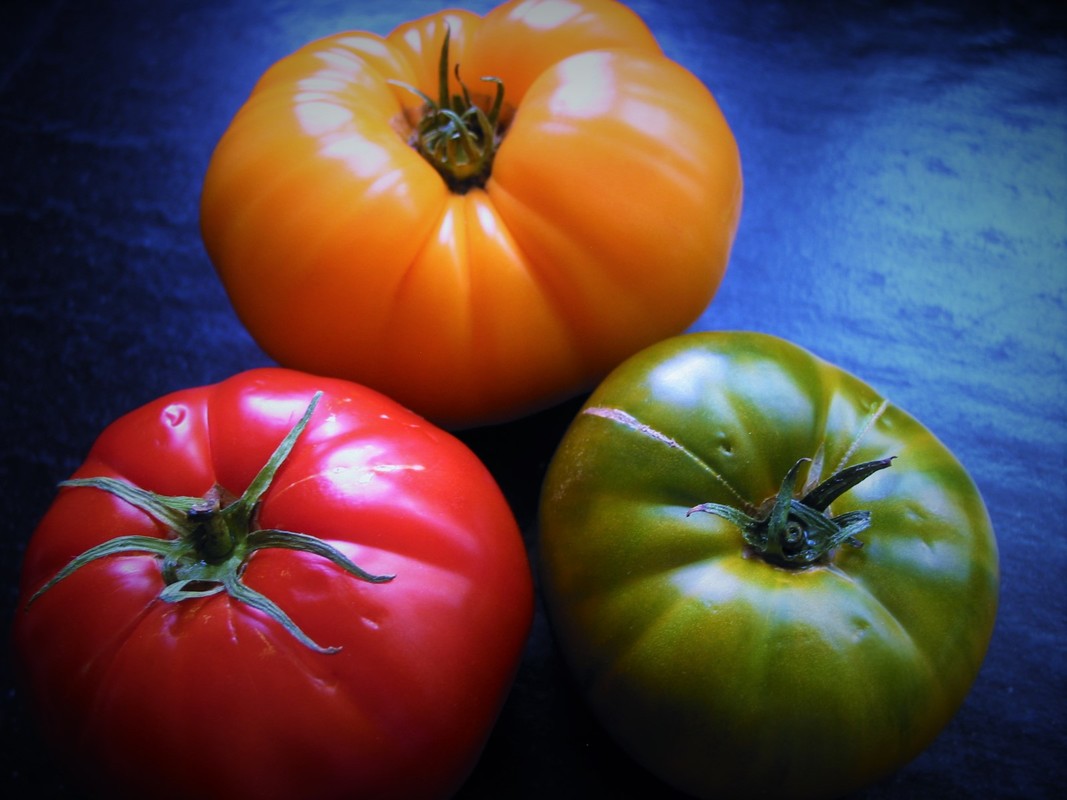
"You say tomato, I say tomahto." 

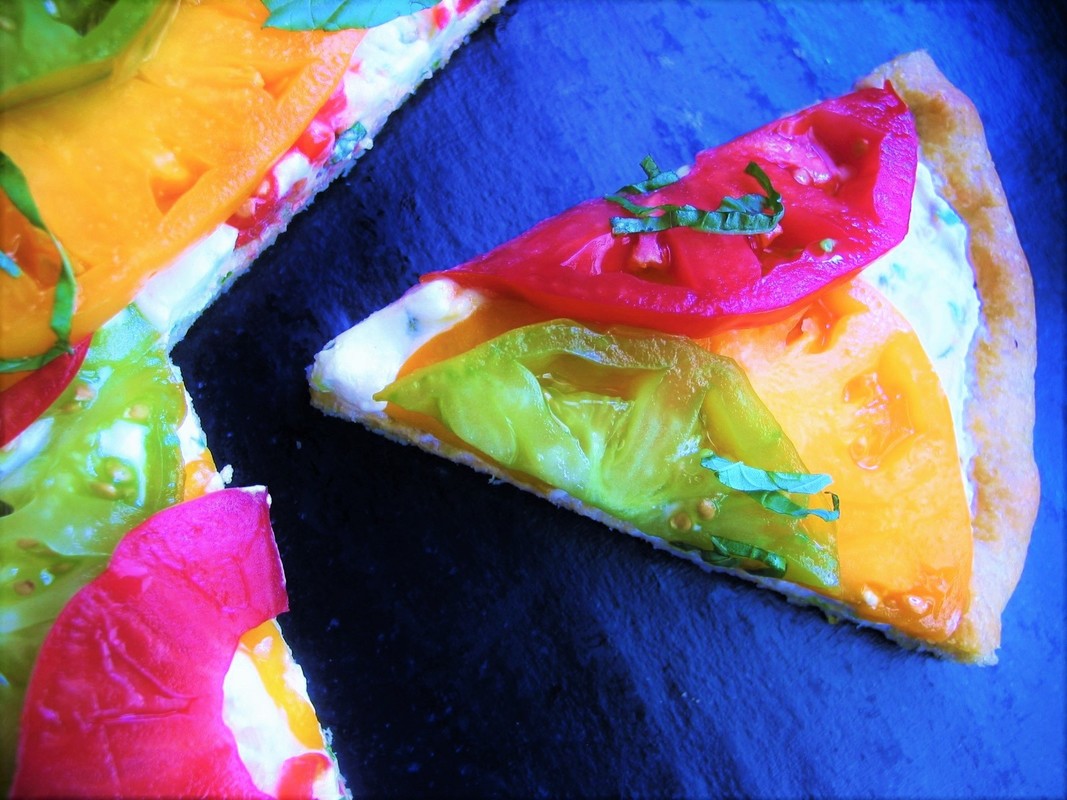
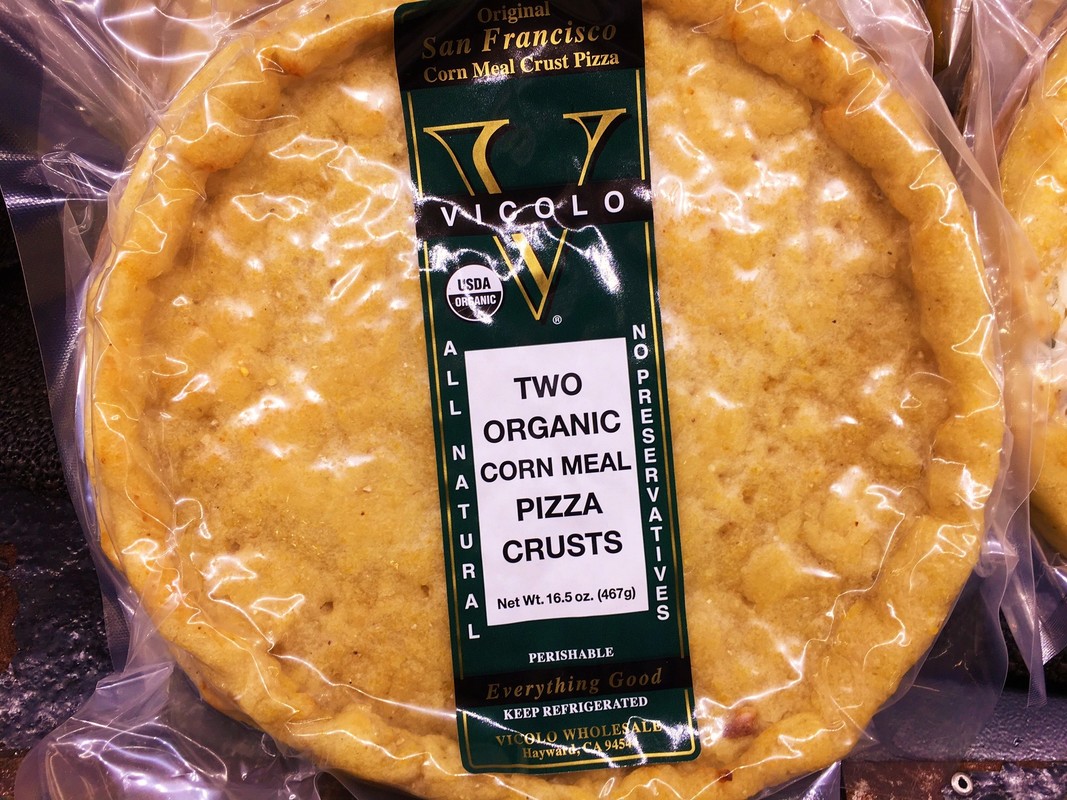
September is one of those in-between cooking months. Summer is over, but it’s still hot out and the Farmers Market bins are overflowing with juicy, ripe tomatoes in myriad of colors. Autumn root vegetables have made an appearance, and I can't wait to leap into fall, but I promised my BF I would not start decorating or making anything pumpkin-related until Oct 1. [Ed. Note: It would be "All Halloween All The Time" in this house, if she could get away with it.]

This tart is a perfect end of summer meal—lunch, brunch, dinner or an even better appetizer. It's also a great way to use up all your ripe garden tomatoes in a quick and non-fussy fashion. And on muggy odd-weather weeks like we've experienced recently in the bay area (triple-digit heat followed by monsoon rain and lightning), lets be real, I don't want to bake when it's a bajillion degrees.

I have made this tart every September for the last decade with various crusts, i.e., one sheet of defrosted puff pastry, homemade rye, buckwheat, or polenta tart crust, as well as whole wheat pizza dough. This time I made it with Vicolo cornmeal pizza crust (see picture below). This is not a sponsored post, but these ready-made crusts are a godsend: freshly made, organic, all natural, no preservatives, and there are even gluten-free options. They come pre-packaged in the refrigerated section of your grocery store (Safeway, Trader Joes, Whole Foods, etc.), and if you like the taste and texture of cornmeal, you won't be disappointed.  

If you can't find Vicolo in your grocery store, you can substitute with one sheet of defrosted puff pastry, rolled out to a 9x13 rectangle and placed on a baking sheet. Follow the baking instructions on the box and let it cool completely, then follow the rest of my instructions for the filling and assembly.
 
Number of Servings: Approx 2-3 (per one 8-inch tart). 

Note: Ingredient list below is for one 8-inch tart, and Vicolo crusts come in packages of two. So if you want to make both you will need to double the filling amounts below.

Ingredients
  • One Vicolo cornmeal pizza crust or one sheet of defrosted puff pastry
  • 4 ounces  (½ cup) whole milk fresh ricotta
  • 4 ounces  (½ cup) soft goat cheese, such as chèvre (room temperature)
  • 3 scallions, minced
  • 1 teaspoon honey 
  • ½ teaspoon finely minced jalapeno (optional)
  • ½ lemon, zested (optional)
  • 1 ½ pounds tomatoes, sliced ¼ inch thick
  • Salt to taste
  • Freshly ground black pepper
  • Olive oil to finish
  • Basil, julienned

Directions
  1. Bake Vicolo Cornmeal Pizza Crust for 10-12  minutes. Cool completely. 
  2. Mix ricotta, goat cheese, scallions, honey, jalapeno and lemon together until smooth. Mix in salt to taste.
  3. Spread filling on bottom of the crust.
  4. Add sliced tomatoes over the filling.
  5. Salt and pepper the tart to taste. Add a drizzle of olive oil. Garnish with basil.
​
Picture
Picture
4 Comments

Pluot and Ginger Crostata

8/30/2017

2 Comments

 
Picture
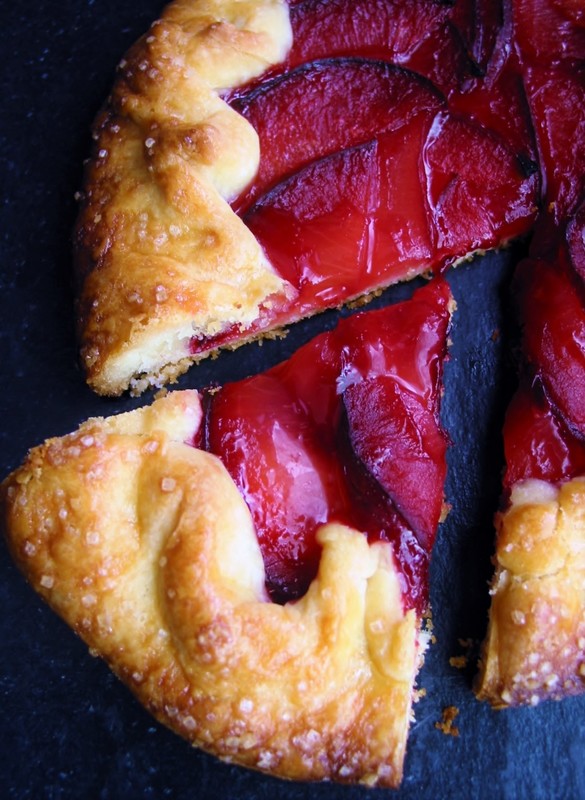
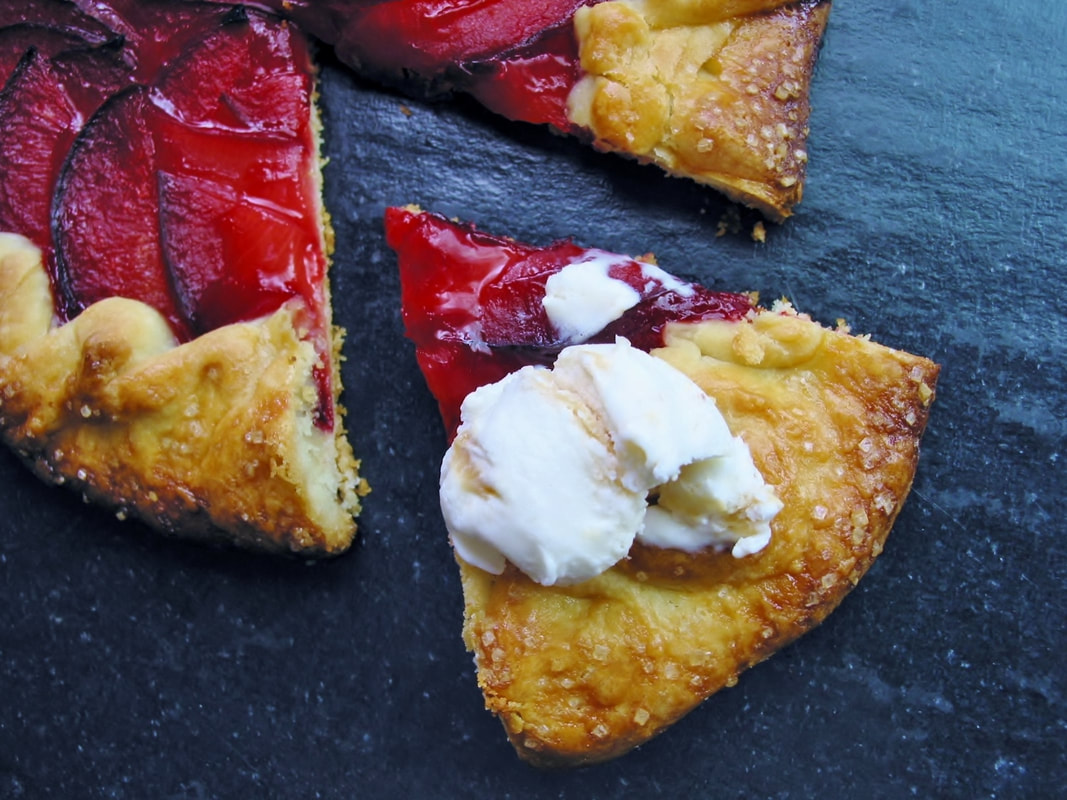
More people will come if they think we have punch and crostata!
-Eric Cartman (who knows his pie substitutions)
youtu.be/IVkhqReJOug

If you're planning a La Resistance soiree, or even a Resist La Resistance soiree (hopefully the South Park fans will get this), you'll only need about two hours to throw this treat together, including resting and baking time. And Cartman is right, more people will show up.

Personally I prefer making crostatas because I like the fruit-to-crust ratio better than pies (read: I'm only in it for the crust). 

And even if you have resistance fatigue, at least you can take advantage of the peak pluot and plum season with this crostata. 

​Adapted from: Honestly Yum
Number of servings: 6

Ingredients
  • 3-4 pluots (or red plums if you can’t find pluots)
  • ⅓ cup and 2 tablespoons of sugar
  • 1 2-inch piece of ginger (which yields about 2 teaspoons of juice)
  • 1 tablespoon of corn starch
  • 1 ¼ cup of all purpose flour, and more for dusting
  • 1 stick of cold butter
  • ¼ teaspoon of salt
  • ¼ cup of iced water
  • 1 egg, beaten
  • granulated sugar for dusting
  • vanilla ice cream (optional, but highly recommended)

Directions
  1. Pit and thinly slice the pluots. Toss with the ⅓ cup of sugar and corn starch. Grate the ginger on a microplane grater and strain through a small fine-mesh strainer. Using the back of a spoon lightly press the grated ginger against the strainer to release the liquid. Discard the dry fiberous ginger. Add 2 teaspoons of ginger juice to the pluots and lightly toss.
  2. To make the dough, cube the cold butter. Add 2 tablespoons of sugar, ¼ teaspoon of salt, and 1 ¼ cup of flour to the bowl of a food processor. Pulse to combine. Add the butter and pulse until the butter is about pea sized. Add the water and pulse until the mixture barely comes together. Shape into a flattened disk and wrap with plastic wrap. Refrigerate for about 30 minutes.
  3. When you are ready to bake the crostata, preheat the oven to 425 °F. Roll the dough out on a lightly floured surface until the dough is about 12 inches in diameter. Transfer the dough onto a baking sheet lined with parchment paper.
  4. Lay the slices of pluot in concentric circles leaving about an inch of crust around the outside.
  5. Fold the edges over the fruit and brush with egg wash. Sprinkle remaining sugar over the crust.
  6. Bake for about 45 minutes until crust is deep golden brown.
  7. Let cool for at least 15 minutes. Cut and top with ice cream.
Picture
2 Comments

Nectarine and Mascarpone Tart in a Gingersnap Crust

7/12/2017

3 Comments

 
Picture
A quick note that you should expect regular recipe posts every Wednesday (with occasional lagniappe as is deemed necessary). ;-)

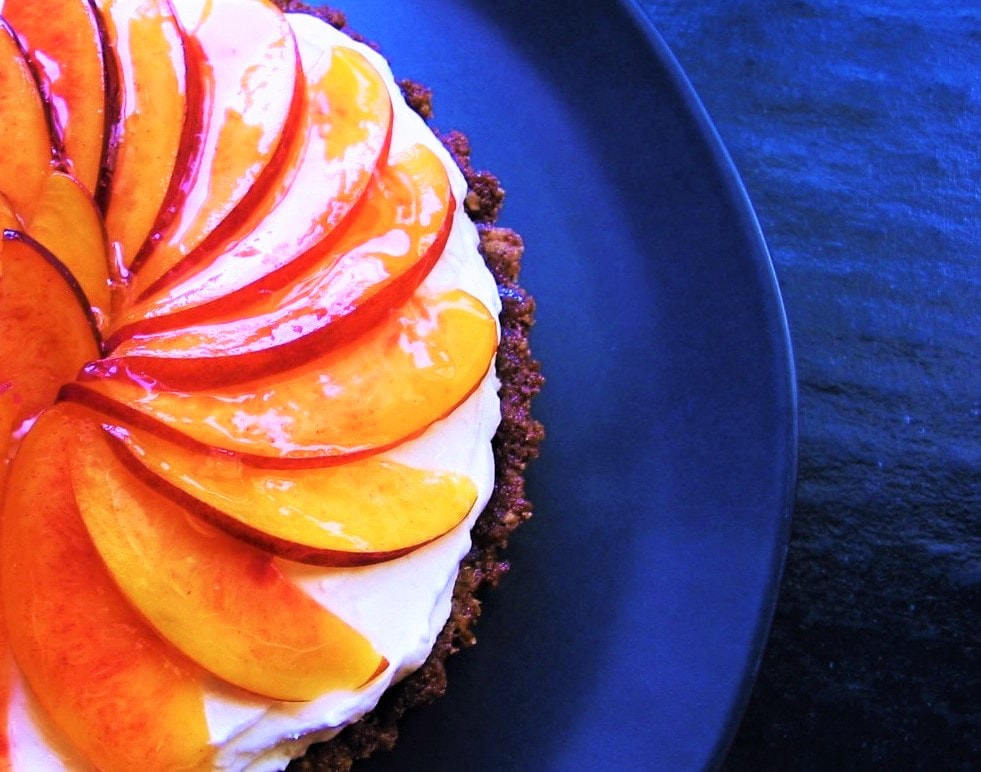
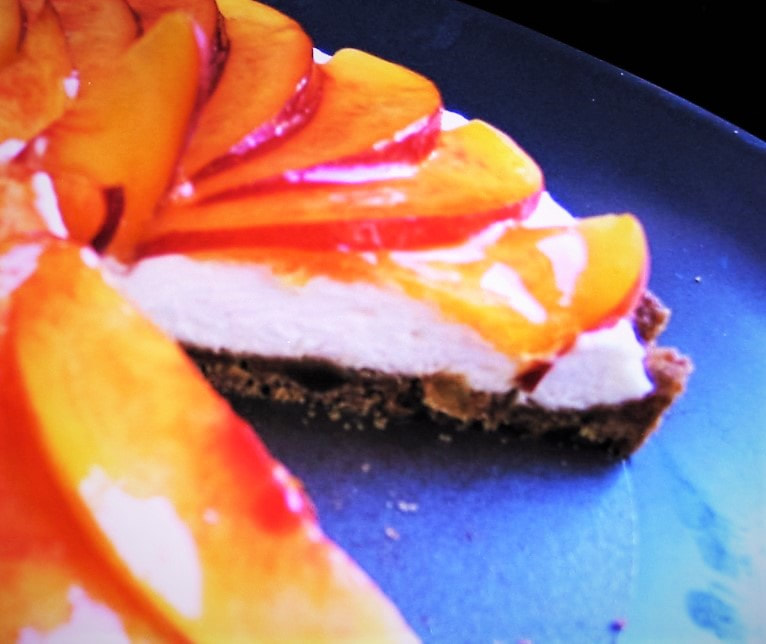
Nectarine and Marscarpone Tart in a Gingersnap Crust
A perfect summer dessert, the tart nectarines and spicy gingersnap crust offset the not-too-sweet filling nicely. Originally a Bon Appétit recipe that Smitten Kitchen adapted, I made a few additions, namely, heavy whipping cream and cinnamon as I prefer a fluffier, less dense filling. The topping is open to a variety of summer fruits. I have made this tart and topped with cherries and other stone fruits as well.

Adapted from Smitten Kitchen
Number of servings: 8-10​

Ingredients
Crust
  • 37 gingersnap cookies, coarsely broken (about 9 ounces; about 3 1/4 cups plus 2 tablespoons of pieces)
  • 6 tablespoons unsalted butter, melted
Filling
  • 1 8-ounce container mascarpone cheese
  • 6 ounces cream cheese, room temperature
  • 1/2 cup heavy whipping cream
  • 1/4 cup sour cream
  • 1/4 cup sugar
  • 1 teaspoon grated lemon peel
  • 1/4 teaspoon vanilla extract
  • Pinch of cinnamon
Topping
  • 4 to 5 small nectarines, halved, pitted, cut into thin slices
  • 1/4 cup apricot jam, warmed (original recipe called for peach)

Directions
Crust
  1. Preheat oven to 350 °F.
  2. Finely grind gingersnaps in processor. Add butter and blend until crumbs are evenly moistened.
  3. Press mixture over bottom and up sides of 9-inch-diameter tart pan with removable bottom.
  4. Bake crust until color darkens, pressing sides with back of spoon if beginning to slide, about 8 minutes. Cool completely.
​
Flling
  1. Beat all the filling ingredients in medium bowl until smooth.
  2. Spread filling in prepared crust.
  3. Cover loosely and refrigerate at least 2 hours and up to 1 day.

Topping
  1. Overlap nectarine slices atop filling in concentric circles.
  2. Brush with jam.
  3. Serve, or refrigerate up to 6 hours.
Picture
3 Comments

    Author

    I'm Jacquie, personal chef & recipe developer in the beautiful Pacific Northwest. ​Living life with my wildly funny boyfriend and dog Marlowe. Lover of books, bourbon, chocolate and movies.​

    Archives

    May 2020
    February 2020
    January 2020
    November 2019
    October 2019
    September 2019
    August 2019
    July 2019
    May 2019
    April 2019
    March 2019
    February 2019
    January 2019
    December 2018
    November 2018
    October 2018
    September 2018
    August 2018
    July 2018
    June 2018
    May 2018
    April 2018
    March 2018
    February 2018
    January 2018
    December 2017
    November 2017
    October 2017
    September 2017
    August 2017
    July 2017

    Categories

    All
    Ahi
    Apple
    Apple Pie
    Avocado
    Bars
    BBQ
    Beans
    Beef
    Beets
    Black Bean
    Blackberry
    Blueberries
    Borscht
    Bread
    Brownies
    Brussels Sprouts
    Bundt
    Butter
    Butternut Squash
    Butterscotch
    Cabbage
    Cake
    Caramel
    Carrot
    Challah
    Champagne
    Cheesecake
    Chicken
    Chili
    Chinese
    Chinese New Year
    Chocolate
    Christmas
    Cinco De Mayo
    Citrus
    Cocktail
    Coconut Rice
    Comfort Food
    Cookies
    Corn
    Cranberries
    Crostata
    Crumble
    Cupcakes
    Curry
    Dessert
    Easter
    Egg
    Egg Nog
    Eggplant
    Fish
    Ginger
    Gingerbread
    Gluten Free
    Grain Free
    Green Sauce
    Gumbo
    Halibut
    Halloween
    Hannukah
    Healthy
    Holiday
    Holidays
    Ice Cream
    Indian
    Kale
    Key Lime
    Kohlrabi
    Kosher
    Lamb
    Latkes
    Lemon
    Lentil
    Low Carb
    Mac & Cheese
    Malt
    Mango
    Mango Salsa
    Mardi Gras
    Martini
    Memorial Day
    Mexican
    Miso Chicken
    Moroccan
    Mushrooms
    Naan
    Nectarine
    Noodles
    Olive Oil
    Parsnips
    Passover
    Pasta
    Pavlova
    Peanut Butter
    Penne
    Peppermint
    Pesto
    Pie
    Pizza
    Plums
    Pluot
    Pork
    Potatoes
    Pots De Creme
    Pudding
    Pumpkin
    Pumpkin Cake
    Quinoa
    Rajma
    Raspberries
    Ratatouille
    Risotto
    Root Beer
    Salad
    Salmon
    Salmon Bowl
    Salsa
    Sauce
    Scallops
    Shortbread
    Short Ribs
    Shrimp
    Side Dish
    Soup
    Soy Sauce Eggs
    Spicy
    Spiralized
    Steak
    Strawberries
    Sugar Free
    Summer
    Sweet
    Sweet Potatoes
    Tacos
    Tart
    Thanksgiving
    Tomatoes
    Turkey
    Valentine's Day
    Vegan
    Veganuary
    Vegetable
    Vegetarian
    Veggie Burger
    Whole30
    Whoopie Pies
    Yams
    Yellow Bell Pepper
    Yu Choy

    RSS Feed

Powered by Create your own unique website with customizable templates.
  • home
  • services
  • bio
  • blog
  • contact
  • PHOTOS (summer)
  • photos (winter)
  • PRESS
  • faq